































Table of Contents
- Key Points
- Setting Up Your Development Environment
- Leveraging AI: Setting the Context for ChatGPT
- How to Install Python and Visual Studio Code
- Pricing for Tools: Free and Accessible
- Advantages and Disadvantages of Local Game Development
- Frequently Asked Questions
- Related Questions for Local Game Development



Setting Up Your Development Environment
Downloading the Necessary Files from GitHub
The first step in building your own video game locally involves acquiring the essential files from a reliable source. GitHub, a widely used platform for version control and collaboration, serves as an excellent repository for Game development resources
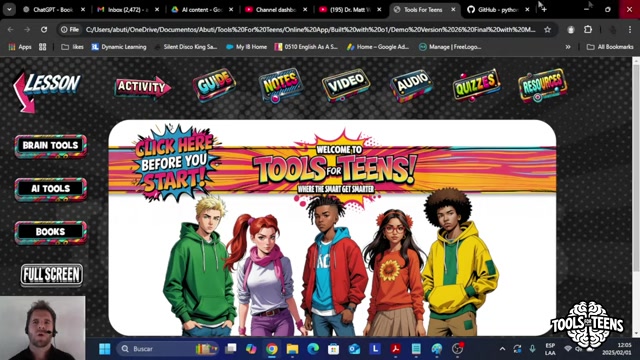
. Here’s how to download and prepare your game development environment:
- Navigate to the GitHub Repository: Access the provided GitHub link which hosts the Python Arcade library, tailored for creating 2D Arcade games.
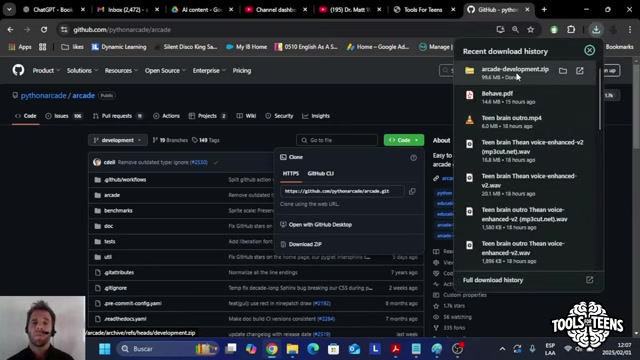
- Download the Repository as a ZIP File: Look for the ‘Code’ button on the GitHub page. Click this button and select 'Download ZIP.' This action downloads all the files and folders within the repository in a single compressed file.
-
Extract the ZIP File: Once the download is complete, locate the ZIP file on your computer. Right-click on the file and choose 'Extract All.' Select a destination folder where you want the contents to be extracted. For organizational purposes, consider creating a dedicated folder named 'Building Video Games' .
Note: It's crucial to extract the files before proceeding, as compressed ZIP files cannot be directly used by development tools.
Unzipping the Downloaded Files
The downloaded files come as a compressed zip folder. Before you can start developing, you will need to extract all the contents
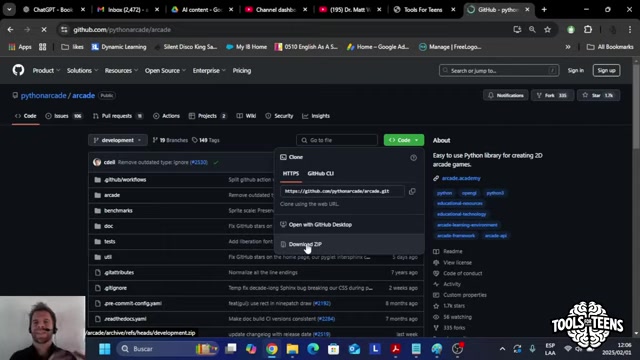
.
- Locate the downloaded folder
- Right click on the folder
- Select the 'Extract All...' option from the menu
- Choose the destination where you want to save the extracted folder
- Click Extract and wait for the extracting process to complete
Once the extraction is completed, double-check if the folder was extracted to the location you specified. In this step, make sure that the file path where you are saving the content is neat and easily accessible.
File Path Organization
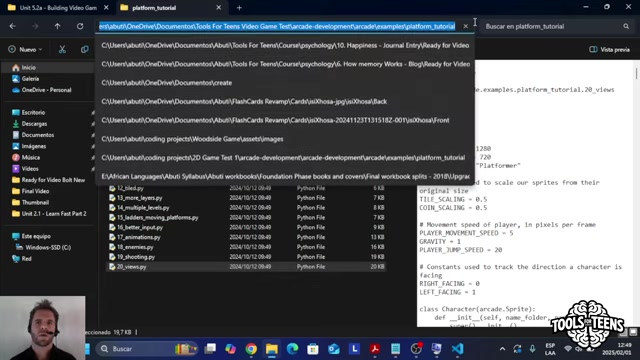
Once extracted, proper organization of the files is the second most important thing in game building to prevent future access and debugging issues. It is essential to structure where to extract the file. By moving the extracted files to a clearly named directory, you ensure that accessing and referencing these files during development is straightforward. It's recommended to save it inside the Documents
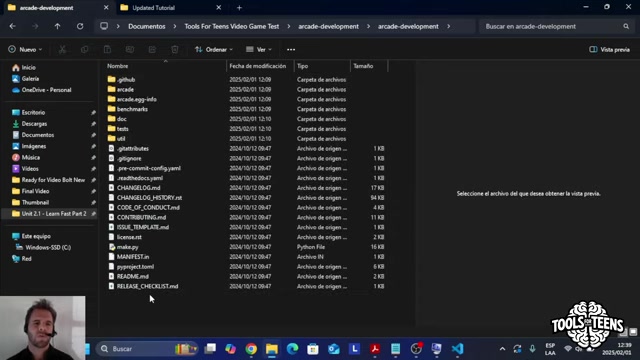
and have a clear project destination to make access simple.
Tips for Maintaining an Organized File Path:
- Create a Dedicated Folder: Dedicate a folder specifically for your video game projects. This keeps your game-related files separate from other documents and projects.
- Keep Names Concise and Descriptive: Use names that quickly convey the contents of the folder or file, avoiding overly long or vague names.
- Avoid Deeply Nested Structures: While subfolders are helpful, excessively deep hierarchies can make it harder to locate files. Aim for a balance that organizes content without overcomplicating the path.
Maintaining a clean and orderly file system not only eases your development process but also enhances the maintainability and scalability of your project.
Installing Essential Software: Python and Visual Studio Code
With the game files downloaded and properly organized, the next critical step is setting up your software tools. This section focuses on installing Python and Visual Studio Code, two fundamental components of your game development toolkit.
Why Python and Visual Studio Code?
- Python: A high-level, versatile programming language known for its readability and extensive libraries, making it perfect for game development.
- Visual Studio Code: A lightweight but powerful source code editor that runs on your desktop
. It comes with built-in support for JavaScript, TypeScript and Node.js and has a rich ecosystem of extensions for other languages (such as C++, C#, Java, Python, PHP, Go) and runtimes including .NET and Unity.
To successfully run the downloaded code and build your video game, these two must be properly installed and set-up.
Leveraging AI: Setting the Context for ChatGPT
Why AI Context is Crucial
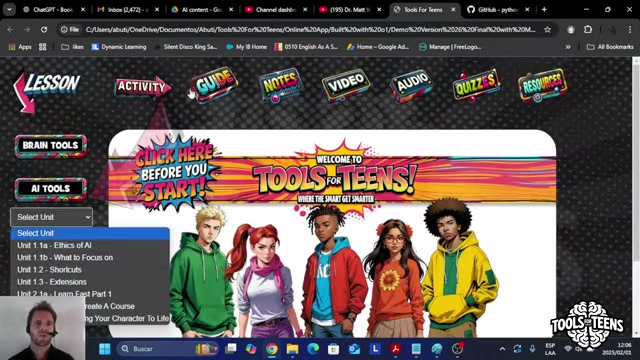
Before diving deeper, it's beneficial to prep an AI assistant like ChatGPT to assist you by providing crucial context. Supplying context ensures that ChatGPT understands your current goals, the specifications of your system, and the details of the video game project you're working on
.
When you provide the specifications of both your computer and game, the AI is better equipped to identify compatibility issues, suggest appropriate software versions, and troubleshoot errors efficiently. Therefore, it is important to give more context for effective problem solving and a smooth development process.
Gathering Your System Specifications
To give ChatGPT the details of your computer, here's how to access system information in Windows:
- Press the Windows Key + R: This opens the Run dialog box.
- Type ‘msinfo32’ and Press Enter: This command opens the System Information window.
- Locate and Copy Key Details: This window displays a comprehensive overview of your system, including the OS Name, Version, System Manufacturer, System Model, Processor, and RAM
.
By providing your computer details, you are helping ChatGPT give a more specific and helpful response tailored for your system.
Preparing Your Prompt
Compose a message for ChatGPT that clearly articulates your goal, which is to set up and run a video game locally, and how you have already completed the first steps, downloading all the content for building a video game. Include the essential details and specifications of the video game and system information of the computer
.
By following the principles discussed previously, ChatGPT can give a better and tailored response for your project.
How to Install Python and Visual Studio Code
Installing Python
Since a lot of video games require Python, it is best to set it up first in your system. Make sure to follow these steps during the installation process:
- Visit the Python Download Page: Go to the official Python website (python.org) and navigate to the downloads section. Download the latest version of Python suitable for your operating system (Windows, macOS, or Linux)
.
- Run the Installer: Locate the downloaded installer and run it. Ensure you select 'Add Python to PATH' during the installation process.
- Complete the Installation: Follow the on-screen instructions to complete the installation. Choose the default settings for most users to simplify the setup .
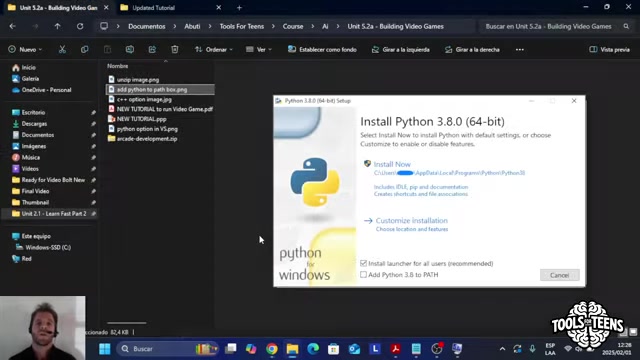
It is important that you check the box during installation to 'Add Python to PATH' as this allows you to run Python commands from any command Prompt location, making it easier to execute your game scripts. A screenshot is available in the guide section.
Installing Visual Studio Code
Next is to setup Visual Studio Code in your device to start the game build
.
- Download Visual Studio Code: Go to the Visual Studio Code website and download the installer compatible with your operating system. Make sure that the logo is blue as there are other types of installer that are not the correct option .
- Run the Installer: Open the downloaded file to install Visual Studio Code.
- Select Components: During the Visual Studio Code installation, be sure to check the box that says 'Add to PATH'. To launch Visual Studio Code from the command line, you must choose the checkbox. A Tutorial is given for the steps .








Most people like




































Report
Please select a reason for reporting
- 13 Reasons to Switch from Snapchat to Text Messaging
- 7 Powerful Speech to Text Apps to Boost Productivity
- 10 Best Speech to Text Tools for Effortless Transcription
- 13 Free Tools to Easily Transcribe Audio to Text
- 15 Surprising Ways Google's Speech-to-Text Boosts Productivity
- 7 Best Free Online Audio to Text Transcription Tools
- 9 Tips to Transcribe Speech to Text Faster and Better
- 13 Best Speech to Text Software for Windows 10 in 2023
- 7 Tips for Choosing the Best Transcriber for Audio to Text
- 11 Reasons Why Dragon Speech-to-Text Apps are Game-Changers
- 6 Secrets to Enhance Your Speech to Text Transcription
- 6 Brilliant Ways to Boost Productivity with Talk-to-Text on Your MacBook
- 6 Ways Transcription Software Converts Audio to Text
- 8 Tips to Transcribe Speech to Text Like a Pro
- 6 Reasons IBM Watson Speech to Text is a Game-Changer
- 14 Powerful Ways Talk-to-Text Improves Your Workflow
- 12 Top Windows Speech-to-Text Software for Efficient Transcription
- 12 Game-Changing Benefits of Apple's Speech to Text Technology
- 9 Powerful Use Cases for AWS Speech to Text Technology
- 10 Easy Steps to Transcribe YouTube Videos to Text
- transcription audio en texte
- online audio transcription
- free audio file transcription
- free ai audio transcription
- audio transcription service
- audio transcription online free
- audio transcription free online
- audio to transcription software
- audio and transcript
- ai audio transcription free
- voice recording to text converter
- translate voice recording to text
- record voice to text
- audio recording to text converter
- voice recording and transcription
- chatgpt voice to text
- gmail voice to text
- speech to text reader
- speech to text ai free
- speech to talk
- How SEO and Marketing Dashboards Empower Agencies to Drive Results
- How to Use AI Tools to Find Internal Linking Opportunities Across a Business Website
- Discover Your Perfect Haircut with AI Hairstyle Apps
- Free Reputation Calculator Tools: How They're Adapting to Score AI Visibility, Not Just Rankings
- Design Professional Flyers for Free on Your Phone
- Best Free Flyer Maker Apps for Android: Design Like a Pro
- How to Know If Your Business Is Ready for an AI Customer Service Agent
- Revolutionizing Storytelling: From Novels to Screenplays with AI
- Create Engaging Animated Explainer Videos with a Free AI Tool
- Stop Multi-Subscribing: Benchmark Top AI Visual Models in One Canvas
- Beyond Pure Prompts: Optimizing Production with 'Text With Reference' Generation
- Stop Using Boring TTS: My Honest Deep Dive Into VideoAI and the Hunt for the Perfect Custom Voices
- AI & Elections: Defending Democracy Against Misinformation
- Navigating Political Discourse: AI, Deepfakes, and Reality Checks
- Detecting Political Bias in News Articles: A Powerful AI Algorithm
- AI Bias Unveiled: Political Leanings in ChatGPT & Beyond
- Revolutionize Learning: Discover Quizzes AI for Engaging Interactive Quizzes
- From AI-Generated to Audience-Ready: How Quillbot Humanize AI Is Changing the Content Editing Process
- Building an AI Writing Stack in 2026: LLMs, Detectors, and Humanizers
- 7 Top AI-Powered Database Assistant Platforms

Copyright ©2026 toolify