























CapCut Auto Beat Sync: A Step-by-Step Guide

Updated on Oct 31,2025








Table of Contents
- Key Points
- Getting Started with CapCut and Auto Beat Sync
- Tips for Enhancing Your Beat Sync Videos
- Advanced Editing Techniques in CapCut
- Auto Beat Sync: Benefits and Limitations
- Frequently Asked Questions
- Related Questions


Getting Started with CapCut and Auto Beat Sync
Understanding the Basics of Beat Sync
Beat sync is a technique where Video Clips are timed to match the beats in a song, creating a visually appealing and engaging experience. This synchronization ensures that transitions, cuts, and effects happen in rhythm with the Music, making the video feel more dynamic and professional.
CapCut's auto beat sync feature streamlines this process, allowing even novice editors to achieve impressive results.
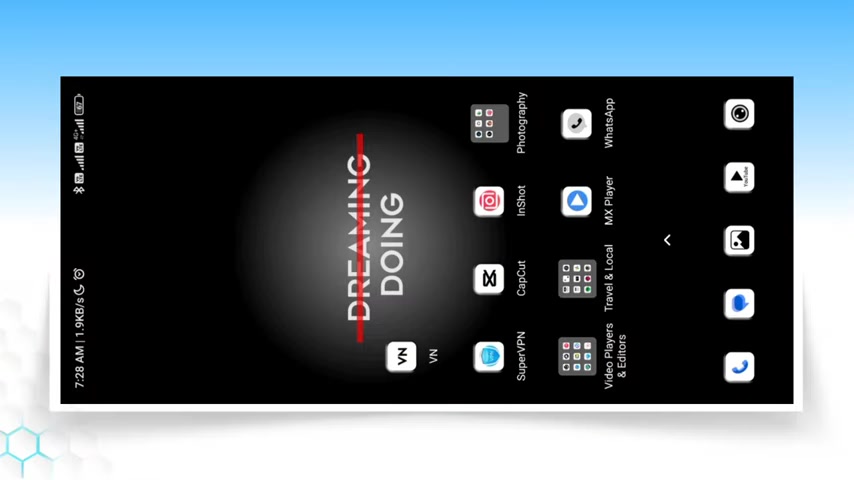
Before diving into the process, ensure you have the CapCut app installed on your device. If you don't have the CapCut app, it's recommended to download it, also ensure you can connect to a VPN. This is because CapCut functionality can sometimes be restricted based on your geographic location. A VPN allows you to bypass these restrictions and fully utilize CapCut's features. Open your preferred VPN application and connect to a server. Once connected, you’re ready to open CapCut and begin your project.
Step-by-Step Guide to Auto Beat Sync in CapCut
Here’s how to use CapCut’s auto beat sync feature to create stunning videos:
Step 1: Import Your Video
-
Open the CapCut app on your device.
-
Tap on the New Project button to start a new editing project.
-
Select the video you want to edit from your device's media library.
-
Tap Add to import the video into CapCut.
Step 2: Add Music to Your Project
- Once your video is imported, tap on the Audio option at the bottom.
- Select Sounds from the menu that appears.
- You can choose music from CapCut’s library or import your own from your device. To import your own music, tap the file icon. Then tap From device.
- Browse and select the song you want to use.
- Tap the plus (+) icon next to the song to add it to your project.
Step 3: Using Auto Beat Sync
- Select the added music track on the timeline.
- Look for the Beats option in the menu at the bottom. If you scroll the options you should find the Beats option. Tap on it.
- Tap on Auto-generate if you don't see it on the timeline, you might need to scroll to find the option.
- CapCut will automatically analyze the music and mark the beats.
Step 4: Manual Adjustments (Optional)
-
Sometimes, the auto beat sync might not be perfectly accurate. You can manually adjust the beat markers for better precision:
- Play the music and listen carefully.
- If a beat marker is slightly off, tap and drag it to the correct position.
- To add a beat marker manually, tap Add beat at the point where you hear a beat.
- To delete a beat marker, select it and tap Delete beat.
Step 5: Cutting and Arranging Video Clips
- Return to your video timeline.
- Move the playhead to each beat marker.
- Tap the Split option to cut the video at each beat.
- Remove any unwanted sections or clips to create a dynamic sequence.
Step 6: Adding Animations and Transitions
- Select a video clip in the timeline.
- Tap the Animation option at the bottom.
- Choose an animation style (e.g., In, Out, or Combo).
- Adjust the duration of the animation to match the beat.
- To add transitions between clips, tap the white box between the clips on the timeline , then select a transition style and its duration.
Step 7: Export Your Video
- Once you are satisfied with your edits, tap the Export button at the top right corner.
- Choose your desired video resolution and frame rate.
- Tap Export to save the video to your device.
By following these steps, you can effectively use CapCut’s auto beat sync feature to create professional-quality music videos that are sure to captivate your audience.







Most people like


































Report
Please select a reason for reporting
- 13 Reasons to Switch from Snapchat to Text Messaging
- 7 Powerful Speech to Text Apps to Boost Productivity
- 10 Best Speech to Text Tools for Effortless Transcription
- 13 Free Tools to Easily Transcribe Audio to Text
- 15 Surprising Ways Google's Speech-to-Text Boosts Productivity
- 7 Best Free Online Audio to Text Transcription Tools
- 9 Tips to Transcribe Speech to Text Faster and Better
- 13 Best Speech to Text Software for Windows 10 in 2023
- 7 Tips for Choosing the Best Transcriber for Audio to Text
- 11 Reasons Why Dragon Speech-to-Text Apps are Game-Changers
- 6 Secrets to Enhance Your Speech to Text Transcription
- 6 Brilliant Ways to Boost Productivity with Talk-to-Text on Your MacBook
- 6 Ways Transcription Software Converts Audio to Text
- 8 Tips to Transcribe Speech to Text Like a Pro
- 6 Reasons IBM Watson Speech to Text is a Game-Changer
- 14 Powerful Ways Talk-to-Text Improves Your Workflow
- 12 Top Windows Speech-to-Text Software for Efficient Transcription
- 12 Game-Changing Benefits of Apple's Speech to Text Technology
- 9 Powerful Use Cases for AWS Speech to Text Technology
- 10 Easy Steps to Transcribe YouTube Videos to Text
- transcription audio en texte
- online audio transcription
- free audio file transcription
- free ai audio transcription
- audio transcription service
- audio transcription online free
- audio transcription free online
- audio to transcription software
- audio and transcript
- ai audio transcription free
- voice recording to text converter
- translate voice recording to text
- record voice to text
- audio recording to text converter
- voice recording and transcription
- chatgpt voice to text
- gmail voice to text
- speech to text reader
- speech to text ai free
- speech to talk
- How SEO and Marketing Dashboards Empower Agencies to Drive Results
- How to Use AI Tools to Find Internal Linking Opportunities Across a Business Website
- Discover Your Perfect Haircut with AI Hairstyle Apps
- Free Reputation Calculator Tools: How They're Adapting to Score AI Visibility, Not Just Rankings
- Design Professional Flyers for Free on Your Phone
- Best Free Flyer Maker Apps for Android: Design Like a Pro
- How to Know If Your Business Is Ready for an AI Customer Service Agent
- Revolutionizing Storytelling: From Novels to Screenplays with AI
- Create Engaging Animated Explainer Videos with a Free AI Tool
- Stop Multi-Subscribing: Benchmark Top AI Visual Models in One Canvas
- My Brand New Logo: AI-Powered Logo Design for Startups
- Create Stunning Logos with Free AI Logo Generator!
- AI Logo Maker: Design a Stunning Logo in Minutes
- Elevate Your Zoom Experience with Enhanced Name Tags by Warmly
- Top 5 AI Logo Makers in 2025: Design a Stunning Brand
- Creative Fabrica's AI Tools: Flow, Studio, and Font Generator
- Create Stunning Logos with Canva's Free AI Logo Generator
- Create Professional and Memorable Logos with LogoMaker.ai
- Design Your Own Font: A Step-by-Step Guide with Vectornator Pro
- AI Font Generator: Revolutionizing Typeface Design with AI

Copyright ©2026 toolify