































Table of Contents



Getting Started with CocoaPods
What is CocoaPods?
CocoaPods is a dependency manager for Swift and Objective-C Cocoa projects. It automates and centralizes the process of adding, updating, and removing third-party libraries, often referred to as dependencies or pods, in your iOS projects.
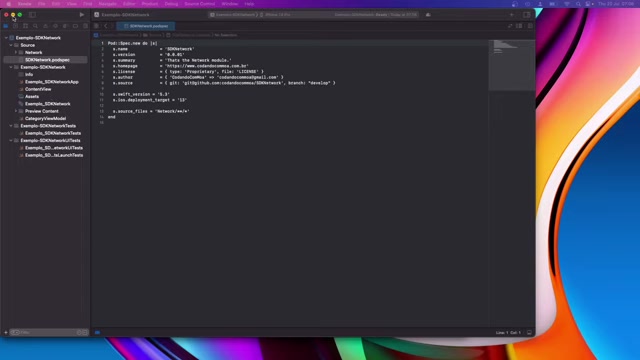
Using CocoaPods enhances project organization, simplifies collaboration, and ensures that all team members are working with the same versions of libraries.
This dependency manager offers several benefits:
- Dependency Resolution: CocoaPods resolves dependencies automatically, ensuring that all required libraries and their dependencies are correctly installed.
- Version Management: It supports version management, allowing you to specify which versions of libraries your project uses.
- Centralized Management: CocoaPods uses a central repository, making it easy to find and integrate libraries.
- Easy Integration: Adding a library to your project is as simple as adding a line to the Podfile and running
pod install. - Collaboration: CocoaPods makes it easier for teams to collaborate on projects by ensuring everyone uses the same library versions. It allows the reuse of code across various project.
By mastering CocoaPods, developers can significantly reduce the time and effort spent on managing dependencies, allowing them to focus on building innovative iOS applications. The correct configuration of CocoaPods also reduces the likelihood of dependency conflicts, thereby improving project stability and performance.
Installing CocoaPods
Before you can start using CocoaPods, you need to install it on your system. CocoaPods is a Ruby gem, so you'll need Ruby installed. macOS comes with Ruby pre-installed, but it's often an older version. It's recommended to use a Ruby version manager like RVM (Ruby Version Manager) or rbenv to manage Ruby versions.
Here's how to install CocoaPods using the terminal:
- Open Terminal: Launch the Terminal application on your macOS system.
-
Install CocoaPods: Use the following command to install CocoaPods:
sudo gem install cocoapods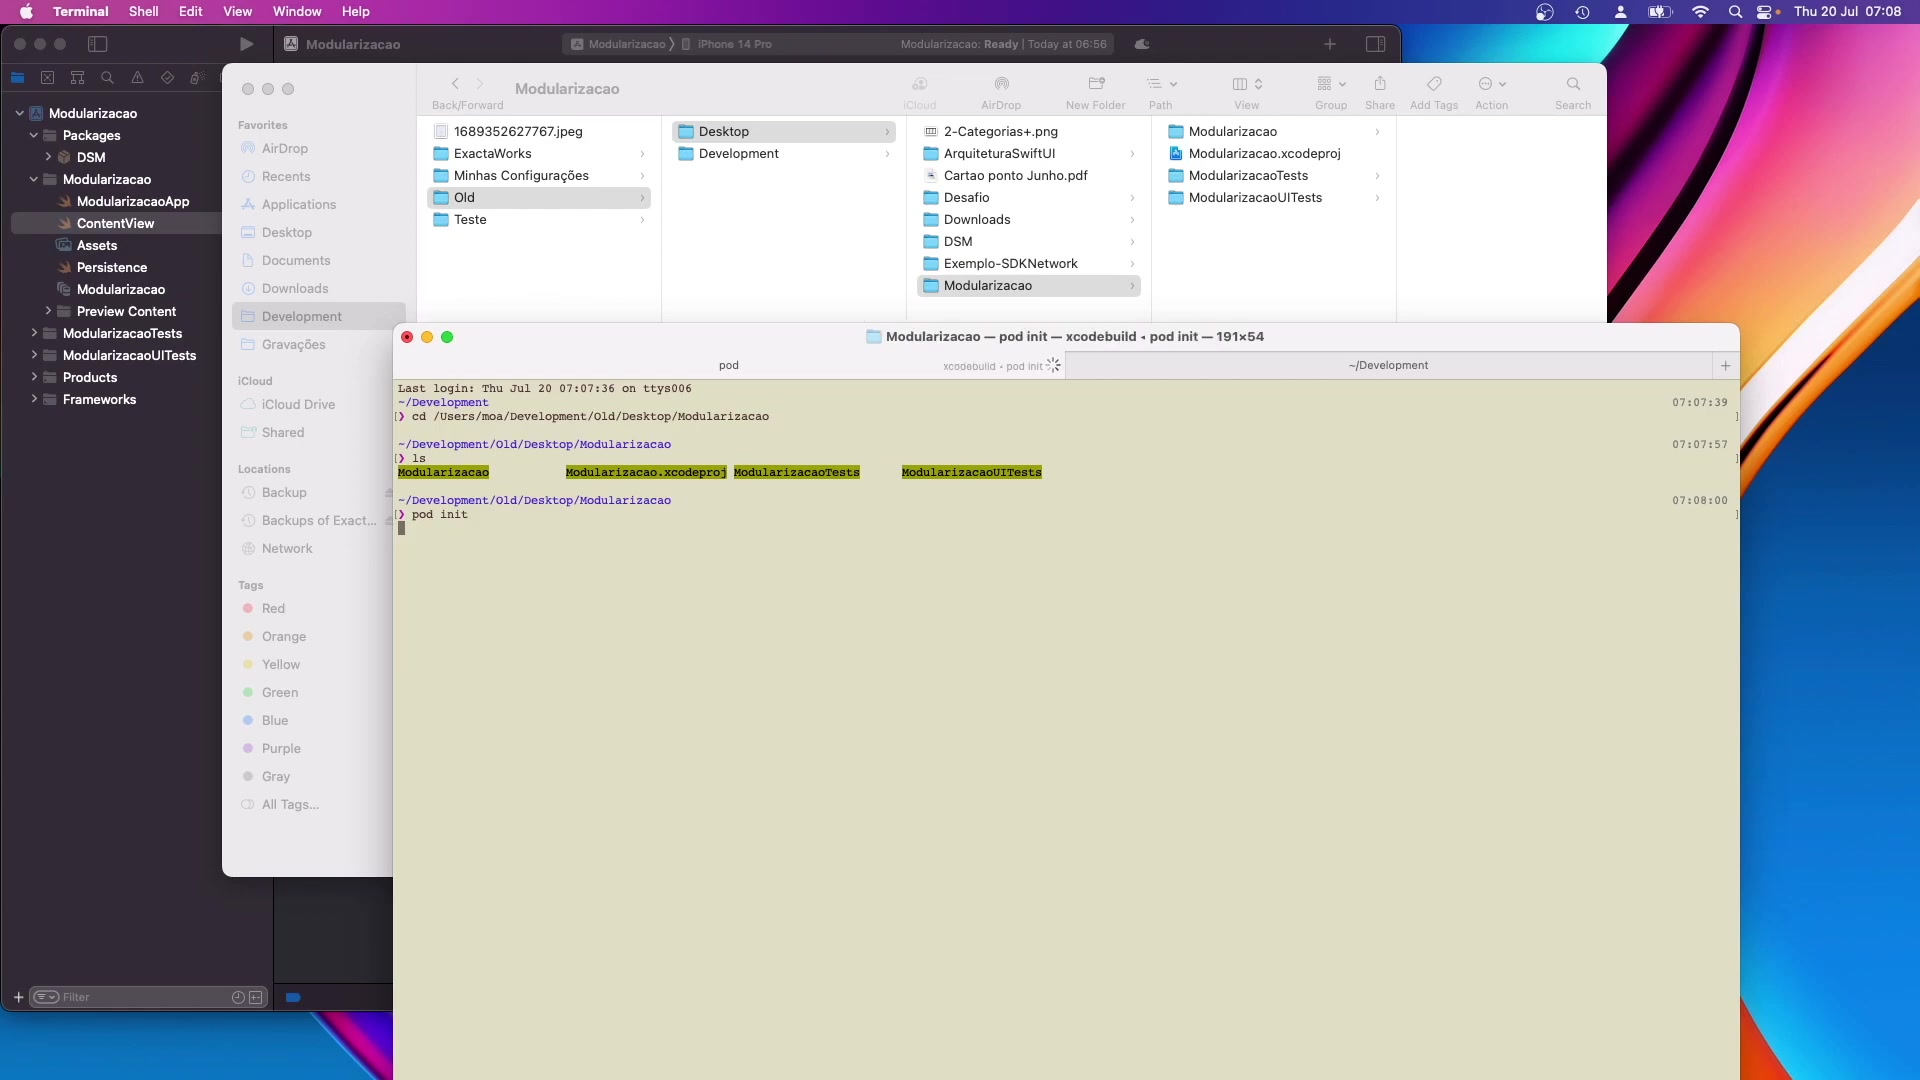
- The
sudocommand is necessary to grant administrative privileges for the installation. - If you encounter any permission issues, you might need to configure your Ruby environment correctly.
- The
- Verify Installation: After the installation, verify that CocoaPods is installed correctly by running:
pod --version
This command displays the installed version of CocoaPods. If the version is displayed, CocoaPods is successfully installed. Ensure you have the latest version to get the most updated feature and patches. To update CocoaPods, run the following command in the terminal: sudo gem update cocoapods
After you have successfully installed CocoaPods, you're ready to integrate it into your iOS projects.
Setting Up CocoaPods in Your iOS Project
Now that CocoaPods is installed, let's set it up in your iOS project. This involves creating a Podfile and installing the dependencies.
-
Navigate to Project Directory: In Terminal, navigate to the root directory of your iOS project. This is the directory containing your
.xcodeprojfile.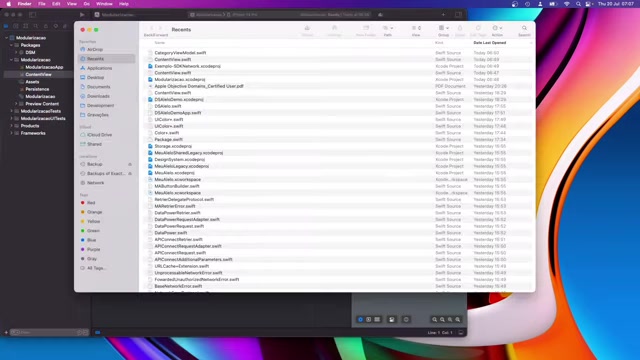
- Use the
cdcommand followed by the path to your project directory (e.g.,cd /Users/yourusername/Documents/YourProject).
- Use the
-
Initialize CocoaPods: Run the following command to initialize CocoaPods in your project:
pod init- This command creates a Podfile in your project directory. The Podfile is a text file that specifies the dependencies for your project.
- Open the Podfile: Open the Podfile using a text editor such as TextEdit or a code editor like Xcode. You'll find it in your project directory.
- Add Dependencies: Add your project's dependencies to the Podfile. Each dependency is specified using the
podkeyword, followed by the name of the library and optionally, its version. Below is a demonstration for you:platform :ios, '13.0'
target 'YourProject' do use_frameworks! pod 'Alamofire' pod 'SwiftyJSON', '~> 5.0' end





Most people like







































Report
Please select a reason for reporting
- 13 Reasons to Switch from Snapchat to Text Messaging
- 7 Powerful Speech to Text Apps to Boost Productivity
- 10 Best Speech to Text Tools for Effortless Transcription
- 13 Free Tools to Easily Transcribe Audio to Text
- 15 Surprising Ways Google's Speech-to-Text Boosts Productivity
- 7 Best Free Online Audio to Text Transcription Tools
- 9 Tips to Transcribe Speech to Text Faster and Better
- 13 Best Speech to Text Software for Windows 10 in 2023
- 7 Tips for Choosing the Best Transcriber for Audio to Text
- 11 Reasons Why Dragon Speech-to-Text Apps are Game-Changers
- 6 Secrets to Enhance Your Speech to Text Transcription
- 6 Brilliant Ways to Boost Productivity with Talk-to-Text on Your MacBook
- 6 Ways Transcription Software Converts Audio to Text
- 8 Tips to Transcribe Speech to Text Like a Pro
- 6 Reasons IBM Watson Speech to Text is a Game-Changer
- 14 Powerful Ways Talk-to-Text Improves Your Workflow
- 12 Top Windows Speech-to-Text Software for Efficient Transcription
- 12 Game-Changing Benefits of Apple's Speech to Text Technology
- 9 Powerful Use Cases for AWS Speech to Text Technology
- 10 Easy Steps to Transcribe YouTube Videos to Text
- transcription audio en texte
- online audio transcription
- free audio file transcription
- free ai audio transcription
- audio transcription service
- audio transcription online free
- audio transcription free online
- audio to transcription software
- audio and transcript
- ai audio transcription free
- voice recording to text converter
- translate voice recording to text
- record voice to text
- audio recording to text converter
- voice recording and transcription
- chatgpt voice to text
- gmail voice to text
- speech to text reader
- speech to text ai free
- speech to talk
- Meshy AI: How to Create 3D Models from Text and Images
- How SEO and Marketing Dashboards Empower Agencies to Drive Results
- How to Use AI Tools to Find Internal Linking Opportunities Across a Business Website
- Discover Your Perfect Haircut with AI Hairstyle Apps
- Free Reputation Calculator Tools: How They're Adapting to Score AI Visibility, Not Just Rankings
- Design Professional Flyers for Free on Your Phone
- Best Free Flyer Maker Apps for Android: Design Like a Pro
- How to Know If Your Business Is Ready for an AI Customer Service Agent
- Revolutionizing Storytelling: From Novels to Screenplays with AI
- Create Engaging Animated Explainer Videos with a Free AI Tool
- Meshy AI: How to Create 3D Models from Text and Images
- ASOMobile Helps Teams Benchmark App Store Screenshots Against Competitors
- How to Match LMS Software With Your Organization's Training Plan
- Revolutionizing Email Marketing Agency with AI
- How to Convert BTC to HNT
- Unleashing the Power of AI: Cognizant's Roadmap for Transformation
- Frame to Video Review: A Practical Look at Turning Two Still Frames Into Motion
- NVIDIA NIM: Revolutionizing Supply Chain Data Analysis with AI
- Top AI Tools That Help Brands Stand Out Offline (Not Just Online)
- Top 5 Cold Email Software: Maximize Your Outreach in 2025

Copyright ©2026 toolify