































Table of Contents
- Key Points
- Getting Started with Your Google Calendar AI Agent
- Configuring Google Cloud Console and Enabling Calendar API
- Building the Google Calendar AI Agent with Python
- FAQ
- Related Questions



Getting Started with Your Google Calendar AI Agent
Why Build a Google Calendar AI Agent?
Creating a Google Calendar AI agent offers numerous benefits for both personal and professional use. By automating routine tasks, you free up valuable time to focus on more important activities. The AI agent can understand natural language commands, making scheduling and managing your calendar more intuitive. It can also proactively provide summaries and reminders, ensuring you stay on top of your commitments. In essence, it transforms your calendar from a simple Scheduling tool into a smart, proactive assistant.
Tools and Technologies You'll Need
To embark on this exciting project, you'll need a few key tools and technologies. Let's break them down:
- Python: A versatile and widely-used programming language perfect for scripting and automation.
- Google Calendar API: Allows you to programmatically interact with Google Calendar, enabling automated event scheduling and management.
- OpenAI API: Provides the AI capabilities to understand and interpret natural language commands for calendar actions.
- Streamlit: An open-source Python framework that simplifies the creation of web applications, offering an intuitive interface for your AI agent.
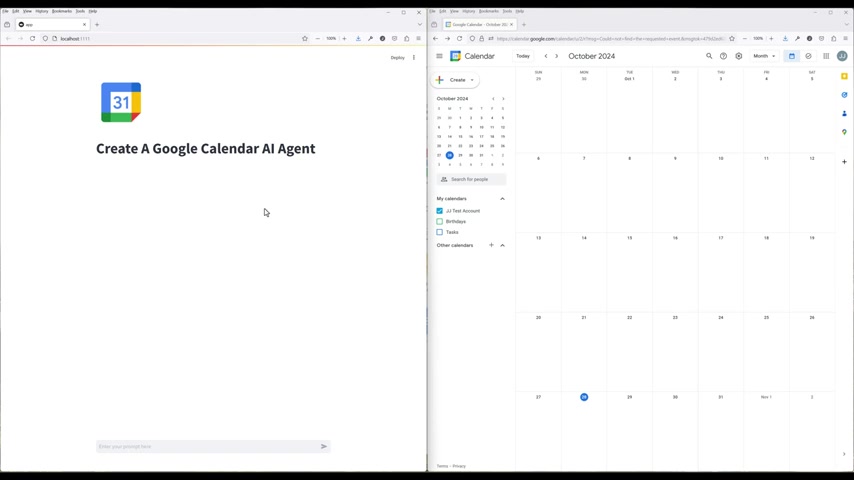
This allows users to interact with the Google Calendar agent through a conversational interface.
- Virtual Environment (venv): Isolates project dependencies, ensuring compatibility and preventing conflicts.
- Google Cloud Console: Used to enable the Google Calendar API and set up the necessary credentials.
These components will work together to bring your AI-powered calendar assistant to life.
Setting Up Your Python Development Environment
Before diving into coding, it’s crucial to set up your Python development environment correctly. This involves creating a virtual environment and installing the required packages. By doing so, you ensure that your project dependencies are managed efficiently and don’t interfere with other Python projects on your system.
-
Create a Virtual Environment: Open your terminal and navigate to your project directory. Use the following command to create a virtual environment:
python -m venv google-calendar-agent-Tutorial -
Activate the Virtual Environment: Depending on your operating system, use the appropriate command:
-
Windows:
.\google-calendar-agent-tutorial\Scripts\activate -
macOS/Linux:
source google-calendar-agent-tutorial/bin/activate
You should see the environment name in parentheses at the start of your command line, indicating that the virtual environment is active.
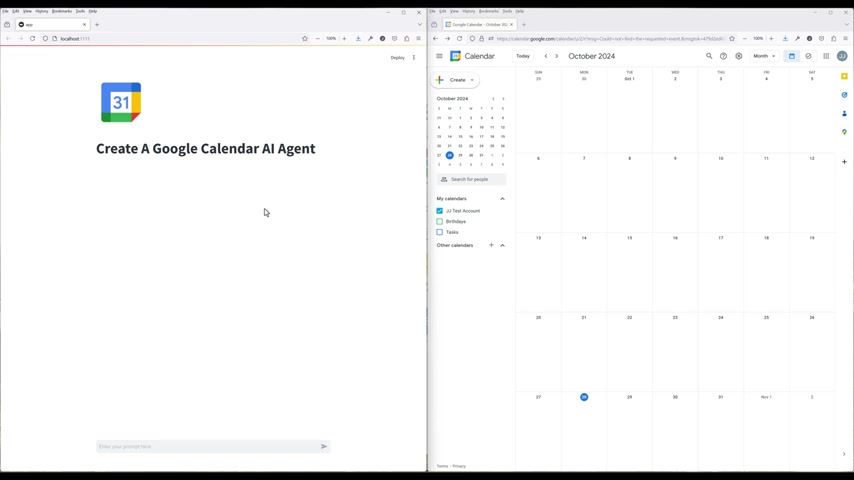
Activating the virtual environment.
-
-
Install Required Packages: Install the necessary Python packages using pip:
pip install google-api-python-client google-auth-httplib2 google-auth-oauthlib
pip install git+https://github.com/openai/swarm.git
pip install streamlit python-dotenv
These commands install the Google API client, authentication libraries, OpenAI swarm Package, Streamlit for the UI, and python-dotenv for managing environment variables.
With your development environment set up, you're ready to proceed with enabling the Google Calendar API and configuring your Google Cloud project.
Configuring Google Cloud Console and Enabling Calendar API
Creating a Google Cloud Project
To use the Google Calendar API, you need to set up a project in the Google Cloud Console. This involves creating a new project and enabling the Calendar API for that project.
- Navigate to Google Cloud Console: Open your web browser and go to https://console.cloud.google.com.
- Create a New Project: If you haven't used Google Cloud before, you may need to sign up and enter your payment details. Don't worry; the Google Calendar API has generous free usage limits, so you likely won't incur any charges. Click on the project selector dropdown at the top of the screen and select 'New Project'.
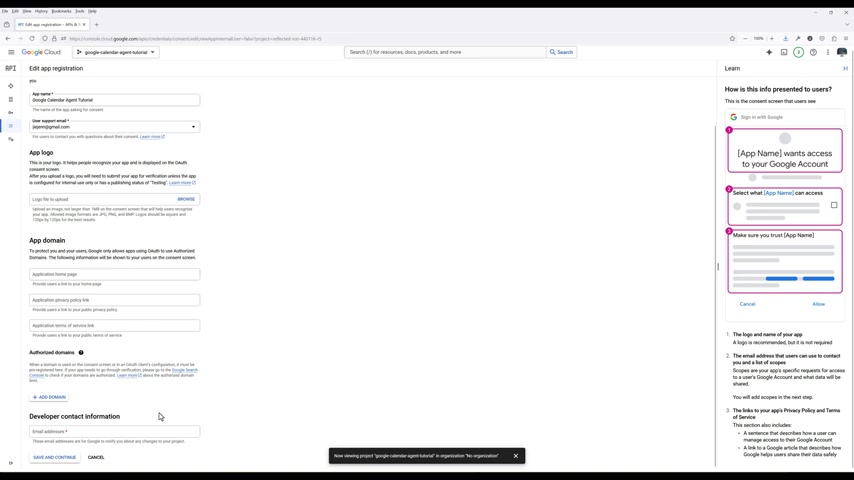
Access Google Cloud Console.
- Name Your Project: Give your project a descriptive name, such as 'Google Calendar Agent Tutorial', and click 'Create'. This may take a few moments to process. Once the project is created, click 'Select Project'.
With your project set up, you can now enable the Google Calendar API.
Enabling the Google Calendar API
Now that you have a project created, enable the Google Calendar API to allow your Python script to interact with Google Calendar.
- Navigate to APIs & Services: From the project dashboard, go to the left sidebar and find 'APIs & Services'. Click on 'Library'. This will open the full list of available APIs.
Access API library.
- Search for Google Calendar API: In the search bar, type 'Google Calendar API' and select it from the results.
- Enable the API: Click the 'Enable' button. This activates the Google Calendar API for your project. Enable the Google Calendar API.
Once enabled, you'll need to set up an OAuth consent screen to manage how your application requests access to user data.
Setting Up the OAuth Consent Screen
An OAuth consent screen is the interface users see when your app requests access to their Google Calendar data. Setting this up correctly is essential for user trust and data privacy.
- Navigate to OAuth Consent Screen: In the navigation menu, under 'APIs & Services', click 'OAuth Consent Screen'.
- Select User Type: Choose 'External' as the user type if your app will be used by people outside your organization. This makes your app accessible to any Google account user once it's fully verified.
Select user type to external.
- Fill Out Required Information: Provide the necessary details, such as your app's name, support email, and developer contact information. Then, click 'Save and Continue'.
- Skip Scopes: In the scopes section, click 'Save and Continue' to skip this step. Scopes will be managed directly in the script.
- Add Test Users: In the test users section, add the email addresses of the Google accounts you want to use for testing. Only these test users will be able to authorize your app until it's verified by Google. Adding test users.
- Review and Complete: Review the consent screen and ensure everything is correct. Then, click 'Back to Dashboard'.
With the OAuth consent screen configured, you can now create the OAuth client credentials.
Creating OAuth Client Credentials
OAuth client credentials are used to authenticate your application and authorize access to Google Calendar data. Here's how to create them:
- Navigate to Credentials: Under 'APIs & Services', click 'Credentials'.
- Create Credentials: On the top of the screen, click '+ Create Credentials' and choose 'OAuth client ID'.
- Select Application Type: Choose 'Desktop app' as the application type. Select the desktop app. Then, give it a name and click 'Create'.
- Download JSON: Click 'Download JSON' to save the client credential file as
client_secret.jsonin your project folder. This file contains everything your app needs to authenticate.
Important: Keep this client_secret.json file secure, as it provides access to your application's credentials. Click download json.
With all the necessary components set up in Google Cloud Console, you can now move on to the app development stage.





Most people like




























Report
Please select a reason for reporting
- 13 Reasons to Switch from Snapchat to Text Messaging
- 7 Powerful Speech to Text Apps to Boost Productivity
- 10 Best Speech to Text Tools for Effortless Transcription
- 13 Free Tools to Easily Transcribe Audio to Text
- 15 Surprising Ways Google's Speech-to-Text Boosts Productivity
- 7 Best Free Online Audio to Text Transcription Tools
- 9 Tips to Transcribe Speech to Text Faster and Better
- 13 Best Speech to Text Software for Windows 10 in 2023
- 7 Tips for Choosing the Best Transcriber for Audio to Text
- 11 Reasons Why Dragon Speech-to-Text Apps are Game-Changers
- 6 Secrets to Enhance Your Speech to Text Transcription
- 6 Brilliant Ways to Boost Productivity with Talk-to-Text on Your MacBook
- 6 Ways Transcription Software Converts Audio to Text
- 8 Tips to Transcribe Speech to Text Like a Pro
- 6 Reasons IBM Watson Speech to Text is a Game-Changer
- 14 Powerful Ways Talk-to-Text Improves Your Workflow
- 12 Top Windows Speech-to-Text Software for Efficient Transcription
- 12 Game-Changing Benefits of Apple's Speech to Text Technology
- 9 Powerful Use Cases for AWS Speech to Text Technology
- 10 Easy Steps to Transcribe YouTube Videos to Text
- transcription audio en texte
- online audio transcription
- free audio file transcription
- free ai audio transcription
- audio transcription service
- audio transcription online free
- audio transcription free online
- audio to transcription software
- audio and transcript
- ai audio transcription free
- voice recording to text converter
- translate voice recording to text
- record voice to text
- audio recording to text converter
- voice recording and transcription
- chatgpt voice to text
- gmail voice to text
- speech to text reader
- speech to text ai free
- speech to talk
- Create Engaging Animated Explainer Videos with a Free AI Tool
- Stop Multi-Subscribing: Benchmark Top AI Visual Models in One Canvas
- Best Seedance 2.5 API Provider: Every Price on the Market, Checked at Source
- AI OnlyFans: How to Generate $30,000/Month (Legally)
- Transform Your Script into an Engaging Video with AI Video Maker!
- AI Marketing Automation: A Comprehensive Guide for Small Businesses
- Midjourney Alternative for Anime Art Creators: Why PixAI May Be Better for Character Workflows
- 10 Things Most People Get Wrong About AI Image Search
- AI Girlfriend Apps: Top Choices Redefining Relationships 2025
- How to Reduce Quoting Errors in Salesforce with AI-Assisted Quote Creation
- AI Resume Builders: EnhanceCV, ResumeNerd AI, & Teal Compared
- ResumeAI: Crafting ATS-Optimized Resumes with AI
- AI in Resume Writing: A New Era for Job Seekers
- AI Resume Tools: Streamline Your Job Search and Land Your Dream Role
- AI Resume Optimization: The Right Way to Land Interviews
- Crafting a Killer Resume with AI: A Step-by-Step Guide
- Crafting a Winning Resume: AI Tools and Expert Tips
- AI Job Search: Level Up Your Career with AI Automation
- Empower Your Career Journey: Dynamic Resumes with AI
- AI Resume Builder: Create Professional Resumes Effortlessly

Copyright ©2026 toolify