























Create a Minecraft Spawn Plugin: Spigot Tutorial for Beginners

Updated on Oct 04,2025








Table of Contents
- Key Points
- Setting Up Your Development Environment
- Coding the Spawn Plugin
- Using the Spawn Plugin
- Pros and Cons
- FAQ
- Related Questions


Setting Up Your Development Environment
Prerequisites
Before diving into the code, make sure you have the following prerequisites in place:
- Java Development Kit (JDK): Ensure you have a compatible version of the JDK installed (Java 8 or higher is recommended).
- Integrated Development Environment (IDE): Use an IDE like IntelliJ IDEA or Eclipse for writing and managing your code. IntelliJ IDEA is shown in this Tutorial .
- Spigot API: Download the Spigot API JAR file, which provides the necessary libraries for interacting with the Minecraft server.
- Maven or Gradle: A build automation tool like Maven or Gradle to manage dependencies and build your plugin.
Creating a New Spigot Plugin Project
To start, create a new project in your IDE. Using Maven is highly recommended as it simplifies dependency management. Here’s how you can set up a Maven project:
- Create a Maven Project: In IntelliJ IDEA, go to File > New > Project. Select Maven from the options.
-
Configure Project Settings:
-
GroupId:
me.yourname(e.g.,me.kodysimpson)
-
ArtifactId:
SpawnPlugin -
Version:
1.0-SNAPSHOT
-
- Add Spigot API Dependency: Add the Spigot API as a dependency in your
pom.xmlfile. You’ll need to configure a system-scoped dependency since the Spigot API isn’t available in Maven’s central repository. Here’s the dependency block:
<dependency>
    <groupId>org.spigotmc</groupId>
    <artifactId>spigot-api</artifactId>
    <version>1.17.1-R0.1-SNAPSHOT</version>
    <scope>system</scope>
    <systemPath>${basedir}/lib/spigot-api-1.17.1-R0.1-SNAPSHOT.jar</systemPath>
</dependency>
Ensure you place the Spigot API JAR file in the lib directory within your project and adjust the systemPath accordingly.
- Create Plugin Class: Create a new Java class that extends
JavaPlugin. This class will serve as the main entry point for your plugin. The name of the Java class isSpawnPlugin.
Coding the Spawn Plugin
Main Plugin Class: SpawnPlugin.java
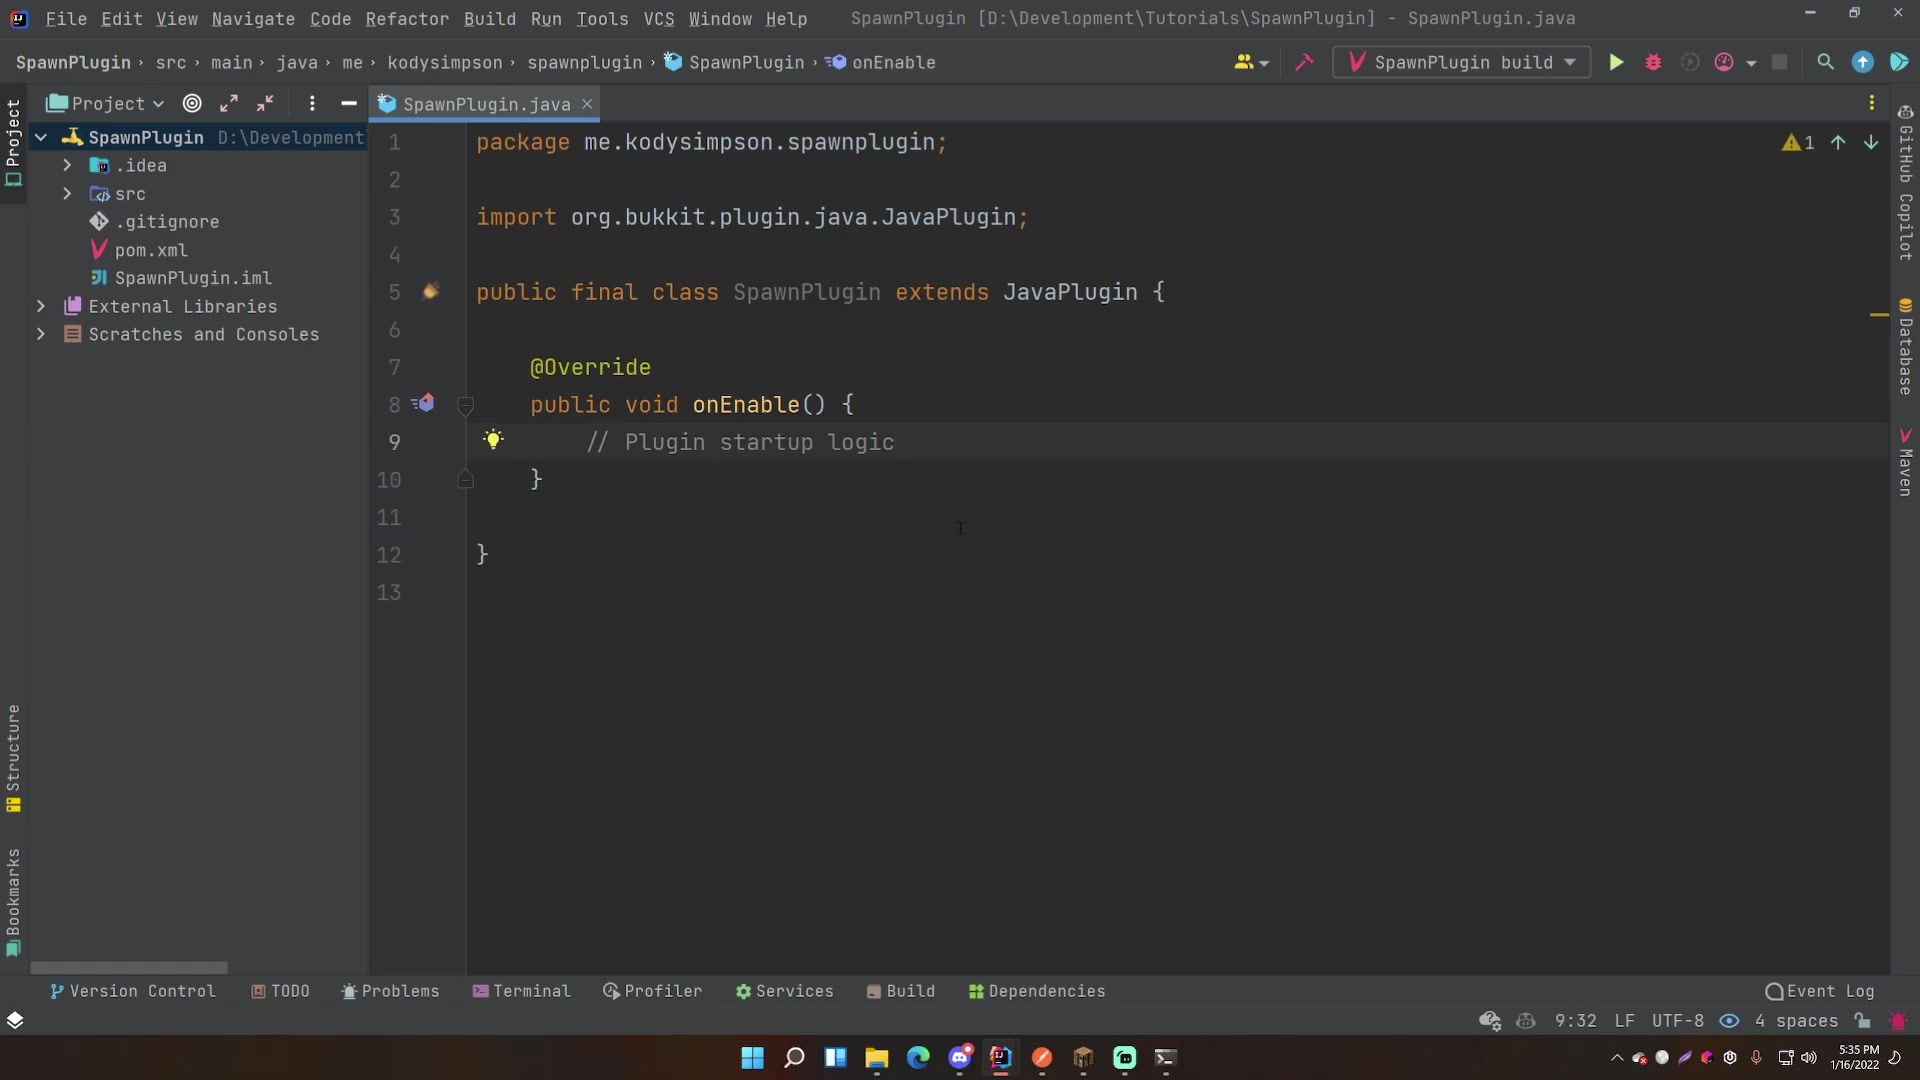
This is where the plugin's core logic resides. The onEnable() method is called when the plugin is enabled, and the onDisable() method is called when the plugin is disabled. It's essential for setting up the plugin's components, like registering commands and listeners, and cleaning up resources when the server shuts down or the plugin is disabled.
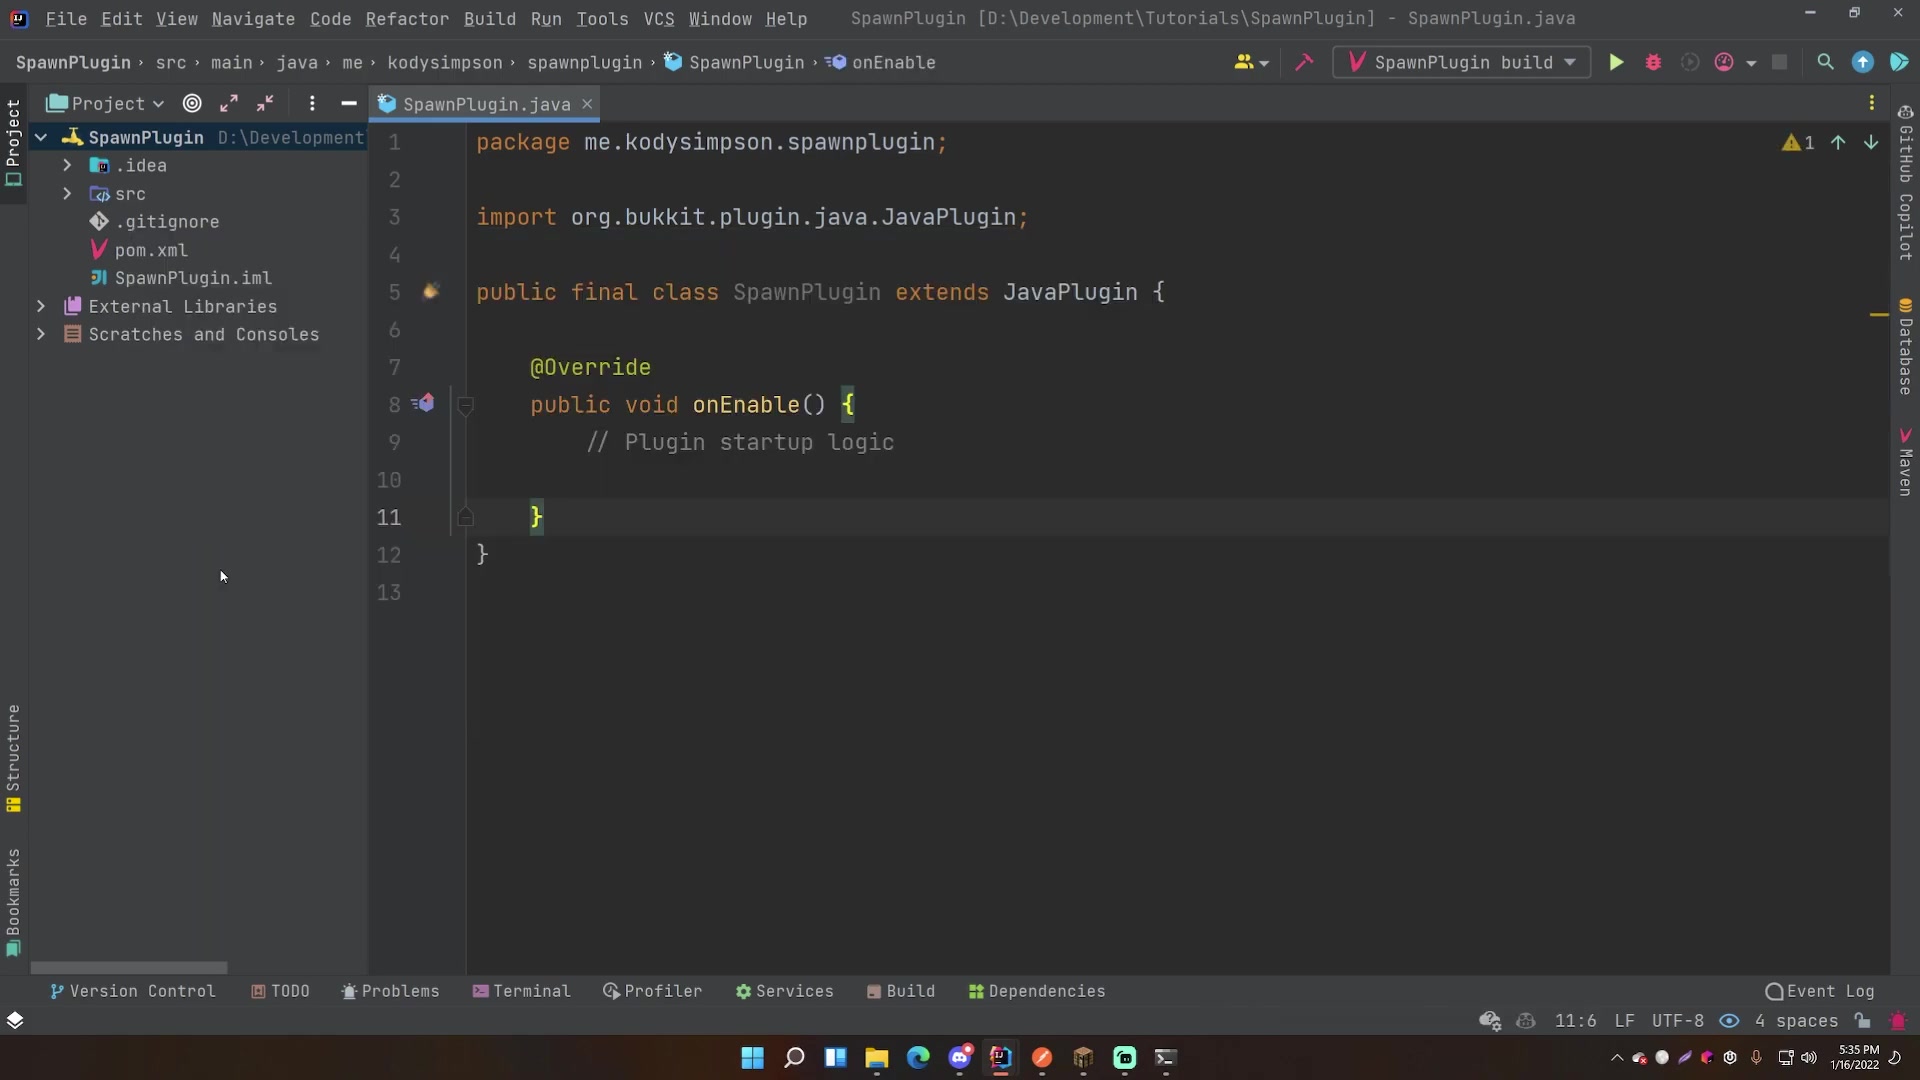
package me.kodysimpson.spawnplugin;

import org.bukkit.plugin.java.JavaPlugin;

public final class SpawnPlugin extends JavaPlugin {

    @Override
    public void onEnable() {
        // Plugin startup logic
    }

    @Override
    public void onDisable() {
        // Plugin shutdown logic
    }
}
It's important to handle configuration files, listeners and commands in the main Plugin Class. The plugin manifest is also added here.
Creating the SetSpawn Command
To create the /setspawn command, you'll need to:
- Create a Command Executor Class: Create a new class called
SetSpawnCommandthat implementsCommandExecutor. This class will handle the logic for the/setspawncommand.
package me.kodysimpson.spawnplugin.commands;

import org.bukkit.command.Command;
import org.bukkit.command.CommandExecutor;
import org.bukkit.command.CommandSender;
import org.bukkit.entity.Player;
import org.bukkit.Location;
import me.kodysimpson.spawnplugin.SpawnPlugin;

public class SetSpawnCommand implements CommandExecutor {

    private final SpawnPlugin plugin;

    public SetSpawnCommand(SpawnPlugin plugin) {
        this.plugin = plugin;
    }

    @Override
    public boolean onCommand(CommandSender sender, Command command, String label, String[] args) {
        if (sender instanceof Player) {
            Player player = (Player) sender;
            Location location = player.getLocation();

            // Set the spawn location in the config
            plugin.getConfig().set("spawn", location);
            plugin.saveConfig();

            player.sendMessage("Spawn location set!");
        } else {
            sender.sendMessage("You must be a player to use this command!");
        }
        return true;
    }
}
- Register the Command: Register the
SetSpawnCommandin youronEnable()method of the main plugin class (SpawnPlugin). ThegetCommand()method allows you to assign the logic you created to the proper command. This also allows you to specify the name of the command.
@Override
public void onEnable() {
    // Plugin startup logic
    getCommand("setspawn").setExecutor(new SetSpawnCommand(this));

    //config.yml
    getConfig().options().copyDefaults(true);
    saveDefaultConfig();
}
The plugin class is also passed to the SetSpawnCommand class to allow access to plugin resources.
Storing the Spawn Location in config.yml
To persist the spawn location, you'll store it in the config.yml file. This file allows you to save various plugin settings and retrieve them later.
- Setting up config.yml: The first step is to set up the default setup by using the commands:
getConfig().options().copyDefaults(true);saveDefaultConfig();
- Setting the Coordinates: Use the
getConfig().set()method to store the location. Make sure that the plugin knows what location you are wanting to pull from. This will be "spawn", which is passed into the location. Here's how:
// Set the spawn location in the config
plugin.getConfig().set("spawn", location);
plugin.saveConfig();- Saving the Config: After setting the location, save the configuration using
saveConfig().
Implementing the Spawn Command
Now, let's implement the /spawn command. This command will teleport the player to the previously set spawn location.
- Create a New Class: Create another class called
SpawnCommandthat implementsCommandExecutor:
package me.kodysimpson.spawnplugin.commands;

import org.bukkit.command.Command;
import org.bukkit.command.CommandExecutor;
import org.bukkit.command.CommandSender;
import org.bukkit.entity.Player;
import org.bukkit.Location;
import me.kodysimpson.spawnplugin.SpawnPlugin;

public class SpawnCommand implements CommandExecutor {

    private final SpawnPlugin plugin;

    public SpawnCommand(SpawnPlugin plugin) {
        this.plugin = plugin;
    }

    @Override
    public boolean onCommand(CommandSender sender, Command command, String label, String[] args) {
        if (sender instanceof Player) {
            Player player = (Player) sender;

            // Get the spawn location from the config
            Location location = (Location) plugin.getConfig().get("spawn");

            if (location != null) {
                player.teleport(location);
                player.sendMessage("Teleported to spawn!");
            } else {
                player.sendMessage("Spawn location is not set!");
            }
        } else {
            sender.sendMessage("You must be a player to use this command!");
        }
        return true;
    }
}- Register the Command: Register the
SpawnCommandin theonEnable()method of your main plugin class:
@Override
public void onEnable() {
    // Plugin startup logic
    getCommand("setspawn").setExecutor(new SetSpawnCommand(this));
    getCommand("spawn").setExecutor(new SpawnCommand(this));

    //config.yml
    getConfig().options().copyDefaults(true);
    saveDefaultConfig();
}
Teleporting Players on Respawn and First Join
To automatically teleport players to the spawn location when they respawn or join the server for the first time, you need to implement event listeners.
- Create an Event Listener: Create a new class called
SpawnListenerthat implementsListener:
package me.kodysimpson.spawnplugin.listeners;

import org.bukkit.event.EventHandler;
import org.bukkit.event.Listener;
import org.bukkit.event.player.PlayerRespawnEvent;
import org.bukkit.event.player.PlayerJoinEvent;
import org.bukkit.Location;
import org.bukkit.entity.Player;
import me.kodysimpson.spawnplugin.SpawnPlugin;

public class SpawnListener implements Listener {

    private final SpawnPlugin plugin;

    public SpawnListener(SpawnPlugin plugin) {
        this.plugin = plugin;
    }

    @EventHandler
    public void onPlayerRespawn(PlayerRespawnEvent event) {
        Player player = event.getPlayer();
        Location location = (Location) plugin.getConfig().get("spawn");

        if (location != null) {
            player.teleport(location);
        }
    }

    @EventHandler
    public void onPlayerJoin(PlayerJoinEvent event){
        Player player = event.getPlayer();
        Location location = (Location) plugin.getConfig().get("spawn");

        if (location != null) {
            player.teleport(location);
        }
    }
}- Register the Listener: Register the
SpawnListenerin theonEnable()method of your main plugin class:
@Override
public void onEnable() {
    // Plugin startup logic
    getCommand("setspawn").setExecutor(new SetSpawnCommand(this));
    getCommand("spawn").setExecutor(new SpawnCommand(this));

    getServer().getPluginManager().registerEvents(new SpawnListener(this), this);

    //config.yml
    getConfig().options().copyDefaults(true);
    saveDefaultConfig();
}
This code registers two event handlers:
onPlayerRespawn(): Teleports the player to the spawn location when they respawn.onPlayerJoin(): Teleports the player to the spawn location when they first join the server.







Most people like


































Report
Please select a reason for reporting
- 13 Reasons to Switch from Snapchat to Text Messaging
- 7 Powerful Speech to Text Apps to Boost Productivity
- 10 Best Speech to Text Tools for Effortless Transcription
- 13 Free Tools to Easily Transcribe Audio to Text
- 15 Surprising Ways Google's Speech-to-Text Boosts Productivity
- 7 Best Free Online Audio to Text Transcription Tools
- 9 Tips to Transcribe Speech to Text Faster and Better
- 13 Best Speech to Text Software for Windows 10 in 2023
- 7 Tips for Choosing the Best Transcriber for Audio to Text
- 11 Reasons Why Dragon Speech-to-Text Apps are Game-Changers
- 6 Secrets to Enhance Your Speech to Text Transcription
- 6 Brilliant Ways to Boost Productivity with Talk-to-Text on Your MacBook
- 6 Ways Transcription Software Converts Audio to Text
- 8 Tips to Transcribe Speech to Text Like a Pro
- 6 Reasons IBM Watson Speech to Text is a Game-Changer
- 14 Powerful Ways Talk-to-Text Improves Your Workflow
- 12 Top Windows Speech-to-Text Software for Efficient Transcription
- 12 Game-Changing Benefits of Apple's Speech to Text Technology
- 9 Powerful Use Cases for AWS Speech to Text Technology
- 10 Easy Steps to Transcribe YouTube Videos to Text
- transcription audio en texte
- online audio transcription
- free audio file transcription
- free ai audio transcription
- audio transcription service
- audio transcription online free
- audio transcription free online
- audio to transcription software
- audio and transcript
- ai audio transcription free
- voice recording to text converter
- translate voice recording to text
- record voice to text
- audio recording to text converter
- voice recording and transcription
- chatgpt voice to text
- gmail voice to text
- speech to text reader
- speech to text ai free
- speech to talk
- How SEO and Marketing Dashboards Empower Agencies to Drive Results
- How to Use AI Tools to Find Internal Linking Opportunities Across a Business Website
- Discover Your Perfect Haircut with AI Hairstyle Apps
- Free Reputation Calculator Tools: How They're Adapting to Score AI Visibility, Not Just Rankings
- Design Professional Flyers for Free on Your Phone
- Best Free Flyer Maker Apps for Android: Design Like a Pro
- How to Know If Your Business Is Ready for an AI Customer Service Agent
- Revolutionizing Storytelling: From Novels to Screenplays with AI
- Create Engaging Animated Explainer Videos with a Free AI Tool
- Stop Multi-Subscribing: Benchmark Top AI Visual Models in One Canvas
- My Brand New Logo: AI-Powered Logo Design for Startups
- Create Stunning Logos with Free AI Logo Generator!
- AI Logo Maker: Design a Stunning Logo in Minutes
- Elevate Your Zoom Experience with Enhanced Name Tags by Warmly
- Top 5 AI Logo Makers in 2025: Design a Stunning Brand
- Creative Fabrica's AI Tools: Flow, Studio, and Font Generator
- Create Stunning Logos with Canva's Free AI Logo Generator
- Create Professional and Memorable Logos with LogoMaker.ai
- Design Your Own Font: A Step-by-Step Guide with Vectornator Pro
- AI Font Generator: Revolutionizing Typeface Design with AI

Copyright ©2026 toolify