































Table of Contents
- Key Points
- Getting Started with AI Image Generation
- Troubleshooting Common Issues
- Creating an AI Image Generator with Python and OpenAI
- OpenAI DALL-E Pricing
- Pros and Cons of Using OpenAI DALL-E for Image Generation
- Key Features of OpenAI's DALL-E
- Practical Applications of AI Image Generation
- Frequently Asked Questions
- Related Questions


Getting Started with AI Image Generation
What is AI Image Generation?
AI image generation leverages advanced machine-learning models, particularly generative adversarial networks (GANs) and transformers, to create images from textual descriptions. These models learn the complex relationships between words and visual elements, enabling them to Translate natural language prompts into coherent and aesthetically pleasing images. Platforms like OpenAI’s DALL-E have popularized this technology, making it accessible to a broad audience.
The process begins with a user providing a text prompt or description of the desired image. This Prompt is then fed into the AI model, which processes the text and generates an image that aligns with the given description. The AI model uses its learned Knowledge Base to fill in the details, creating a unique and often surprising visual representation. The power of AI image generation lies in its ability to create images that may not exist in the real world, opening up new possibilities for art, design, and creative expression. This capability is particularly useful for rapid prototyping, generating content for marketing campaigns, and visualizing abstract concepts. The technology continues to evolve, with ongoing research aimed at improving image quality, coherence, and control over the generation process. AI image generation is increasingly integrated into various applications, from entertainment and education to scientific research and industrial design.
Why Use Python and OpenAI for AI Image Generation?
Python is the language of choice for many data scientists and AI developers due to its simplicity, extensive libraries, and large community support. Integrating OpenAI's powerful AI models into Python is straightforward, allowing developers to rapidly prototype and deploy AI-driven applications.
OpenAI provides a suite of cutting-edge AI models through its API, including DALL-E for image generation. Using Python, you can easily access these models and integrate them into your workflows. The openai Python library simplifies the process of sending requests to the OpenAI API and handling the responses, making it an ideal choice for building AI image generation tools. Furthermore, Python's vast ecosystem of libraries such as NumPy, Pillow, and OpenCV offers additional capabilities for image processing, manipulation, and visualization. This combination of Python's flexibility and OpenAI's AI prowess enables developers to create sophisticated AI image generation solutions with ease.
Here’s a table highlighting the key advantages of using Python and OpenAI for AI image generation:
| Feature | Advantage |
|---|---|
| Python Language | Easy to learn, vast libraries, large community support |
| OpenAI API | Access to cutting-edge AI models like DALL-E |
openai Library |
Simplifies API interaction, request handling |
| Extensive Libraries | NumPy, Pillow, OpenCV for image processing and manipulation |
| Rapid Prototyping | Quickly build and deploy AI-driven applications |
| Flexibility | Adaptable to various use cases and custom solutions |
The combination of Python and OpenAI simplifies the development process, making AI image generation accessible to developers of all skill levels. This enables rapid innovation and the creation of diverse AI-powered visual content.
Creating an AI Image Generator with Python and OpenAI
Step 1: Setting Up Your Development Environment
Before diving into the code, it’s essential to set up your development environment. This involves installing Python, setting up a virtual environment, and installing the OpenAI Python library.
- Install Python: If you don't have Python installed, download the latest version from the official Python website. Ensure you select the option to add Python to your system's PATH during installation.
-
Create a Virtual Environment: A virtual environment isolates your project dependencies. To create one, open your terminal or command prompt and navigate to your project directory. Then, run the following command:
python -m venv venvThis command creates a virtual environment named
venv. -
Activate the Virtual Environment:
-
On Windows, run:
venv\Scripts\activate -
On macOS and Linux, run:
source venv/bin/activate
Activating the virtual environment changes your terminal prompt to indicate that the environment is active.
-
-
Install the OpenAI Library: With the virtual environment activated, install the OpenAI Python library using pip:
pip install openaiThis command downloads and installs the
openailibrary, along with its dependencies. This setup ensures that your project is isolated and has the necessary tools for working with the OpenAI API. Setting up the development environment correctly is crucial for a smooth development process and avoids conflicts with other Python projects on your system.
Step 2: Obtaining and Configuring Your OpenAI API Key
To use the OpenAI API, you'll need an API key. This key authenticates your requests and allows you to access OpenAI's AI models. Follow these steps to obtain and configure your API key:
- Create an OpenAI Account: If you don't have one, sign up for an account on the OpenAI website.
- Obtain Your API Key: After logging in, navigate to your API key dashboard. Here, you can create a new API key. Make sure to store this key securely, as it allows access to your OpenAI account.
-
Configure Your API Key in Python: In your Python script, you'll need to set the
openai.api_keyvariable to your API key. It's recommended to store your API key as an environment variable to avoid hardcoding it directly into your script. Here’s how:-
Set the Environment Variable:
-
On Windows, use the following command in the command prompt:
setx OPENAI_API_KEY "YOUR_API_KEY" -
On macOS and Linux, add the following line to your
.bashrcor.zshrcfile:export OPENAI_API_KEY="YOUR_API_KEY"
After setting the environment variable, restart your terminal or source the configuration file to apply the changes.
-
-
Access the API Key in Python: In your Python script, access the API key using the
osmodule:import openai import os openai.api_key = os.getenv("OPENAI_API_KEY")
-
By storing your API key as an environment variable, you enhance the security of your application and make it easier to manage your credentials. This practice is highly recommended for any project that uses the OpenAI API.
Step 3: Writing the Python Code for Image Generation
With the environment set up and the API key configured, you can now write the Python code to generate images using OpenAI's DALL-E model. This code involves importing the OpenAI library, creating a client, and sending a request to the DALL-E API.
Here's a basic Python script that generates an image from a text prompt:
from openai import OpenAI
import os

client = OpenAI(
    api_key=os.environ.get("OPENAI_API_KEY"),
)

user_input = input("You: ")

response = client.images.generate(
    model="dall-e-3",
    prompt=user_input,
    n=1,  # Number of images to generate
    size="1024x1024"  # Image size
)

image_url = response.data[0].url
print(image_url)
Explanation of the code:
- Import Libraries: Imports the
OpenAIlibrary and theosmodule for accessing environment variables. - Create OpenAI Client: Initializes the OpenAI client with your API key.
- Get User Input: Prompts the user to enter a text prompt for the image generation.
- Generate Image: Calls the
client.images.generatemethod with the following parameters:model: Specifies the DALL-E model to use (e.g.,dall-e-3).prompt: The text prompt for the image generation.n: The number of images to generate (default is 1).size: The size of the generated image (e.g.,1024x1024).
- Print Image URL: Extracts the URL of the generated image from the API response and prints it to the console. You can then open this URL in your web browser to view the image.
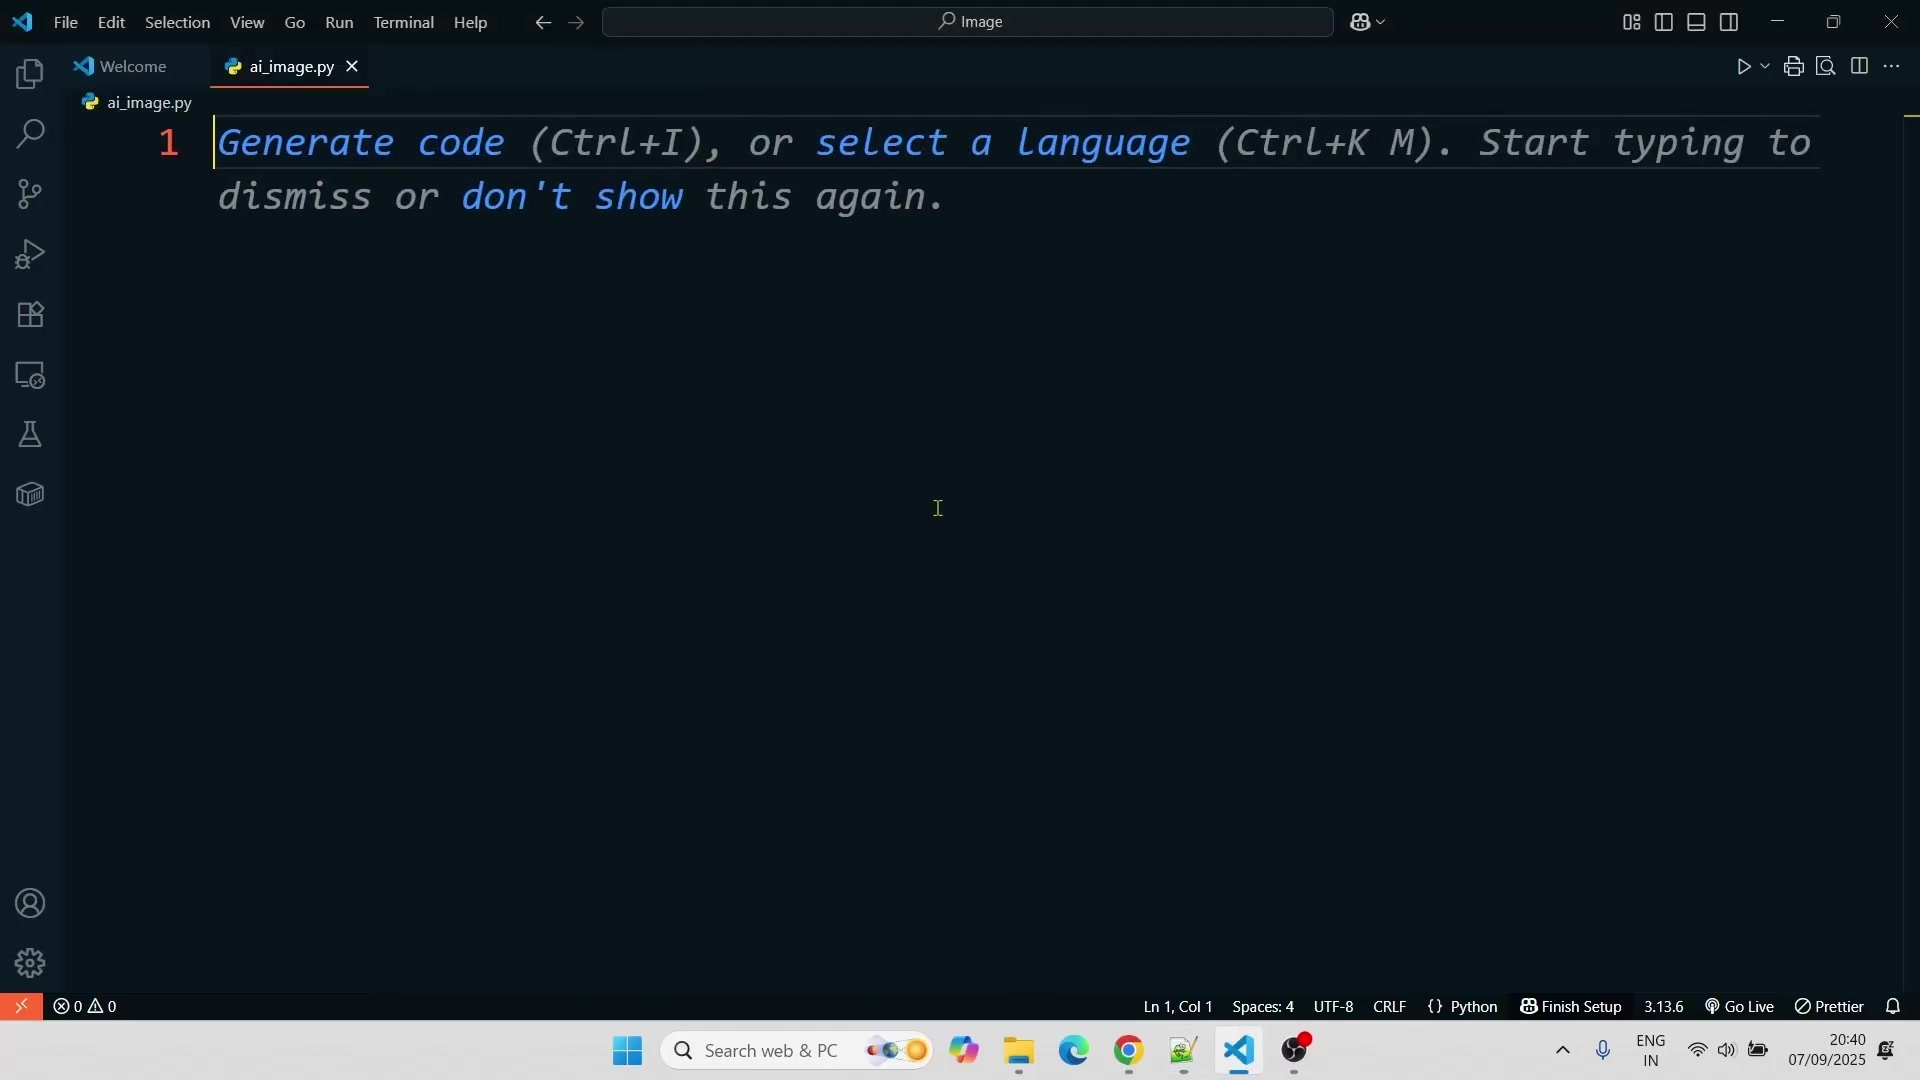
To run this code, save it to a file (e.g., ai_image.py) and execute it from your terminal using the command python ai_image.py. The script will prompt you to enter a text description, and upon submission, it will generate an image and print its URL.
Step 4: Running Your Code and Viewing the Generated Image
After writing the Python code, the next step is to run the script and view the generated image. This involves executing the Python script and opening the image URL in your web browser.
-
Execute the Python Script: Open your terminal or command prompt, navigate to the directory where you saved the
ai_image.pyfile, and run the script using the following command:python ai_image.py -
Enter a Text Prompt: The script will prompt you to enter a text description for the image you want to generate. For example, you can enter something like
a futuristic cityscape with flying cars. -
View the Generated Image: After submitting the text prompt, the script will send a request to the OpenAI API and generate an image based on your description. The script will then print the URL of the generated image to the console. Copy this URL and paste it into your web browser to view the image.
By following these steps, you can easily generate AI-driven images using Python and OpenAI. This process allows you to quickly create visual content based on your textual descriptions, opening up a world of creative possibilities. Remember to handle the API key securely and explore different text prompts to discover the full potential of AI image generation.







Most people like

































Report
Please select a reason for reporting
- 13 Reasons to Switch from Snapchat to Text Messaging
- 7 Powerful Speech to Text Apps to Boost Productivity
- 10 Best Speech to Text Tools for Effortless Transcription
- 13 Free Tools to Easily Transcribe Audio to Text
- 15 Surprising Ways Google's Speech-to-Text Boosts Productivity
- 7 Best Free Online Audio to Text Transcription Tools
- 9 Tips to Transcribe Speech to Text Faster and Better
- 13 Best Speech to Text Software for Windows 10 in 2023
- 7 Tips for Choosing the Best Transcriber for Audio to Text
- 11 Reasons Why Dragon Speech-to-Text Apps are Game-Changers
- 6 Secrets to Enhance Your Speech to Text Transcription
- 6 Brilliant Ways to Boost Productivity with Talk-to-Text on Your MacBook
- 6 Ways Transcription Software Converts Audio to Text
- 8 Tips to Transcribe Speech to Text Like a Pro
- 6 Reasons IBM Watson Speech to Text is a Game-Changer
- 14 Powerful Ways Talk-to-Text Improves Your Workflow
- 12 Top Windows Speech-to-Text Software for Efficient Transcription
- 12 Game-Changing Benefits of Apple's Speech to Text Technology
- 9 Powerful Use Cases for AWS Speech to Text Technology
- 10 Easy Steps to Transcribe YouTube Videos to Text
- transcription audio en texte
- online audio transcription
- free audio file transcription
- free ai audio transcription
- audio transcription service
- audio transcription online free
- audio transcription free online
- audio to transcription software
- audio and transcript
- ai audio transcription free
- voice recording to text converter
- translate voice recording to text
- record voice to text
- audio recording to text converter
- voice recording and transcription
- chatgpt voice to text
- gmail voice to text
- speech to text reader
- speech to text ai free
- speech to talk
- How SEO and Marketing Dashboards Empower Agencies to Drive Results
- How to Use AI Tools to Find Internal Linking Opportunities Across a Business Website
- Discover Your Perfect Haircut with AI Hairstyle Apps
- Free Reputation Calculator Tools: How They're Adapting to Score AI Visibility, Not Just Rankings
- Design Professional Flyers for Free on Your Phone
- Best Free Flyer Maker Apps for Android: Design Like a Pro
- How to Know If Your Business Is Ready for an AI Customer Service Agent
- Revolutionizing Storytelling: From Novels to Screenplays with AI
- Create Engaging Animated Explainer Videos with a Free AI Tool
- Stop Multi-Subscribing: Benchmark Top AI Visual Models in One Canvas
- Top 5 Cold Email Software: Maximize Your Outreach in 2025
- Magic School AI: Revolutionizing Quiz & Assessment Generation
- Create Your Own Email Bot and Automate Your Email Tasks
- Beyond Pure Prompts: Optimizing Production with 'Text With Reference' Generation
- Stop Using Boring TTS: My Honest Deep Dive Into VideoAI and the Hunt for the Perfect Custom Voices
- AI & Elections: Defending Democracy Against Misinformation
- Navigating Political Discourse: AI, Deepfakes, and Reality Checks
- Detecting Political Bias in News Articles: A Powerful AI Algorithm
- AI Bias Unveiled: Political Leanings in ChatGPT & Beyond
- Revolutionize Learning: Discover Quizzes AI for Engaging Interactive Quizzes

Copyright ©2026 toolify