































Table of Contents
- Key Points for Pixel Art Creation
- Getting Started with Pixel Art Visualizers
- Simplified Tracing for Beginners
- Step-by-Step Guide to Replicating a Walking Animation
- Pixel Art Benefits
- Frequently Asked Questions
- Further Pixel Art Exploration



Getting Started with Pixel Art Visualizers
Understanding Pixel Art's Appeal
Pixel Art, with its retro charm and nostalgic appeal, offers a unique aesthetic for visualizers and animations.
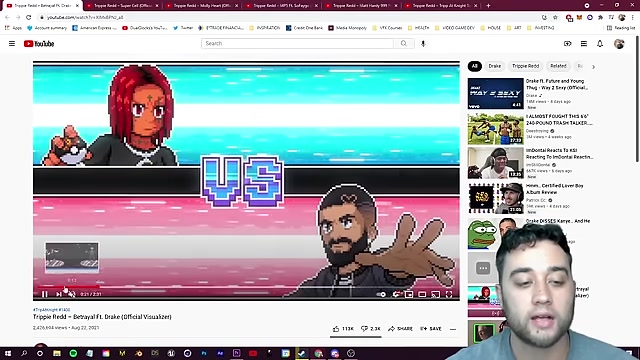
Inspired by artists like Trippie Redd, who frequently collaborates with pixel art creators, this style provides a fresh take on Music videos and promotional material. Unlike complex 3D rendering, pixel art allows even beginners to create compelling visual content with accessible tools and techniques. The beauty of pixel art lies in its simplicity and its ability to evoke feelings of nostalgia and creativity, and it's beginner friendly.
Essential Tools: Photoshop & After Effects
Adobe Photoshop is the primary tool for creating pixel art assets. It allows you to manipulate individual pixels, set precise colors, and create detailed sprites. The key is to work at a low resolution initially and then scale up later without anti-aliasing to maintain the sharp, pixelated look.
Adobe After Effects takes your static pixel art and brings it to life through animation. It allows you to create motion graphics, composite different elements, and add special effects. Together, Photoshop and After Effects provide a comprehensive toolkit for crafting pixel art visualizers, whether it's the walking man that the video creator made or it's your own creation.
Setting up Your Photoshop Canvas
Before diving into the design, setting up your canvas correctly is crucial. Since pixel art thrives on low resolution, begin with a small file size, such as 47x64 pixels. A small canvas will keep your project light and optimized for that retro, highly-pixelated look. Also, be sure to set the resolution to 72dpi for optimal display on screens.
To create the grid effect shown in the video Tutorial, navigate to View > Show > Grid. This provides visual guides for pixel placement. The grid is extremely useful for maintaining alignment and precision. Ensure the "Extras" option is also checked in the "View" menu to display the grid correctly.
Mastering the Pencil Tool and Color Palette
The pencil tool is your main brush for pixel art.
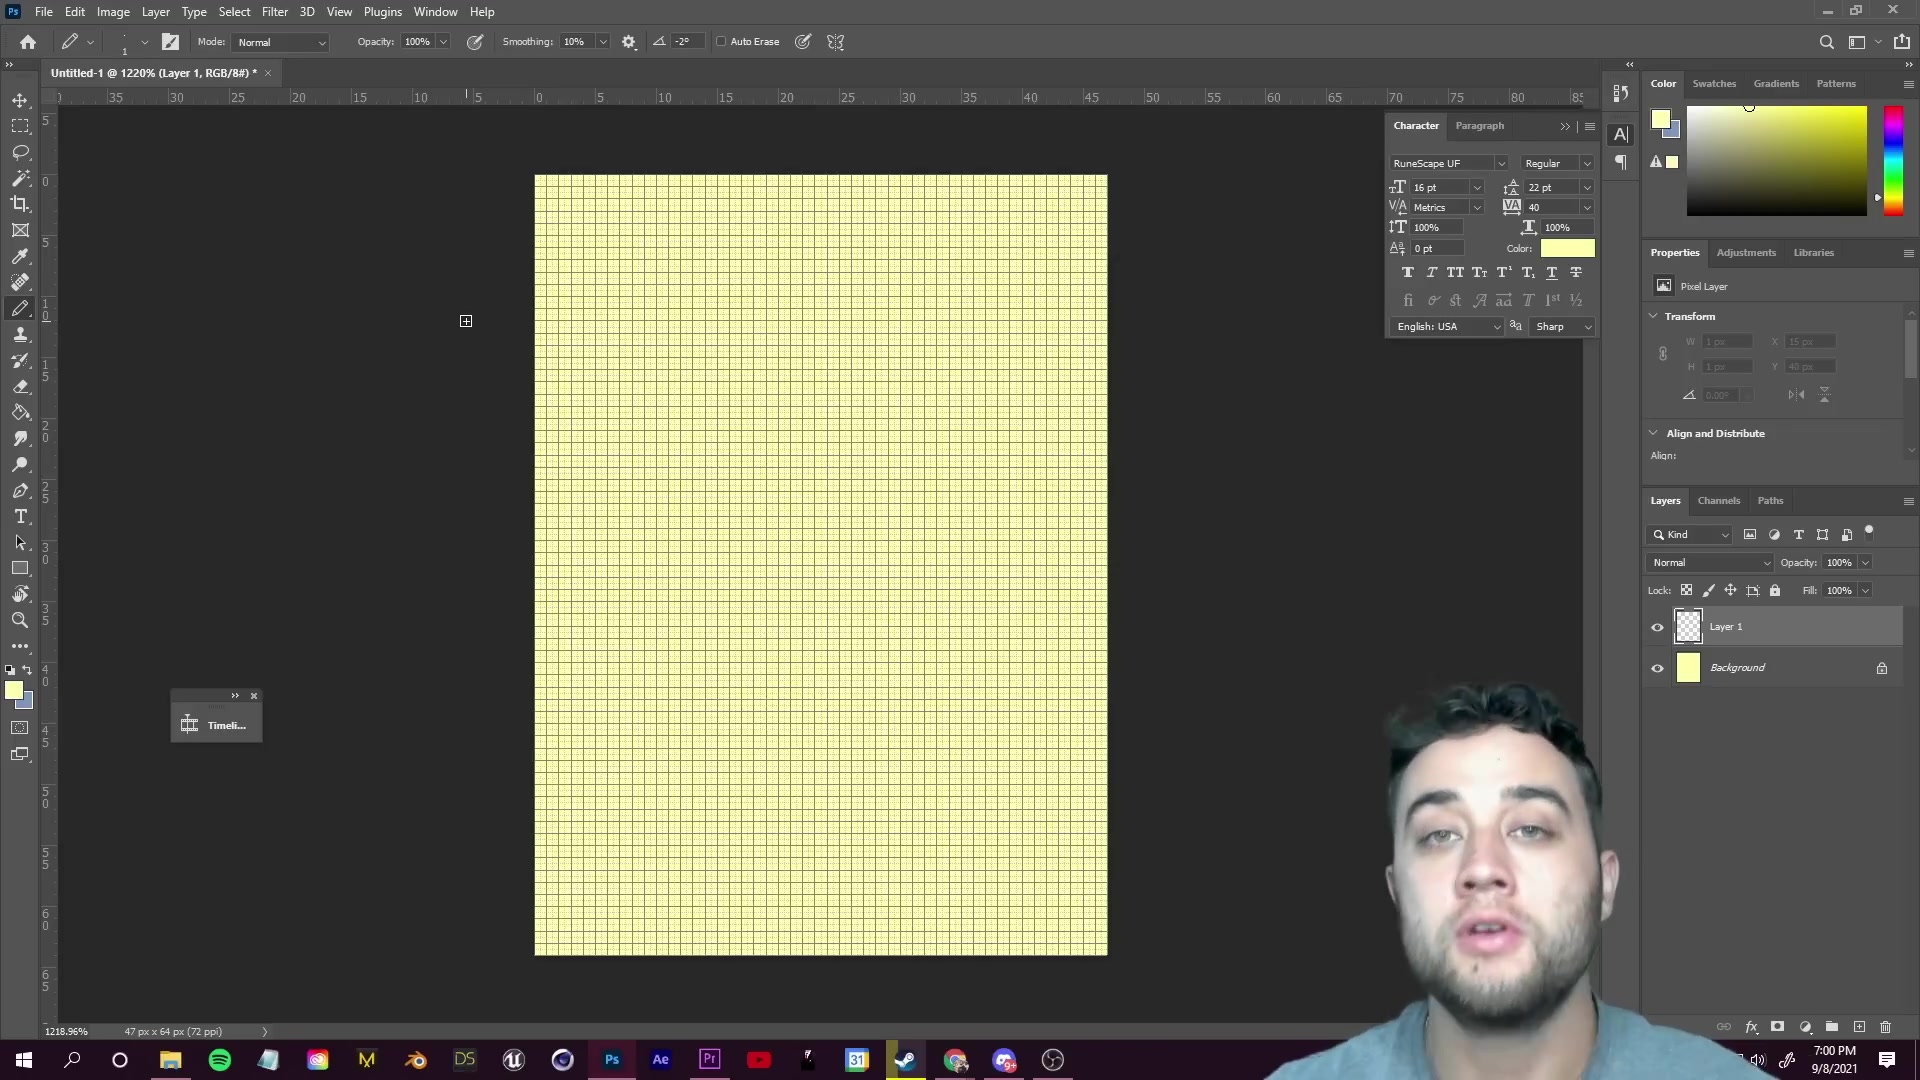
You can find it by right-clicking on the default 'brush' icon in the toolbar. Make sure the eraser tool is also set to pencil mode to avoid smoothing when erasing.
To make sure the pencil tool is working as desired, be sure that the pencil tool is configured correctly. In the upper left, you should be able to choose the mode. Select pencil instead of brush to ensure the edges of your drawing don't become blurry.
Selecting your color is also very important. Black is excellent for outlines, but any color can be used for filling. The video creator uses black as a primary color for his walking sprite. This is a common practice.
Working with Layers for Flexibility
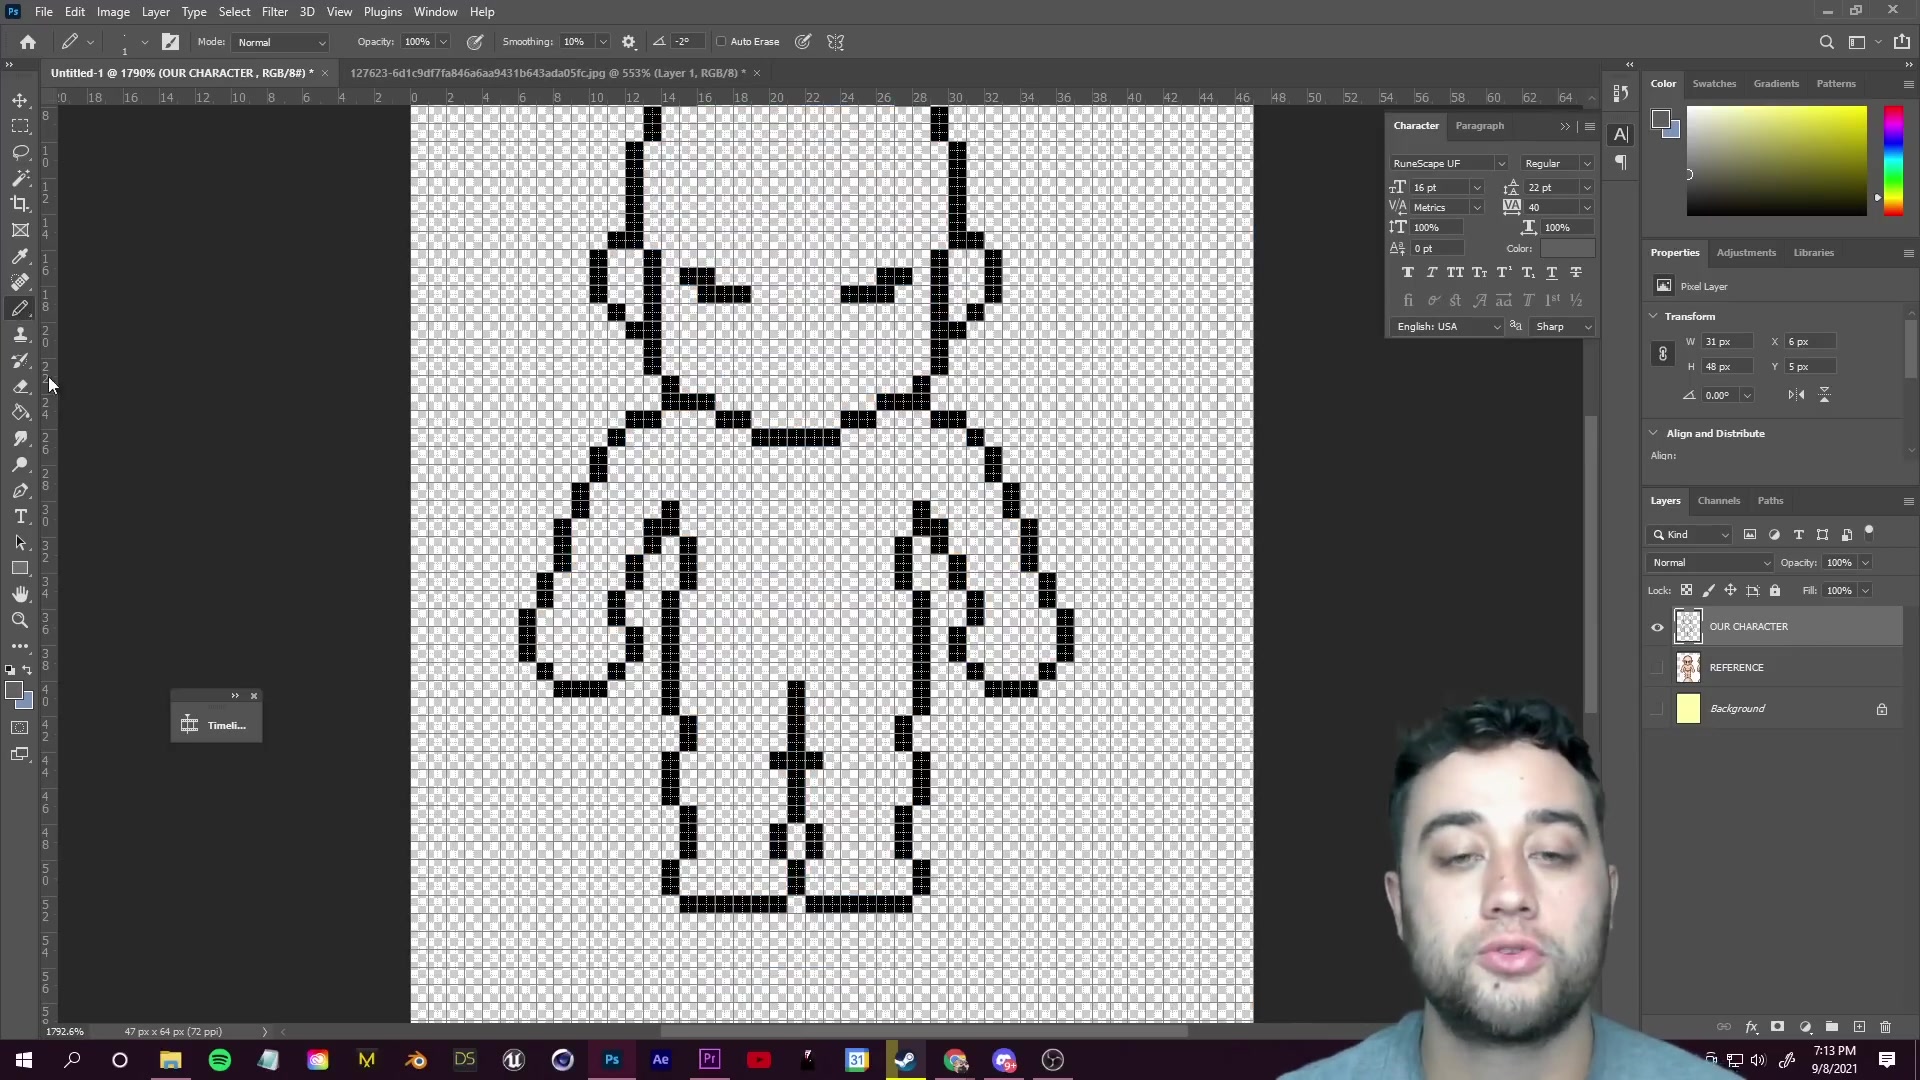
Layers are essential for any project, including pixel art. Avoid working directly on the background layer, as this limits your ability to make changes. Create a new layer for your character or other design elements by clicking the New Layer button in the Layers panel.
This allows you to move, edit, or delete elements without affecting other parts of your artwork. Furthermore, you can then edit each part of the character separately.
Use CTRL+J to easily duplicate a layer. When making changes, it is good practice to hide older layers, or rename them to make them more descriptive so you don't accidently edit them.
Simplified Tracing for Beginners
Leveraging Pokemon Sprite Templates
If you're uncomfortable with freehand drawing, you can leverage free templates as bases for your characters. One popular option is using Pokemon sprite templates. Many resources exist online where you can find free, pre-made templates. These can be traced over to form a solid base for your characters.
Always check the usage rights or licensing before using any template.
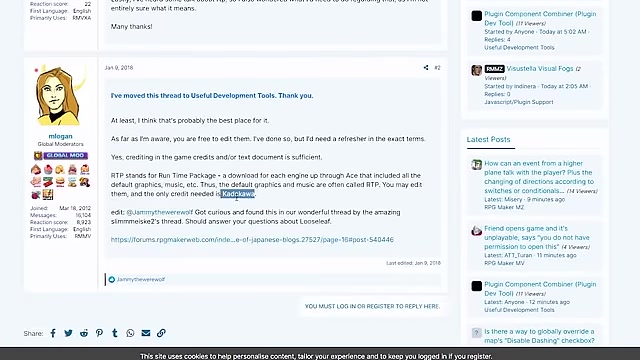
Some artists require attribution or have specific limitations on commercial use.
How to incorporate the template:
- Paste Reference Image: Paste your chosen Pokemon sprite template into your Photoshop canvas. Use CTRL+V to paste the reference image on a layer below your new drawing layer.
- Create a new Layer: Above this new layer, draw outlines with the pencil tool. Remember to check for proper licensing or attributions.
- Scale to Fit: Scale the reference image down with CTRL+T to an appropriate size so that you can follow it using the same pixel grid. Don't scale too much or you will lose visual detail.







Most people like


































Report
Please select a reason for reporting
- 13 Reasons to Switch from Snapchat to Text Messaging
- 7 Powerful Speech to Text Apps to Boost Productivity
- 10 Best Speech to Text Tools for Effortless Transcription
- 13 Free Tools to Easily Transcribe Audio to Text
- 15 Surprising Ways Google's Speech-to-Text Boosts Productivity
- 7 Best Free Online Audio to Text Transcription Tools
- 9 Tips to Transcribe Speech to Text Faster and Better
- 13 Best Speech to Text Software for Windows 10 in 2023
- 7 Tips for Choosing the Best Transcriber for Audio to Text
- 11 Reasons Why Dragon Speech-to-Text Apps are Game-Changers
- 6 Secrets to Enhance Your Speech to Text Transcription
- 6 Brilliant Ways to Boost Productivity with Talk-to-Text on Your MacBook
- 6 Ways Transcription Software Converts Audio to Text
- 8 Tips to Transcribe Speech to Text Like a Pro
- 6 Reasons IBM Watson Speech to Text is a Game-Changer
- 14 Powerful Ways Talk-to-Text Improves Your Workflow
- 12 Top Windows Speech-to-Text Software for Efficient Transcription
- 12 Game-Changing Benefits of Apple's Speech to Text Technology
- 9 Powerful Use Cases for AWS Speech to Text Technology
- 10 Easy Steps to Transcribe YouTube Videos to Text
- transcription audio en texte
- online audio transcription
- free audio file transcription
- free ai audio transcription
- audio transcription service
- audio transcription online free
- audio transcription free online
- audio to transcription software
- audio and transcript
- ai audio transcription free
- voice recording to text converter
- translate voice recording to text
- record voice to text
- audio recording to text converter
- voice recording and transcription
- chatgpt voice to text
- gmail voice to text
- speech to text reader
- speech to text ai free
- speech to talk
- How SEO and Marketing Dashboards Empower Agencies to Drive Results
- How to Use AI Tools to Find Internal Linking Opportunities Across a Business Website
- Discover Your Perfect Haircut with AI Hairstyle Apps
- Free Reputation Calculator Tools: How They're Adapting to Score AI Visibility, Not Just Rankings
- Design Professional Flyers for Free on Your Phone
- Best Free Flyer Maker Apps for Android: Design Like a Pro
- How to Know If Your Business Is Ready for an AI Customer Service Agent
- Revolutionizing Storytelling: From Novels to Screenplays with AI
- Create Engaging Animated Explainer Videos with a Free AI Tool
- Stop Multi-Subscribing: Benchmark Top AI Visual Models in One Canvas
- ASOMobile Helps Teams Benchmark App Store Screenshots Against Competitors
- How to Match LMS Software With Your Organization's Training Plan
- Revolutionizing Email Marketing Agency with AI
- How to Convert BTC to HNT
- Unleashing the Power of AI: Cognizant's Roadmap for Transformation
- Frame to Video Review: A Practical Look at Turning Two Still Frames Into Motion
- NVIDIA NIM: Revolutionizing Supply Chain Data Analysis with AI
- Top AI Tools That Help Brands Stand Out Offline (Not Just Online)
- Top 5 Cold Email Software: Maximize Your Outreach in 2025
- Magic School AI: Revolutionizing Quiz & Assessment Generation

Copyright ©2026 toolify