































Table of Contents
- Key Points
- Introduction to Flowframes
- Troubleshooting Common Issues
- Step-by-Step Guide: Installing and Using Flowframes
- Advantages and Disadvantages of Using Flowframes
- Frequently Asked Questions
- Related Questions


Introduction to Flowframes
What is Flowframes?
Flowframes is a simple but powerful application that utilizes advanced AI frameworks to interpolate videos.
This tool enables you to increase the frame rate of your videos, making them appear smoother and more visually appealing. It's particularly useful for older videos that were originally recorded at lower frame rates. Increasing the frame rate interpolates and adds new frames between existing ones, creating a more fluid motion. While there are other tools on the market, including both free and paid options, Flowframes stands out as a favorite due to its open-source nature and effectiveness. When working with Flowframes, it's good to understand how to download the application and what settings would be best for your video needs.
Why Increase Video Frame Rate?
Increasing the video frame rate can significantly enhance the viewing experience. Higher frame rates result in smoother motion, reduced motion blur, and a more natural look. This is especially beneficial for action-packed scenes, animations, and any video where fluid movement is essential. Many older videos may have been recorded at lower frame rates, such as 24 or 30 FPS (frames per Second), which can appear choppy on modern displays. By using Flowframes to interpolate the frames, you can bring these older videos up to par with today’s standards, breathing new life into your content. There are two main methods: purchasing new software or using a free software, like Flowframes.
Step-by-Step Guide: Installing and Using Flowframes
Step 1: Downloading Flowframes
The first step is to download Flowframes from its official source.
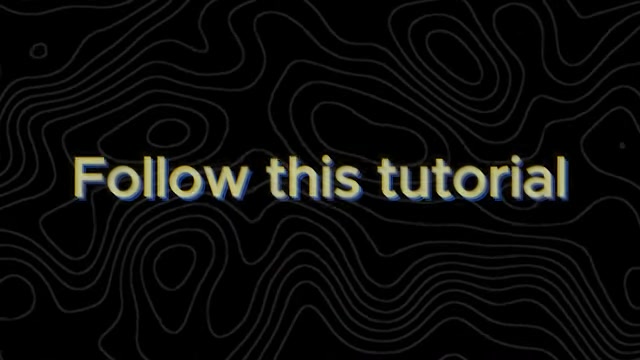
Open your web browser and search for "Flowframes". The first result should lead you to the official itch.io page. This page offers a downloadable tool for Windows. While the latest versions are exclusive to Patreon subscribers, the itch.io version is stable and fully functional for most users. It's also completely free and open source which is a great option for many video users.
Website: itch.io
Step 2: Navigating the Download Page
Once on the Flowframes itch.io page, look for the "Download Now" button.
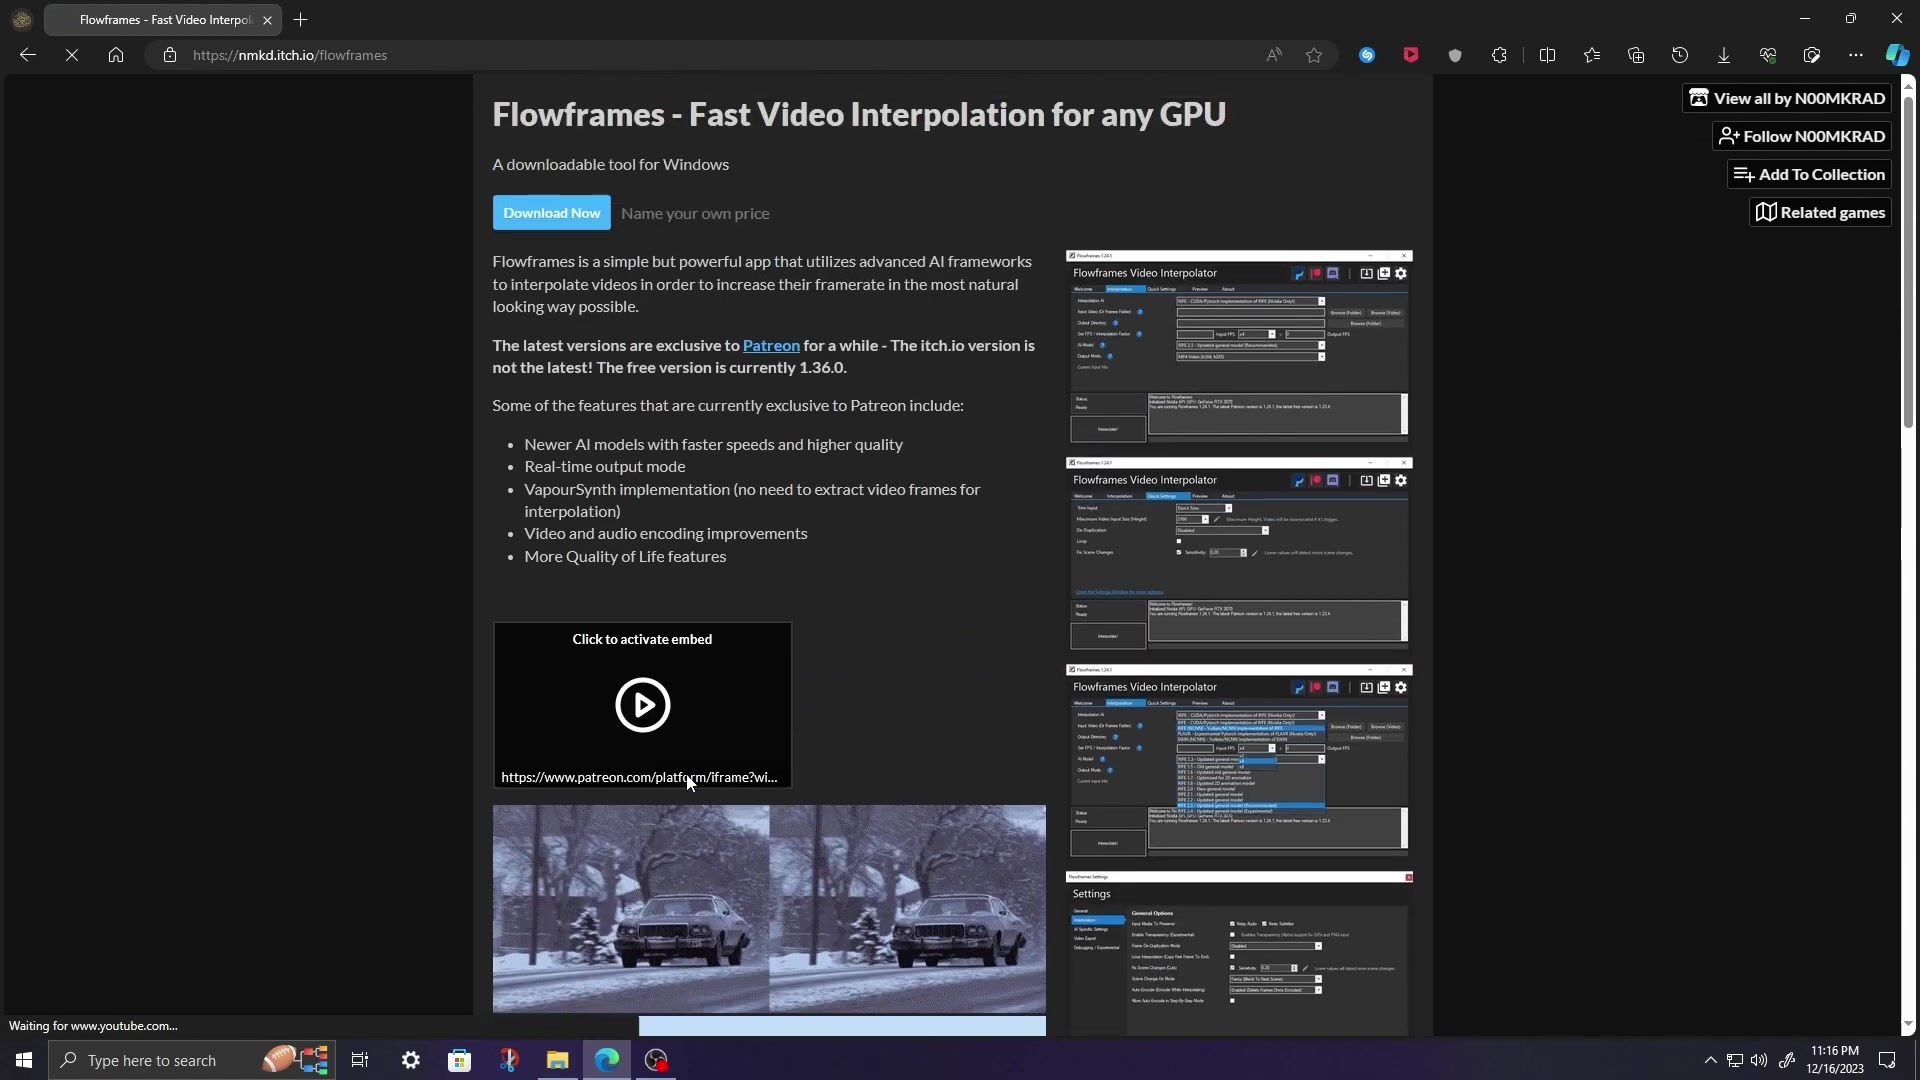
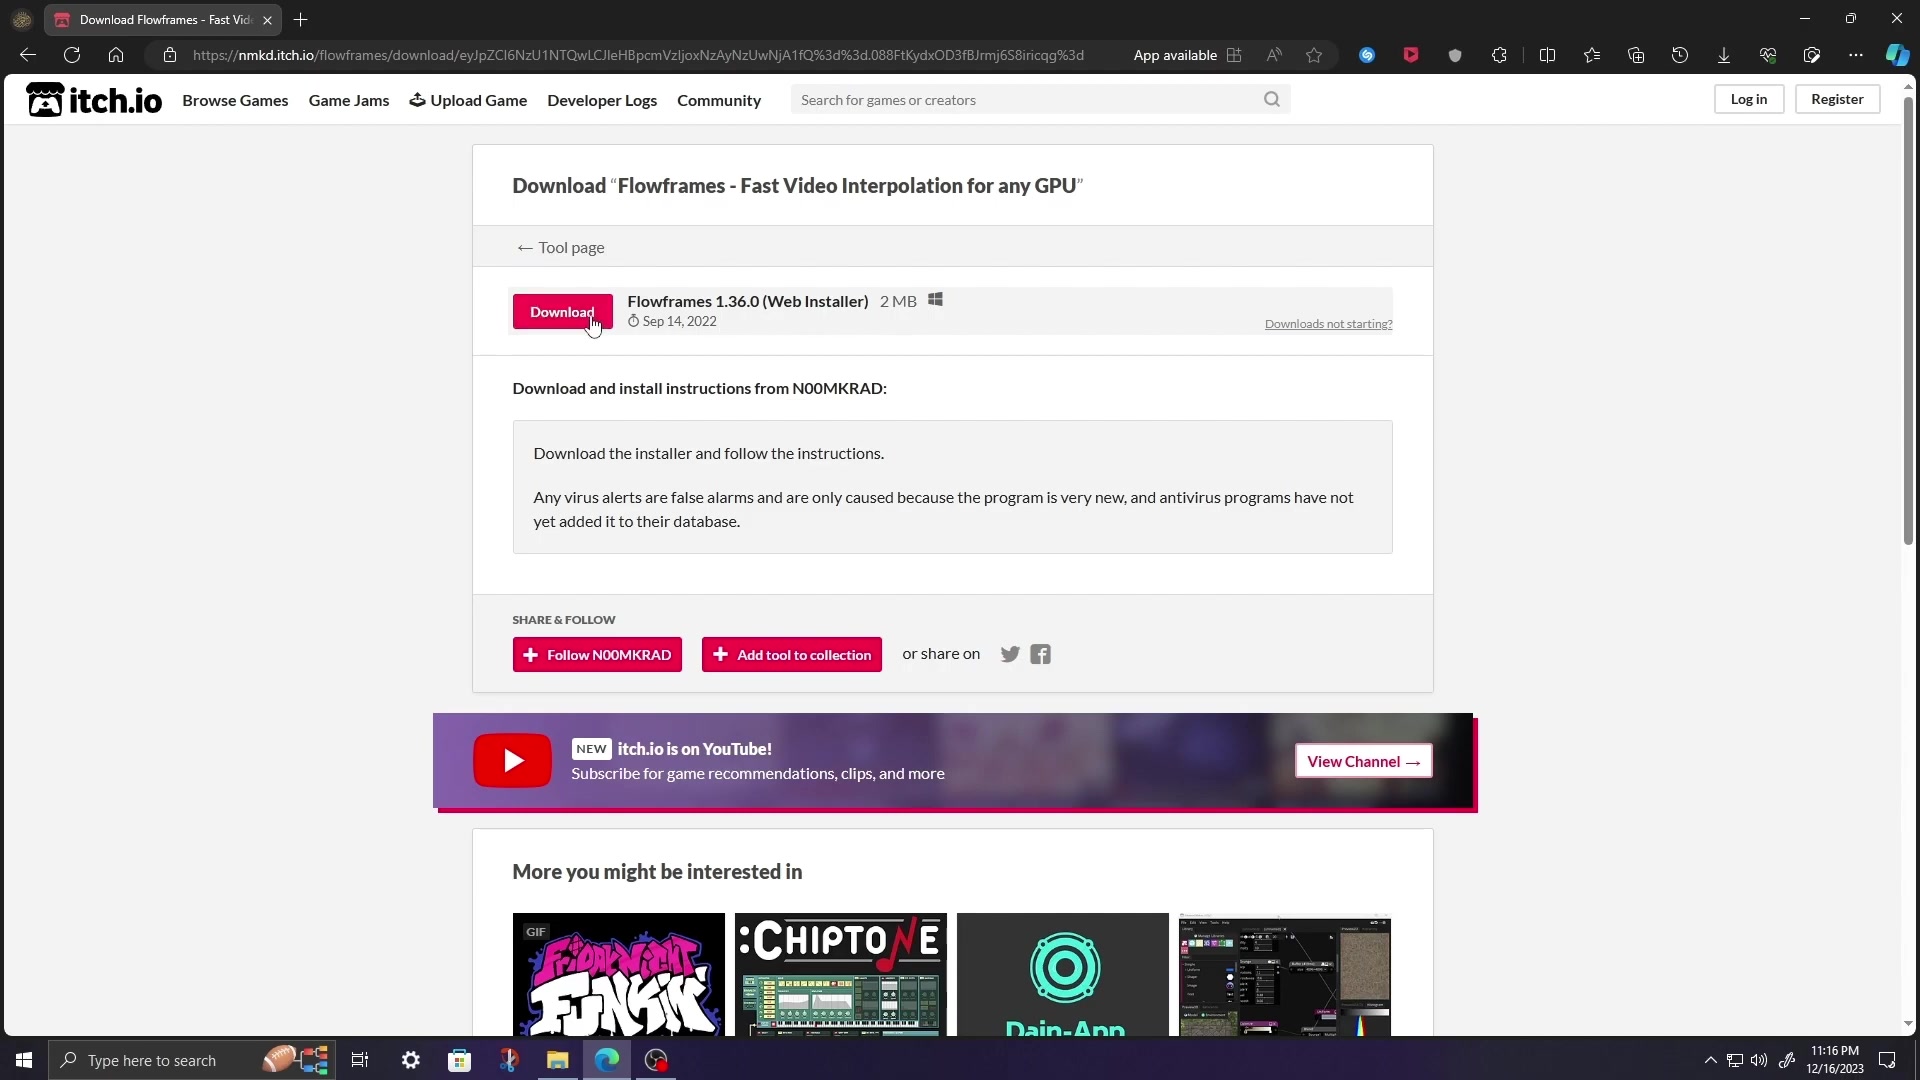
Clicking this will take you to a donation page. While the tool is free, you have the option to support the developer by making a donation. If you prefer to download without donating, simply click the "No thanks, just take me to the downloads" link. This will lead you to the download page where you can obtain the Flowframes installer, Flowframes 1.36.0 (Web installer) 2 MB.
Step 3: Installing Flowframes
After downloading the installer, run the executable file.
The installation process is straightforward but requires attention to a few details. During installation, you'll be prompted to select an installation folder. It’s recommended to leave the default options as they are, allowing Flowframes to automatically detect your GPU and install the necessary files. Ensure you have a stable internet connection, as the installer needs to download additional components. It is important to note this important aspect before completing this step.
The installer will guide you through steps such as selecting your GPU support (Auto-detect is recommended) and choosing a Pytorch installation. The auto-detect options work best for most systems. The option to pre-install AI models will require a significant amount of disk space, so it’s recommended to choose the “Don’t pre-install AI models” option unless you have a specific need to work offline.
Step 4: Understanding the Main Interface
Once the installation is complete, launch Flowframes.

The first time you run the application, it will download several files. This may take a few minutes, so be patient. After the initial setup, Flowframes will open to its main interface. The interface is well organized, with tabs for Welcome, Interpolation, Quick Settings, Preview, and About.
- Welcome Tab: Provides an overview of the software and its features.
- Interpolation Tab: Where you will configure the video interpolation settings.
- Quick Settings Tab: Allows for easy adjustments of common parameters.
- Preview Tab: Lets you preview the results of your interpolation.
- About Tab: Displays information about Flowframes and its developers.
Step 5: Configuring Interpolation Settings
The most important part of using Flowframes is correctly setting up the interpolation parameters.
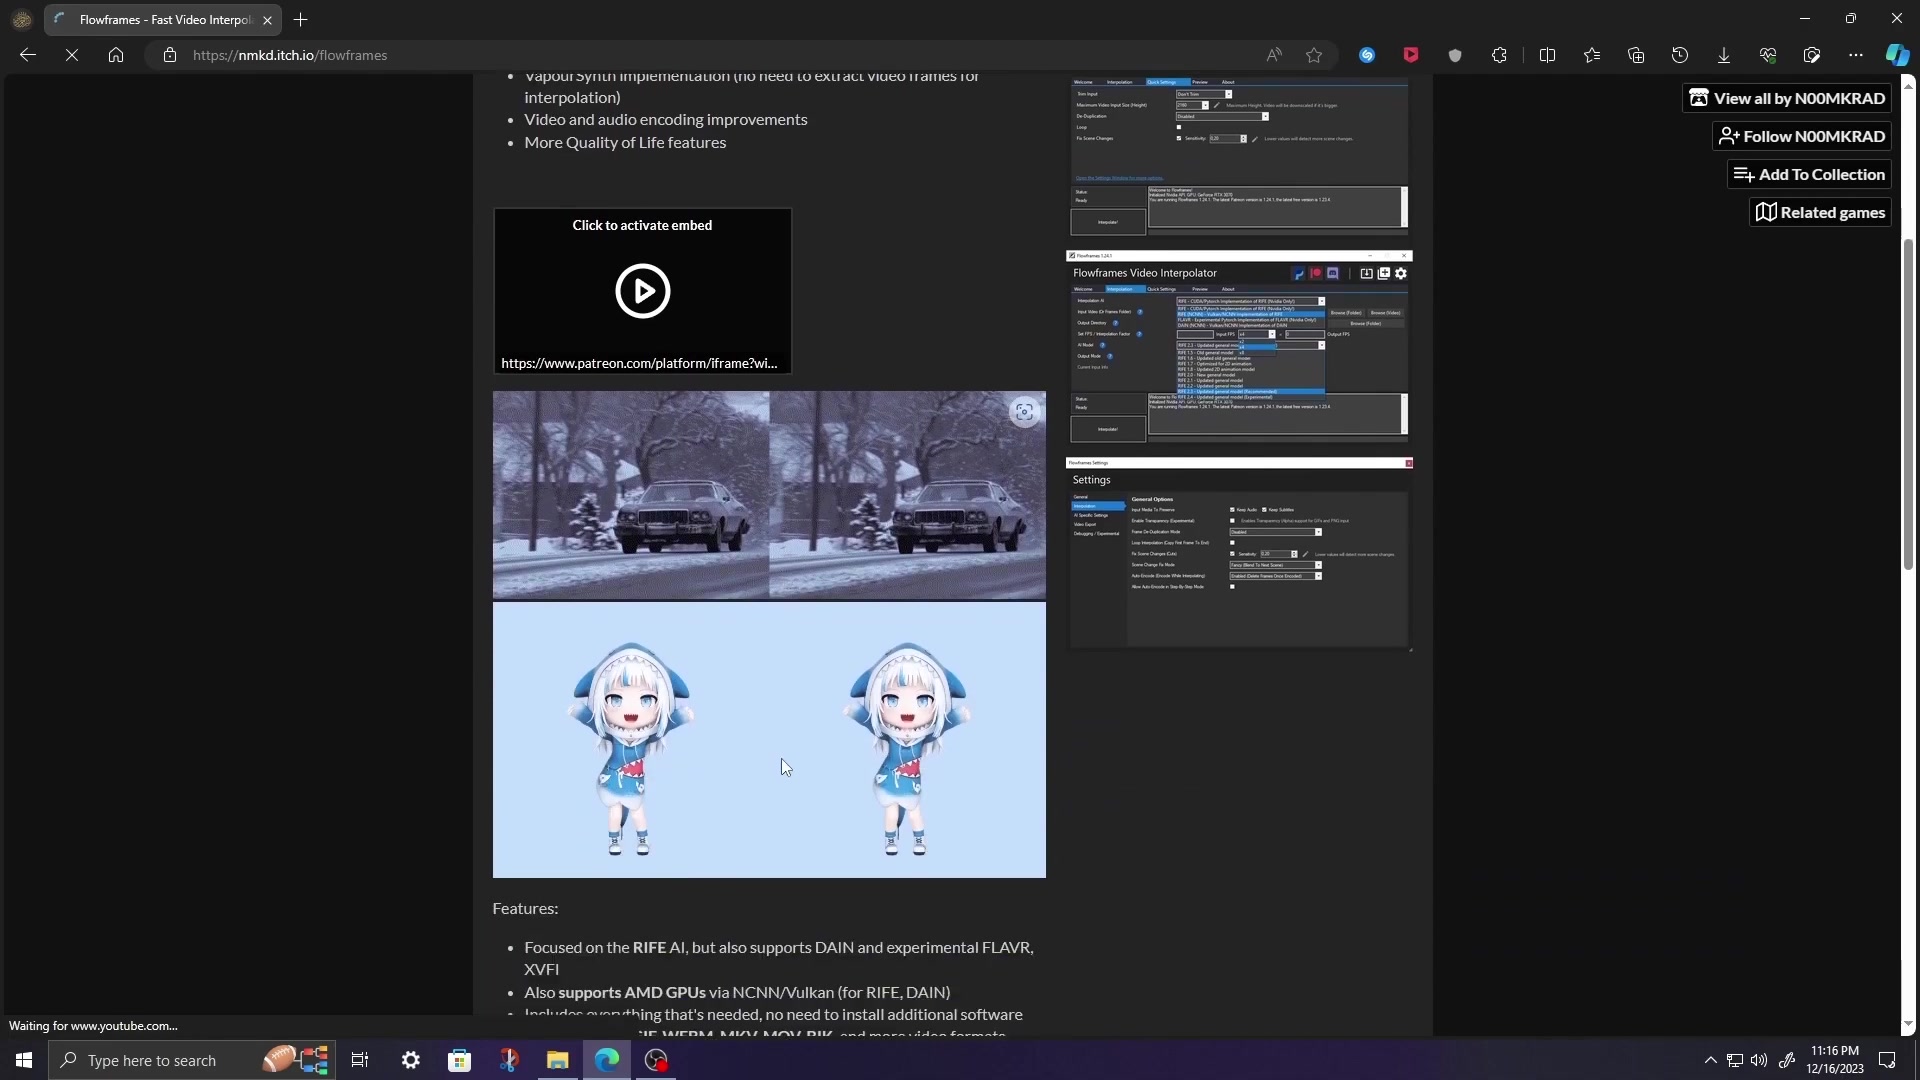
Navigate to the "Interpolation" tab. Here, you'll find several options:
- Input Video: Click "Browse (Video)" to select the video you want to enhance. Flowframes supports various video formats.
- Output Directory: Set the location where you want the enhanced video to be saved.
- Output FPS and Speed: This is where you define the target frame rate. The original frame rate of your video will be displayed. For example, if your video is 24 FPS and you want to increase it to 120 FPS, set the frame interpolation to 5x (24 x 5 = 120).
- AI Model: Choose the AI model that best suits your needs. RIFE (Real-Time Intermediate Flow Estimation) models are generally recommended for their quality and speed. The RIFE 4.0 is shown in the sample video.
- Output Mode: Select the desired output format. MP4 (h264, h265, AV1) is a common and widely compatible choice.
Refer to the image below for configuration details and options:
| Setting | Description |
|---|---|
| Input Video | The video file you want to interpolate. |
| Output Directory | The folder where the interpolated video will be saved. |
| Output FPS & Speed | The target frame rate for the interpolated video (e.g., 24 FPS to 120 FPS). |
| AI Model | The AI algorithm used for frame interpolation (RIFE is generally recommended). |
| Output Mode | The format of the output video (MP4 is common). |
Step 6: Starting the Interpolation Process
With all settings configured, click the "Interpolate!" button to begin the process. Flowframes will now analyze the video and create the interpolated frames. The time this takes depends on the length of the video, your computer’s processing power, and the chosen settings. Be aware that this process can take several hours, especially for longer videos.
If you experience any electricity issues during the process, don't worry; Flowframes will Resume where it left off once power is restored. This ensures you won’t lose progress due to interruptions.
Step 7: Previewing and Saving
Once the interpolation is complete, you can preview the result in the "Preview" tab. If you're satisfied with the outcome, the interpolated video will be saved in the output directory you specified earlier. You now have a smoother, higher frame rate version of your original video.





Most people like
































Report
Please select a reason for reporting
- 13 Reasons to Switch from Snapchat to Text Messaging
- 7 Powerful Speech to Text Apps to Boost Productivity
- 10 Best Speech to Text Tools for Effortless Transcription
- 13 Free Tools to Easily Transcribe Audio to Text
- 15 Surprising Ways Google's Speech-to-Text Boosts Productivity
- 7 Best Free Online Audio to Text Transcription Tools
- 9 Tips to Transcribe Speech to Text Faster and Better
- 13 Best Speech to Text Software for Windows 10 in 2023
- 7 Tips for Choosing the Best Transcriber for Audio to Text
- 11 Reasons Why Dragon Speech-to-Text Apps are Game-Changers
- 6 Secrets to Enhance Your Speech to Text Transcription
- 6 Brilliant Ways to Boost Productivity with Talk-to-Text on Your MacBook
- 6 Ways Transcription Software Converts Audio to Text
- 8 Tips to Transcribe Speech to Text Like a Pro
- 6 Reasons IBM Watson Speech to Text is a Game-Changer
- 14 Powerful Ways Talk-to-Text Improves Your Workflow
- 12 Top Windows Speech-to-Text Software for Efficient Transcription
- 12 Game-Changing Benefits of Apple's Speech to Text Technology
- 9 Powerful Use Cases for AWS Speech to Text Technology
- 10 Easy Steps to Transcribe YouTube Videos to Text
- transcription audio en texte
- online audio transcription
- free audio file transcription
- free ai audio transcription
- audio transcription service
- audio transcription online free
- audio transcription free online
- audio to transcription software
- audio and transcript
- ai audio transcription free
- voice recording to text converter
- translate voice recording to text
- record voice to text
- audio recording to text converter
- voice recording and transcription
- chatgpt voice to text
- gmail voice to text
- speech to text reader
- speech to text ai free
- speech to talk
- Revolutionizing Storytelling: From Novels to Screenplays with AI
- Create Engaging Animated Explainer Videos with a Free AI Tool
- Stop Multi-Subscribing: Benchmark Top AI Visual Models in One Canvas
- Best Seedance 2.5 API Provider: Every Price on the Market, Checked at Source
- AI OnlyFans: How to Generate $30,000/Month (Legally)
- Transform Your Script into an Engaging Video with AI Video Maker!
- AI Marketing Automation: A Comprehensive Guide for Small Businesses
- Midjourney Alternative for Anime Art Creators: Why PixAI May Be Better for Character Workflows
- 10 Things Most People Get Wrong About AI Image Search
- AI Girlfriend Apps: Top Choices Redefining Relationships 2025
- Python Random Name Generator Tutorial
- Generate Unique Names with Python Random Name Generator
- Code a JavaScript Name Generator
- Create a Fun Name Generator App - Easy JavaScript Project!
- Experience Roblox's Avatar Creation for Karl Jacobs!
- May TBR Game: How a Letter Generator Chooses My Reads
- AI Celebrity Chat: Hilarious Pick-Up Lines & Chatbot Chaos!
- Embrace Chaos with the Random Makeup Challenge
- Boost Audience Engagement with the Wheel of Names
- Engage Your Audience with the Wheel of Names!

Copyright ©2026 toolify