


Table of Contents
- Key Points
- Building a Convolutional Neural Network for Image Recognition
- Step-by-Step Guide to Implementing Image Recognition
- Tools and Resources Pricing
- Advantages and Disadvantages of Using CNNs for Image Recognition
- Key Benefits of CNN for Image Recognition
- Applications of Image Recognition with CNN
- Frequently Asked Questions (FAQ)
- Related Questions


Building a Convolutional Neural Network for Image Recognition
Introduction to Convolutional Neural Networks (CNNs) for Image Recognition
Convolutional Neural Networks (CNNs) have become the cornerstone of modern Image Recognition systems. Unlike traditional neural networks that process data in a fully connected manner, CNNs leverage specialized layers to extract hierarchical features from images.
This approach enables CNNs to learn complex patterns and relationships, making them exceptionally effective for tasks such as image classification, object detection, and Image Segmentation. CNN's ability to recognize intricate patterns makes them valuable for various industrial applications. The key building blocks of a CNN include:
- Convolutional Layers: These layers use filters to detect features like edges, textures, and shapes within the image.
- Pooling Layers: Pooling layers reduce the spatial size of the feature maps, decreasing computational complexity and increasing robustness to variations in the input image.
- Activation Functions: Activation functions introduce non-linearity, enabling the network to learn complex patterns.
- Dense Layers: These fully connected layers perform high-level reasoning based on the extracted features to make final predictions. This structure allows the CNN to automatically learn relevant features from the training data, reducing the need for manual feature engineering and improving the overall performance of the image recognition system.
Setting Up Your Environment: Python, Keras, and TensorFlow
Before diving into the code, it's essential to set up your development environment.
This Tutorial assumes you have Python installed. We’ll use the Keras API, which runs on top of TensorFlow, a powerful open-source machine learning framework. Here’s how to get started:
- Install TensorFlow: Open your terminal or command Prompt and run
pip install tensorflow. - Install Keras: Keras is usually bundled with TensorFlow 2.0 and later, but if you want to install separately, use
pip install keras. - Install NumPy: NumPy is essential for numerical computations. Install it with
pip install numpy. - Install Matplotlib (optional): While not strictly necessary, Matplotlib is useful for visualizing images and results. Install it with
pip install matplotlib.
Once these are installed, you're ready to import the necessary libraries into your Python script. You will also need to ensure your integrated development environment, IDE, is properly configured for these installations. Verify each installation by running a simple program in your IDE of choice.
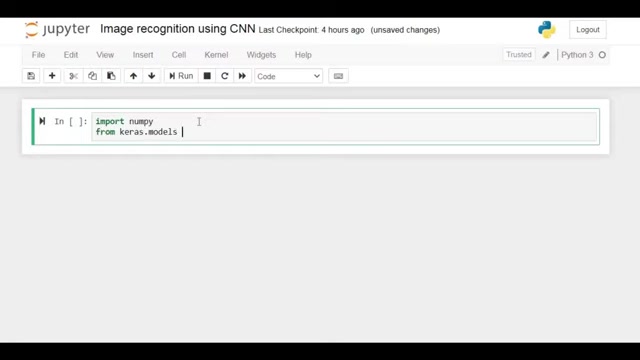
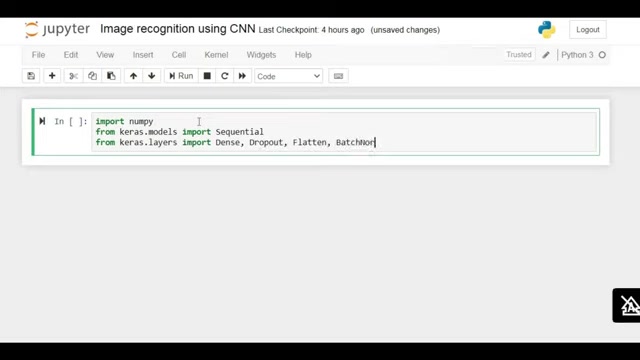
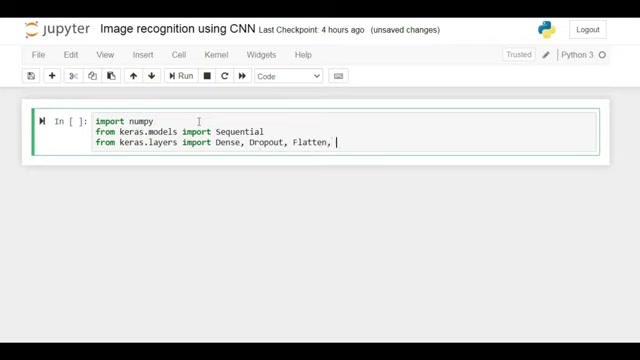
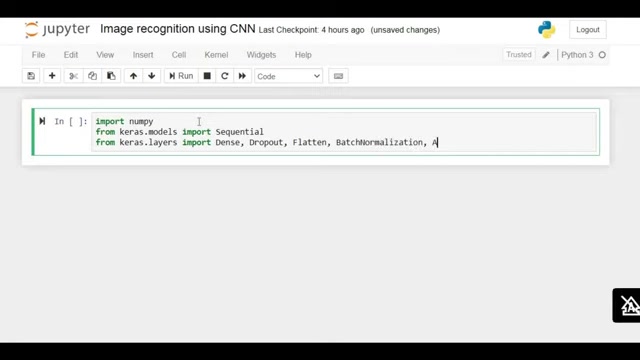
Importing Libraries: NumPy, Keras Layers, and More
The first step in building your image recognition system is to import the necessary Python libraries. These libraries provide the functions and tools needed to define, train, and evaluate your CNN model.
Here's a code snippet showing the key imports:
import numpy as np
from keras.models import Sequential
from keras.layers import Dense, Dropout, Flatten, BatchNormalization, Activation
from keras.layers.convolutional import Conv2D, MaxPooling2D
from keras.constraints import maxnorm
from keras.utils import np_utils
from keras.datasets import cifar10numpy: Provides support for multi-dimensional arrays and mathematical functions.keras.models.Sequential: Enables you to create a linear stack of layers, essential for defining your CNN architecture.keras.layers.Dense: Implements a fully connected layer.keras.layers.Dropout: Applies dropout regularization to prevent overfitting.keras.layers.Flatten: Flattens the input into a 1D array.keras.layers.BatchNormalization: Normalizes the activations of the previous layer.keras.layers.Activation: Applies an activation function to a layer.keras.layers.Conv2D: Creates a 2D convolutional layer.keras.layers.MaxPooling2D: Applies max pooling to reduce spatial dimensions.keras.constraints.maxnorm: Constrains the weights of the neurons.keras.utils.np_utils.to_categorical: Converts class vectors to binary class matrices (one-hot encoding).keras.datasets.cifar10: Loads the CIFAR-10 dataset for image classification.
Loading and Preprocessing the CIFAR-10 Dataset
The CIFAR-10 dataset is a widely used benchmark for image recognition tasks. It consists of 60,000 32x32 color images in 10 classes, with 6,000 images per class.
The dataset is split into 50,000 training images and 10,000 testing images. Loading the CIFAR-10 dataset in Keras is straightforward:
(X_train, y_train), (X_test, y_test) = cifar10.load_data()Preprocessing the data is crucial to achieve optimal model performance. The following steps are commonly applied:
- Normalize Pixel Values: Scale the pixel values to be between 0 and 1 by dividing each value by 255, the maximum pixel value.
- One-Hot Encode Labels: Convert the class labels into a binary class matrix using
to_categoricalfromkeras.utils.
# fix random seed for reproducibility
seed = 21
numpy.random.seed(seed)
# normalize inputs from 0-255 to 0.0-1.0
X_train = X_train.astype('float32')
X_test = X_test.astype('float32')
X_train = X_train / 255.0
X_test = X_test / 255.0
# one hot encode outputs
y_train = np_utils.to_categorical(y_train)
y_test = np_utils.to_categorical(y_test)
num_classes = y_test.shape[1]
By normalizing the pixel values and one-hot encoding the labels, you ensure that your data is in the optimal format for training the CNN model.
Defining the CNN Model Architecture with Keras
Defining the CNN model architecture involves stacking various layers using the Keras Sequential API.
This example uses a series of convolutional layers, max pooling layers, and fully connected layers to classify images. You can further define a dropout layer to prevent overfitting. Dropout regularization and batch normalization serve to improve model quality. Here's the architecture:
model = Sequential()
model.add(Conv2D(32, (3, 3), input_shape=(32, 32, 3), activation='relu', padding='same'))
model.add(Dropout(0.2))
model.add(BatchNormalization())
model.add(Conv2D(64, (3, 3), activation='relu', padding='same'))
model.add(MaxPooling2D(pool_size=(2, 2)))
model.add(Dropout(0.2))
model.add(BatchNormalization())

model.add(Conv2D(128, (3, 3), activation='relu', padding='same'))
model.add(Dropout(0.2))
model.add(BatchNormalization())

model.add(Flatten())
model.add(Dropout(0.2))
model.add(Dense(num_classes, activation='softmax'))- Convolutional Layers (Conv2D): These layers extract features from the input images. Key parameters include the number of filters, kernel size, activation function, and padding.
- Dropout Layers (Dropout): These layers randomly set a fraction of input units to 0 during training, helping to prevent overfitting.
- Batch Normalization Layers (BatchNormalization): These layers normalize the activations of the previous layer, improving training stability and convergence.
- Max Pooling Layers (MaxPooling2D): These layers reduce the spatial dimensions of the feature maps, reducing computational complexity.
- Flatten Layer (Flatten): This layer flattens the multi-dimensional feature maps into a 1D vector.
- Dense Layer (Dense): This fully connected layer performs the final classification, using a softmax activation function to output probabilities for each class.
Compiling the Model
Once you have defined the model architecture, you need to compile it by specifying the loss function, optimizer, and metrics.
The loss function measures how well the model is performing, the optimizer updates the model's weights based on the loss, and the metrics evaluate the model's performance. Here's how to compile the model:
model.compile(loss='categorical_crossentropy', optimizer='adam', metrics=['accuracy'])loss: Thecategorical_crossentropyloss function is suitable for multi-class classification problems.optimizer: Theadamoptimizer is a popular choice due to its adaptive learning rates.metrics: Theaccuracymetric provides a measure of how well the model is classifying images correctly.
Training and Evaluating the CNN Model
Training the model involves feeding it the training data and adjusting the weights to minimize the loss function.
Evaluate your models and their performance after training. Use the following steps to train the model:
# Fit the model
model.fit(X_train, y_train, validation_data=(X_test, y_test), epochs=25, batch_size=64)
# Final evaluation of the model
scores = model.evaluate(X_test, y_test, verbose=0)
print("Accuracy: %.2f%%" % (scores[1]*100))X_train,y_train: Training data and corresponding labels.X_test,y_test: Testing data and corresponding labels.epochs: The number of complete passes through the training dataset.batch_size: The number of samples processed before updating the model's weights. The tutorial shows training results in upwards of 84% accuracy.


Most people like


Report
Please select a reason for reporting
- 13 Reasons to Switch from Snapchat to Text Messaging
- 7 Powerful Speech to Text Apps to Boost Productivity
- 10 Best Speech to Text Tools for Effortless Transcription
- 13 Free Tools to Easily Transcribe Audio to Text
- 15 Surprising Ways Google's Speech-to-Text Boosts Productivity
- 7 Best Free Online Audio to Text Transcription Tools
- 9 Tips to Transcribe Speech to Text Faster and Better
- 13 Best Speech to Text Software for Windows 10 in 2023
- 7 Tips for Choosing the Best Transcriber for Audio to Text
- 11 Reasons Why Dragon Speech-to-Text Apps are Game-Changers
- 6 Secrets to Enhance Your Speech to Text Transcription
- 6 Brilliant Ways to Boost Productivity with Talk-to-Text on Your MacBook
- 6 Ways Transcription Software Converts Audio to Text
- 8 Tips to Transcribe Speech to Text Like a Pro
- 6 Reasons IBM Watson Speech to Text is a Game-Changer
- 14 Powerful Ways Talk-to-Text Improves Your Workflow
- 12 Top Windows Speech-to-Text Software for Efficient Transcription
- 12 Game-Changing Benefits of Apple's Speech to Text Technology
- 9 Powerful Use Cases for AWS Speech to Text Technology
- 10 Easy Steps to Transcribe YouTube Videos to Text
- transcription audio en texte
- online audio transcription
- free audio file transcription
- free ai audio transcription
- audio transcription service
- audio transcription online free
- audio transcription free online
- audio to transcription software
- audio and transcript
- ai audio transcription free
- voice recording to text converter
- translate voice recording to text
- record voice to text
- audio recording to text converter
- voice recording and transcription
- chatgpt voice to text
- gmail voice to text
- speech to text reader
- speech to text ai free
- speech to talk
- 2026别再为 Claude多花冤枉钱了,ClaudeAPI.com国内直连让我每月省下 ¥780
- 5 Best AI Chat Apps for Mac in 2026
- What Makes Happy Horse 1.0 Different from Basic AI Video Tools
- Key Features of Happy Horse 1.0 AI Video Generator You Should Know
- 爱翻译功能全面解析:核心优势及主要功能
- Best AI Humanizers for SEO Content Writers in 2026
- Seedance 2.0 Prompting 101: The 6 Parameters You Need to Master (by Topview)
- Top 5 AI Text-to-Video Generators: A 2025 Review
- Create Professional UGC Videos with AI: Introducing Magic Ads
- Top 5 Browsers for Managing Multiple Accounts in 2026: What Actually Works
- Transforming AI Videos: A Comprehensive Guide to 3D Spatial Conversion
- We Tested 15+ AI Headshot Generators - Here's the Verdict
- AI Dropshipping in 2026: How Automation Is Changing Ecommerce
- Mastering Meeting Minutes: A Comprehensive Guide for Efficiency
- The Dangers of Deepfake for K-Pop: From Idol to Porn Star
- Key Metrics Used in AI Benchmarking for Enterprise Systems
- Top Free AI Video Generators: Latest Tools Compared!
- Top 5 Free AI Video Generators: Unlimited Options in 2025
- Top AI Video Generators: Ranking the Best Tools for 2025
- Top AI Video Generators: Create Stunning Videos Effortlessly
Copyright ©2026 toolify