































Table of Contents
- Key Points
- Odoo OCR Module Development
- Technical Deep Dive: Docker Compose Configuration for Odoo
- How to Use


Odoo OCR Module Development
Setting Up Your Local Odoo Development Environment
To start developing your OCR module, the first critical step is to set up your local development environment with Odoo 14 and PostgreSQL. This setup allows for iterative testing and debugging without affecting live systems.
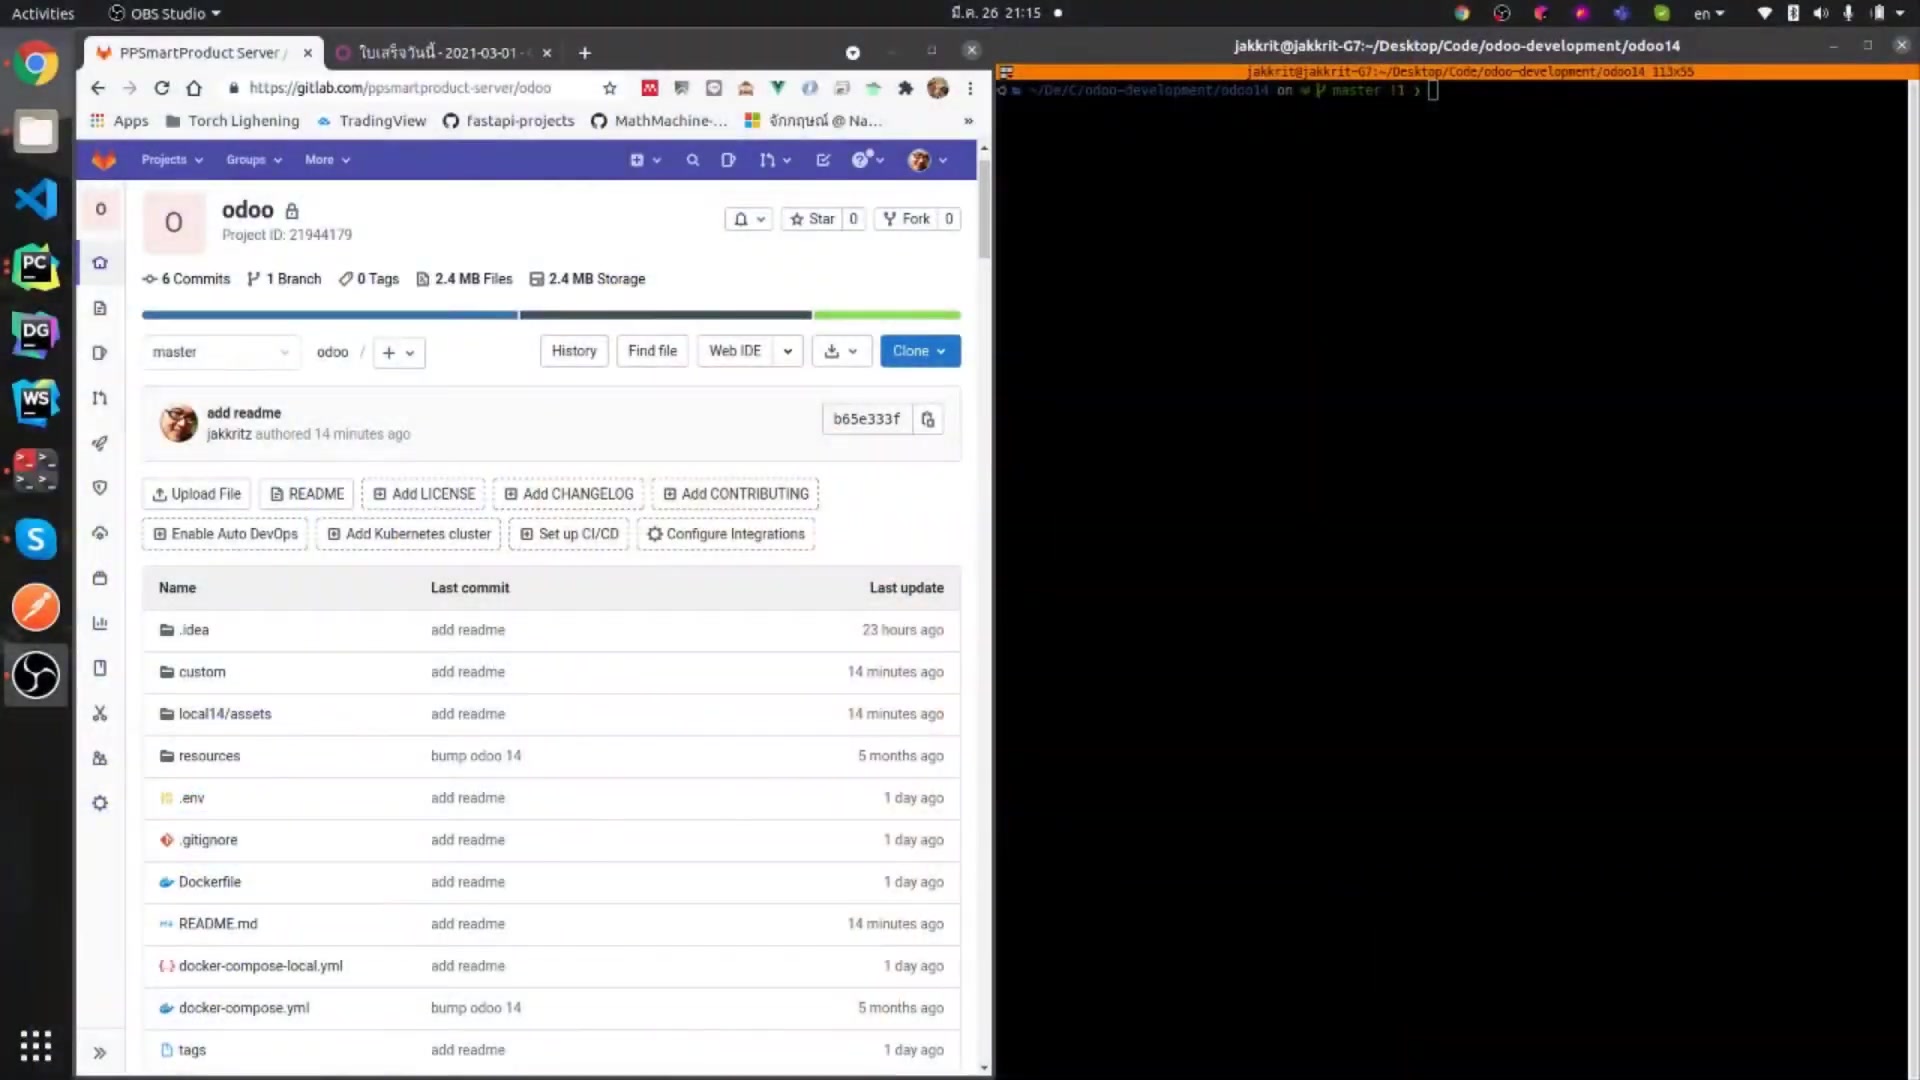
This involves configuring Docker Compose, creating necessary volume directories, and ensuring Odoo can connect to the PostgreSQL database.
Here’s how to prepare your local environment:
- Docker Compose Configuration: Create a
docker-compose-local.ymlfile to define services, networks, and volumes for your Odoo and PostgreSQL instances. This file is crucial as it dictates how your containers interact with each other and persist data. - Volume Directories: Set up directories for Odoo data, logs, and PostgreSQL data to ensure data persistence across container restarts. These volumes are mapped to specific directories on your host machine.
- Environment Variables: Utilize an
.envfile to manage sensitive information like database passwords and Odoo configurations. This keeps your Docker Compose file clean and secure. - Spinning Up the Containers: Use the command
docker-compose -f docker-compose-local.yml up -dto start your Odoo and PostgreSQL instances in detached mode. This command pulls the necessary images, creates the defined containers, and starts them in the background.
Important Configuration Parameters:
It’s crucial to understand the key parameters configured in your docker-compose-local.yml file:
Odoo-dataandOdoo-logsvolumes: These are essential for persisting Odoo's data and logs, respectively.- PostgreSQL configurations: Define environment variables for the PostgreSQL database, including the user, password, and database name.
- Port mappings: Ensure that Odoo's port (usually 8069) is mapped to a port on your host machine, allowing you to access the Odoo instance from your web browser.
This setup enables you to make changes to your Odoo module, test them thoroughly, and debug effectively before deploying to a live server. Proper local setup is the foundation of efficient Odoo development.
Scaffolding Your New Odoo Module for OCR
Once your local environment is running, the next step involves scaffolding a new Odoo module tailored for OCR functionality.
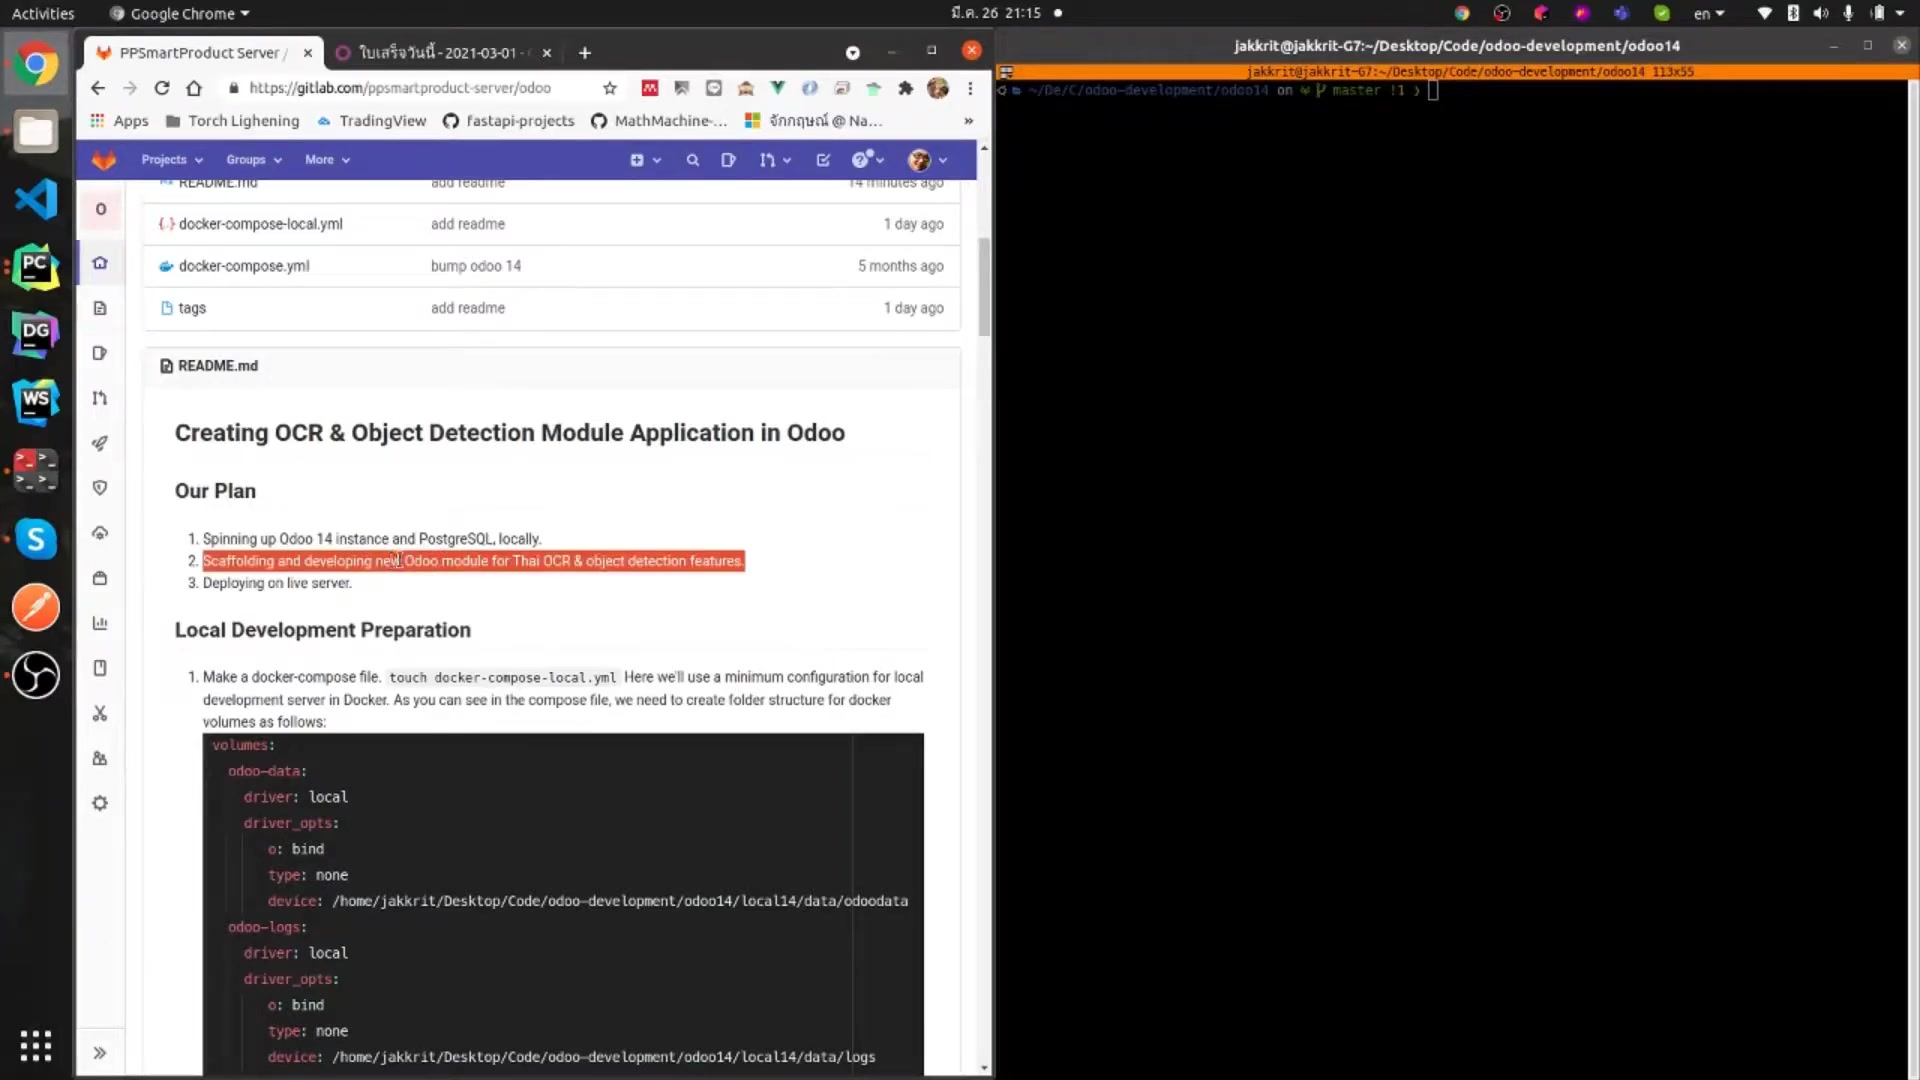
This involves creating a module directory with essential files, such as __init__.py, __manifest__.py, models, and views. Odoo provides Helper scripts to automate this process, ensuring all necessary components are in place.
Steps for Scaffolding an Odoo Module:
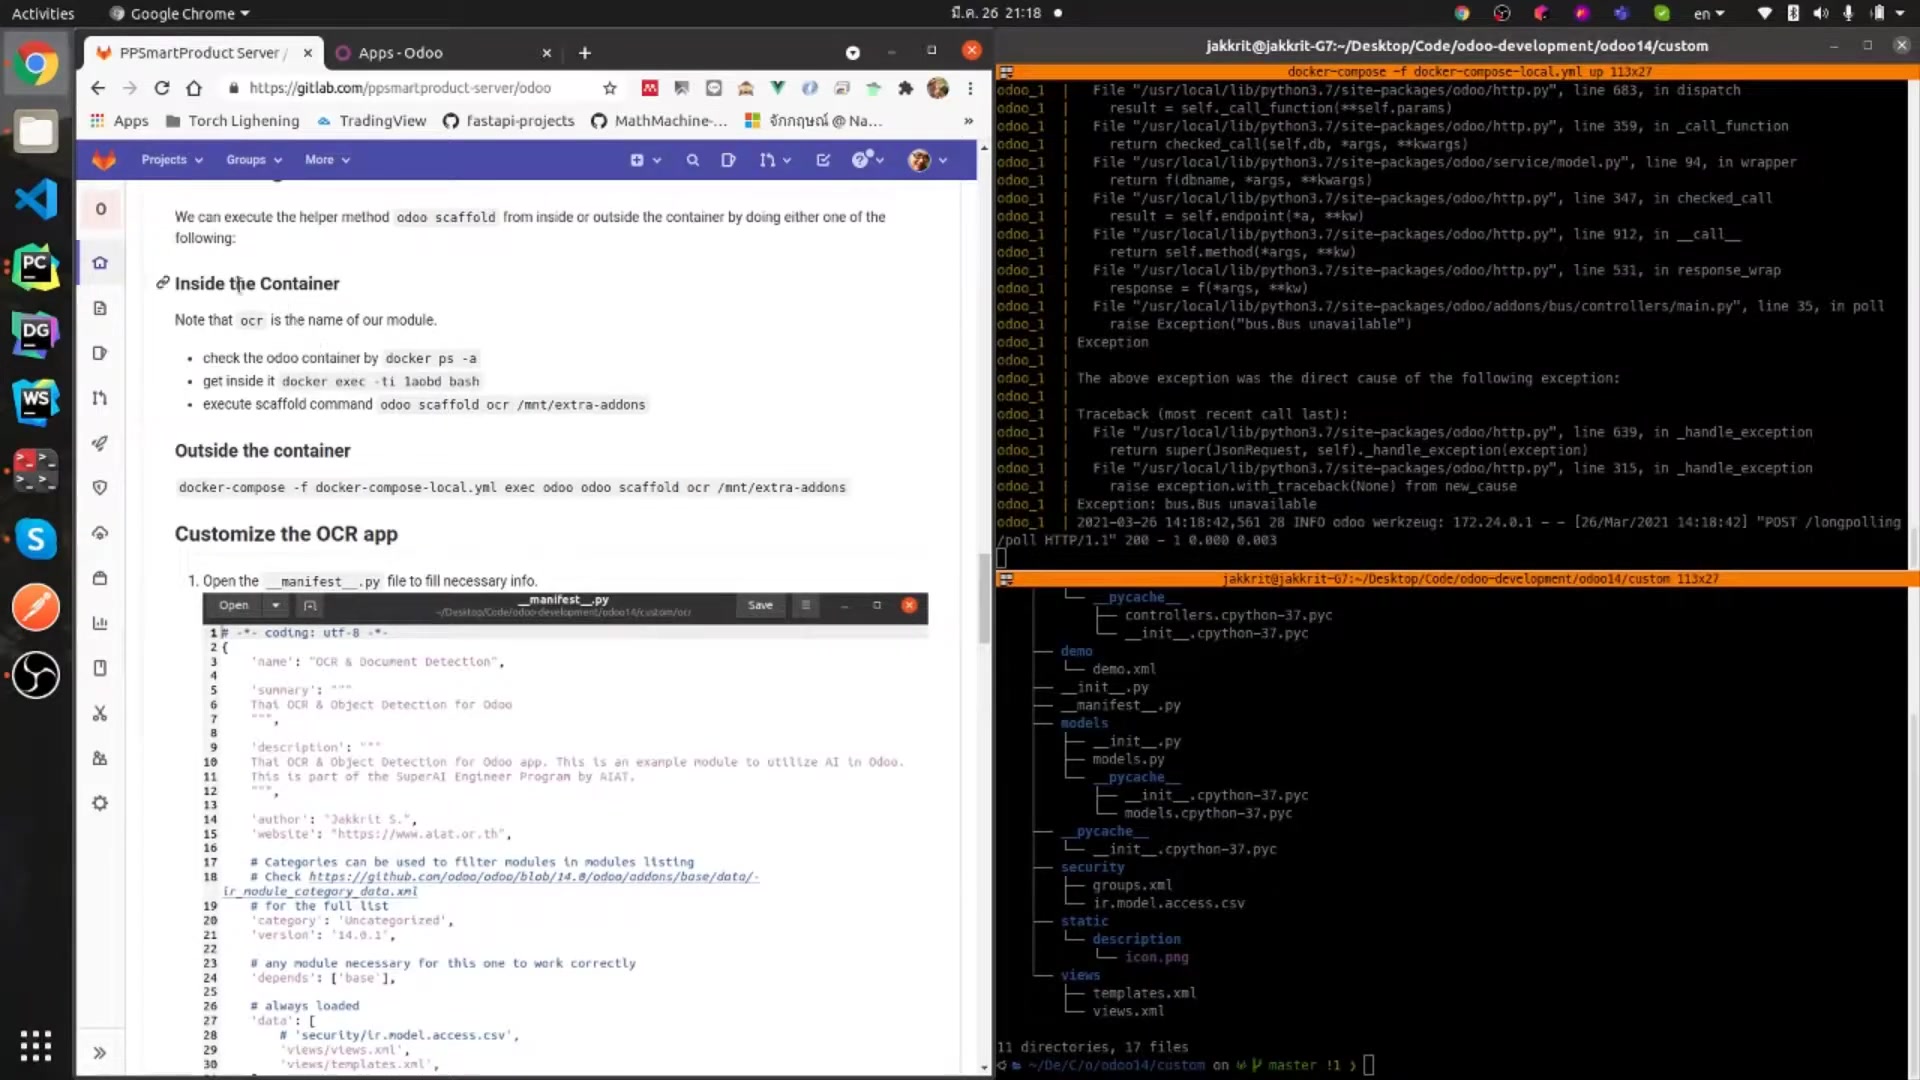
- Access the Odoo Container: Use Docker to access the running Odoo container with the command
docker ps -ato list all containers and thendocker exec -ti <container_id> bashto enter the Odoo container's shell. - Execute the Scaffold Command: Inside the container, execute the scaffold command using the odoo helper script:
odoo scaffold <module_name> /mnt/extra-addons. Replace<module_name>with the desired name for your OCR module.
This command generates a basic module structure that includes:
__init__.py: An initialization file that makes the directory a Python Package.__manifest__.py: A manifest file that defines the module's name, summary, description, and dependencies.models/: A directory to store Python files defining your data models.views/: A directory to store XML files defining the user interface.
Here’s an example of how to customize the manifest file (__manifest__.py) for an OCR module:
{
    'name': 'OCR & Document Detection',
    'summary': 'Thai OCR & Object Detection for Odoo',
    'description': 'This OCR & Object Detection for Odoo app. This is an example module to utilize AI in Odoo.',
    'author': 'Jakkit S.',
    'website': 'https://www.alot.or.th',
    'depends': ['base'],
    'data': [
        'security/ir.model.access.csv',
        'views/views.xml',
    ],
    'installable': True,
    'application': True,
}
By customizing this file, you define the essential metadata for your OCR module, ensuring Odoo recognizes and integrates it correctly.
Integrating OCR and Object Detection Features with YOLOv5
Integrating Optical Character Recognition (OCR) and object detection into your Odoo module using YOLOv5 enhances its ability to process and understand visual information from documents and images.
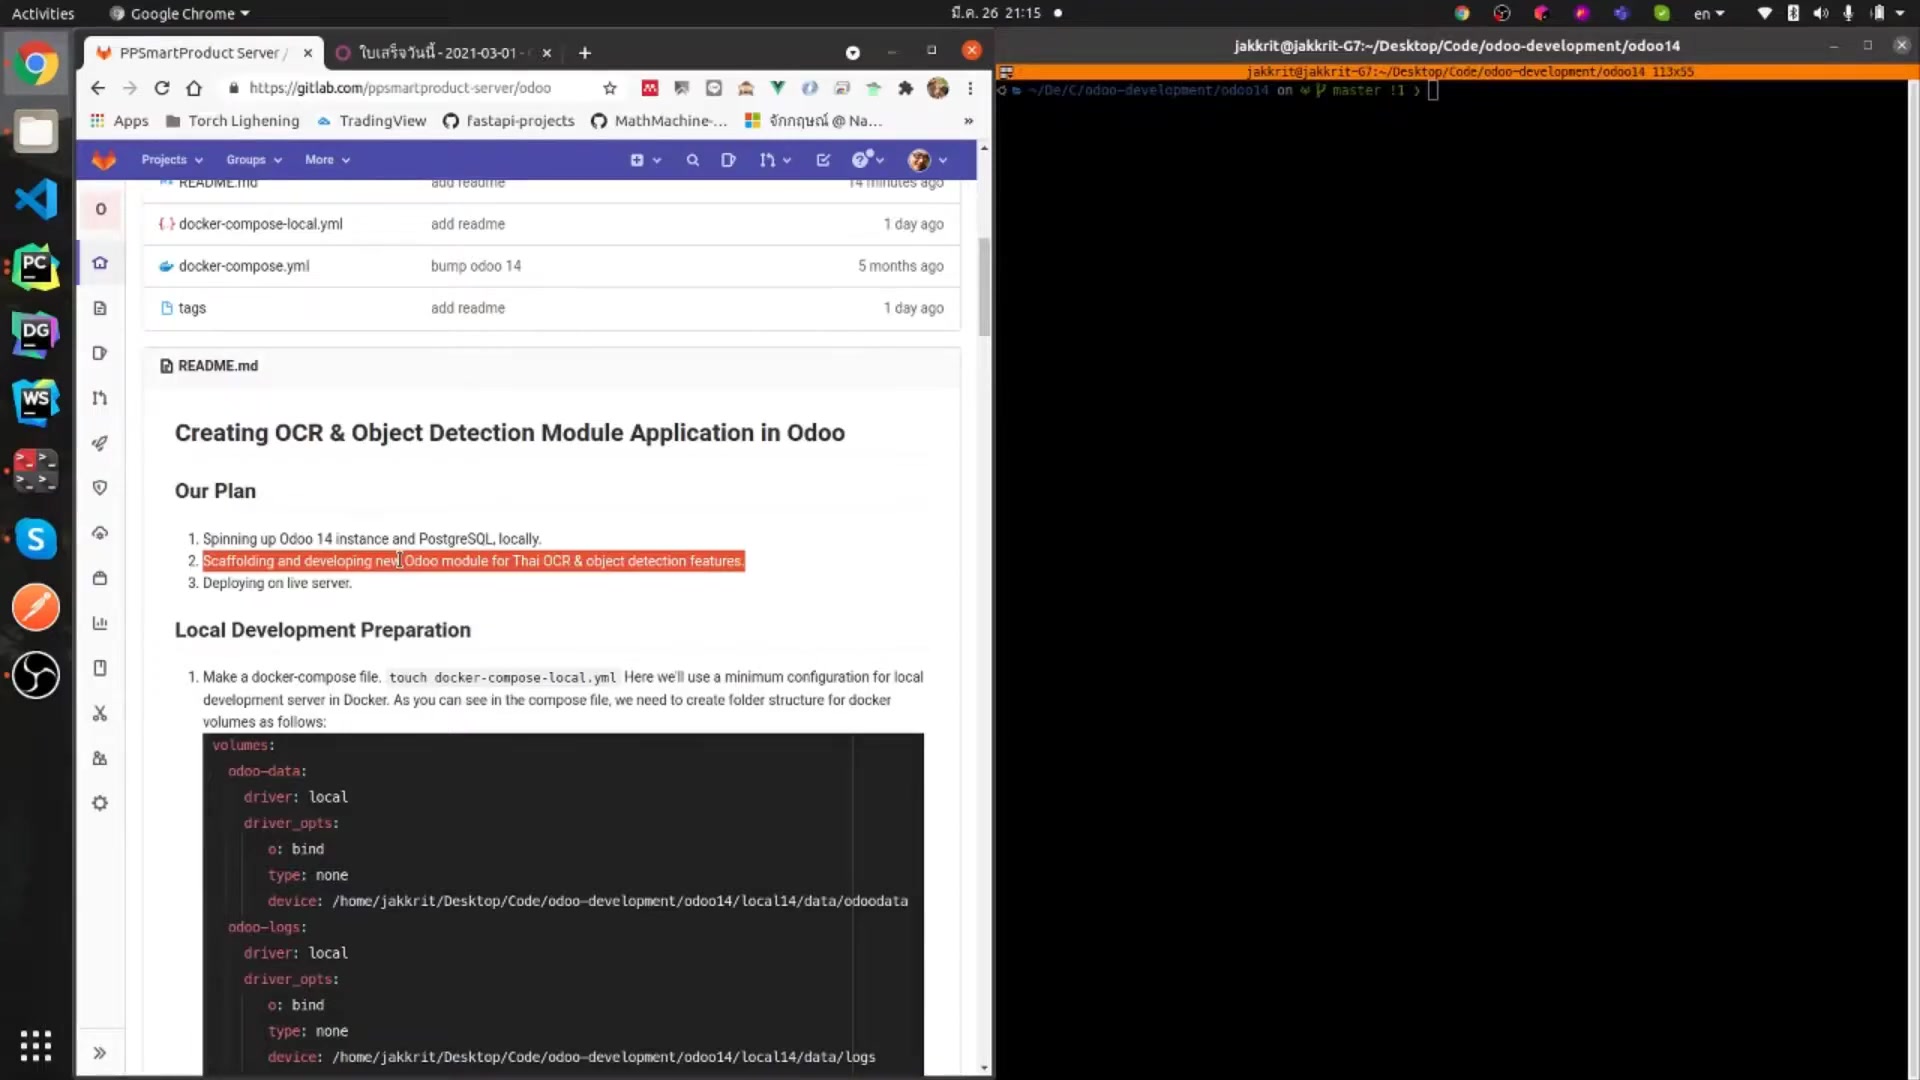
This involves setting up YOLOv5, creating necessary Python modules for handling image processing, and defining the logic for extracting data using OCR.
Steps for Integrating OCR and YOLOv5:
-
Set Up YOLOv5:
- Download or clone the YOLOv5 repository from GitHub: This repository contains all the necessary scripts and configurations for running YOLOv5.
- Install the required dependencies using
pip: Ensure you have installed all the necessary Python packages, includingtorch,torchvision, and other dependencies listed in therequirements.txtfile of the YOLOv5 repository.
-
Create Python Modules:
- Define methods for preprocessing images, running object detection with YOLOv5, and extracting text using OCR: These methods should be encapsulated within Python modules for reusability and maintainability.
-
Implement OCR Logic:
- Incorporate OCR libraries like Tesseract to extract text from image regions identified by YOLOv5: This involves creating functions to pass image data to Tesseract and parse the resulting text.
-
Customize the OCR App:
- Modify the manifest file (
__manifest__.py) to include necessary dependencies: Ensure that your module depends on the necessary libraries for OCR and object detection.
- Modify the manifest file (
Code Example (models.py):
from odoo import models, fields

class OCRReceipt(models.Model):
    _name = 'thaiocr.receipt'
    _description = 'Thai OCR Module'
    name = fields.Char('Receipt Title', required=True)
    date_billed = fields.Date('Date Billed', required=True)
    store_id = fields.Many2one('res.partner', string='Store', ondelete='cascade')
This model defines the fields needed to store information extracted from receipts, such as the title, billing date, and store details. The fields.Binary field is used to store the scanned receipt image, which can then be processed using OCR and YOLOv5 for further Data Extraction.
By integrating YOLOv5, your Odoo module can automatically identify and extract key information from receipts, such as vendor names, dates, and amounts, streamlining data entry and improving accuracy.
Deploying Your OCR Module on a Live Server
After thoroughly testing your OCR module in a local environment, the final step is to deploy it to a live server for production use.
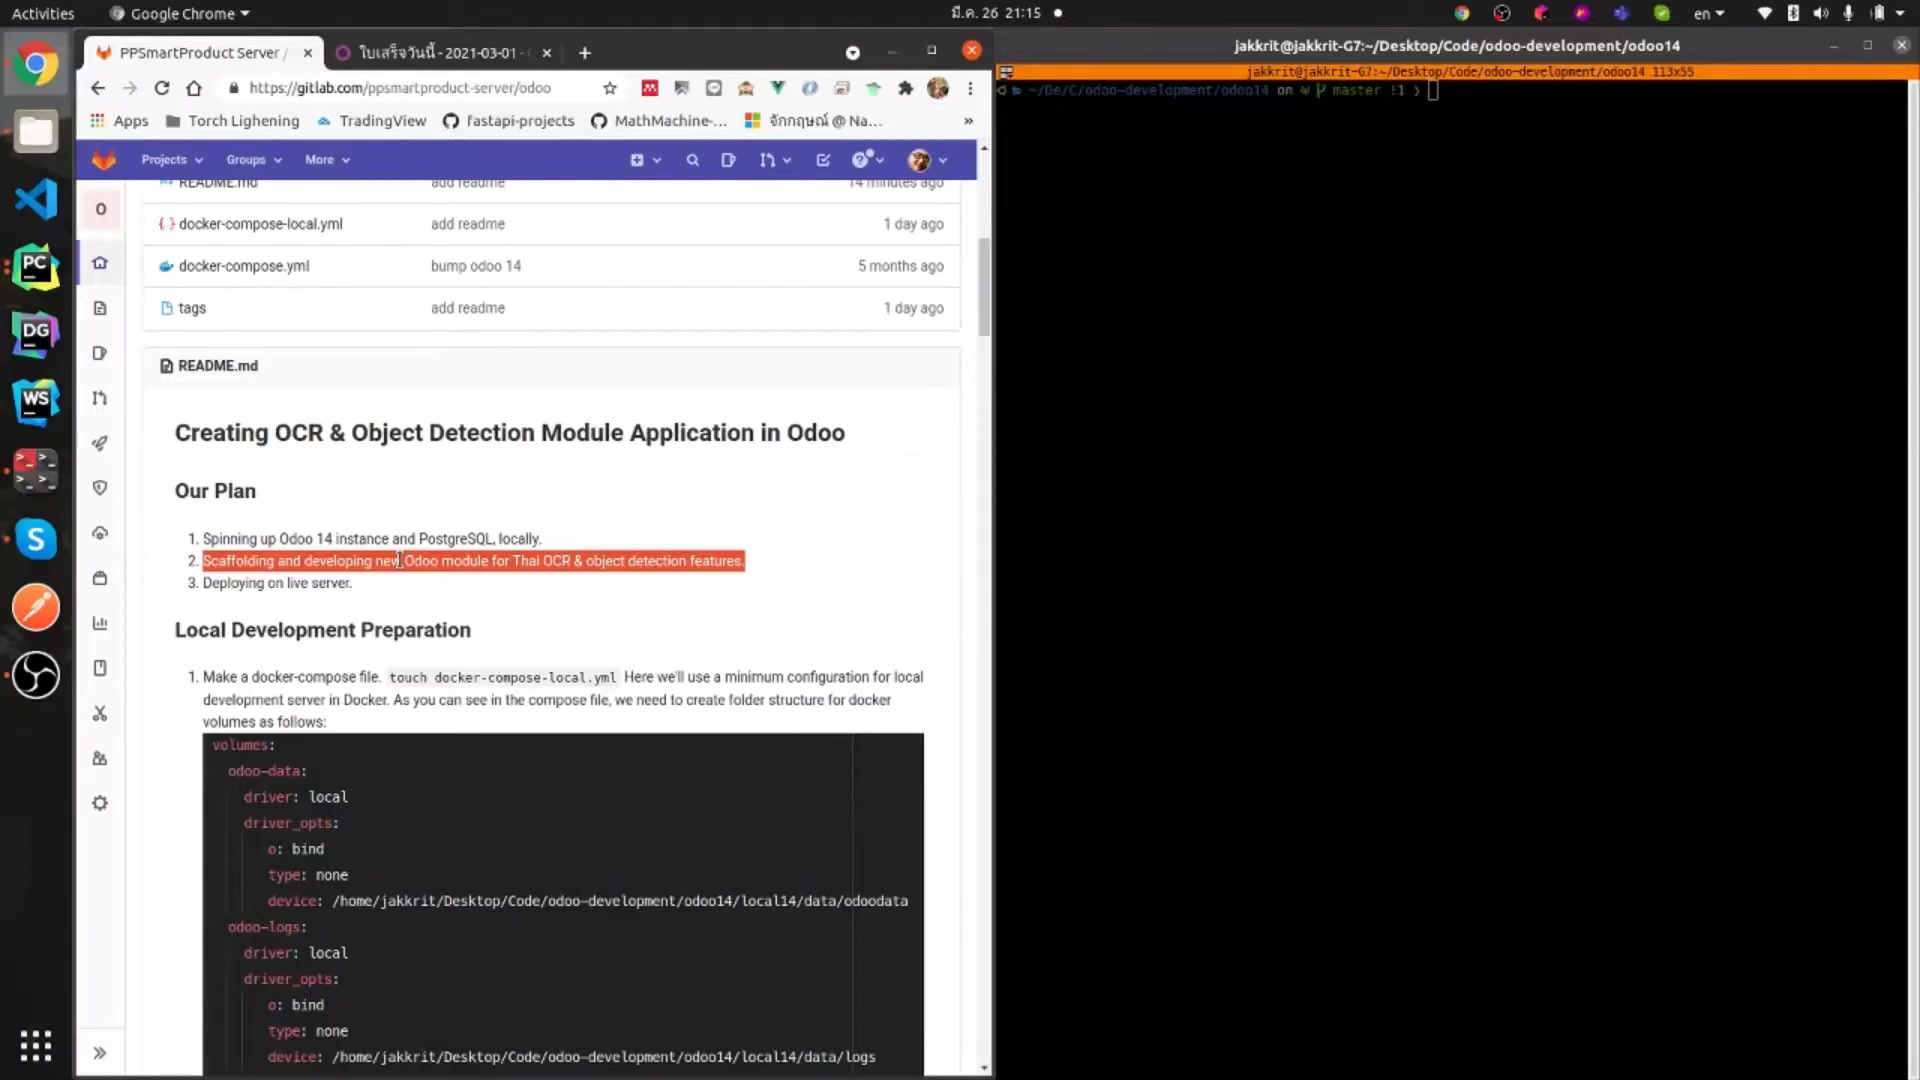
This involves packaging your module, transferring it to the server, installing it in Odoo, and configuring the server for OCR functionality.
Deployment Steps:
-
Package Your Module:
- Create a ZIP archive of your module directory: Ensure all necessary files, including the manifest file, models, views, and Python modules, are included in the Archive.
-
Transfer the Module to the Server:
- Use secure file transfer methods (e.g., SSH, SCP) to transfer the ZIP archive to a directory on your Odoo server: It’s best practice to place the module in the
addonsdirectory of your Odoo installation.
- Use secure file transfer methods (e.g., SSH, SCP) to transfer the ZIP archive to a directory on your Odoo server: It’s best practice to place the module in the
-
Install the Module in Odoo:
- Log in to your Odoo instance as an administrator, go to the Apps menu, and update the Apps List: This step ensures that Odoo recognizes the new module.
- Search for your OCR module and install it: Follow the installation process as you would with any other Odoo module.
-
Configure Server Security:
- Specify Security to Access the Model: In Odoo, you should add ir.model.access.csv to specify the security to the model first by adding groups.xml and ir.model.access.csv files. You can also enable full access to the Thai OCR module by giving full access to the thaiocr.admin derive from admin users in the system.
-
Configure Server for OCR:
- Ensure that the server has the necessary dependencies for OCR and object detection: This may involve installing Tesseract, OpenCV, and other required libraries.
By following these steps, you can successfully deploy your OCR module to a live server, making it available for users to leverage its functionality within Odoo.
How to Use
Accessing Your OCR Module in Odoo
After successfully deploying your OCR module, accessing it within Odoo is straightforward.
This process involves navigating to the Apps menu, installing the module, and locating the custom menu items.
Follow these steps to access and use your OCR module:
-
Navigate to the Apps Menu:
- Log in to your Odoo instance with administrative credentials.
- Click on the Apps icon to open the applications menu.
-
Install the OCR Module:
- Search for your OCR module using keywords related to OCR or document detection: This ensures that the module is visible in the Apps List.
- Click Install to deploy the module within your Odoo instance: This step triggers the installation process, which may take a few minutes.
-
Locate Custom Menu Items:
- Once the module is installed, navigate back to the main menu: Look for the custom menu items that you defined in your module's views. This menu should include actions for uploading receipts and running OCR processes.






Most people like





























Report
Please select a reason for reporting
- 13 Reasons to Switch from Snapchat to Text Messaging
- 7 Powerful Speech to Text Apps to Boost Productivity
- 10 Best Speech to Text Tools for Effortless Transcription
- 13 Free Tools to Easily Transcribe Audio to Text
- 15 Surprising Ways Google's Speech-to-Text Boosts Productivity
- 7 Best Free Online Audio to Text Transcription Tools
- 9 Tips to Transcribe Speech to Text Faster and Better
- 13 Best Speech to Text Software for Windows 10 in 2023
- 7 Tips for Choosing the Best Transcriber for Audio to Text
- 11 Reasons Why Dragon Speech-to-Text Apps are Game-Changers
- 6 Secrets to Enhance Your Speech to Text Transcription
- 6 Brilliant Ways to Boost Productivity with Talk-to-Text on Your MacBook
- 6 Ways Transcription Software Converts Audio to Text
- 8 Tips to Transcribe Speech to Text Like a Pro
- 6 Reasons IBM Watson Speech to Text is a Game-Changer
- 14 Powerful Ways Talk-to-Text Improves Your Workflow
- 12 Top Windows Speech-to-Text Software for Efficient Transcription
- 12 Game-Changing Benefits of Apple's Speech to Text Technology
- 9 Powerful Use Cases for AWS Speech to Text Technology
- 10 Easy Steps to Transcribe YouTube Videos to Text
- transcription audio en texte
- online audio transcription
- free audio file transcription
- free ai audio transcription
- audio transcription service
- audio transcription online free
- audio transcription free online
- audio to transcription software
- audio and transcript
- ai audio transcription free
- voice recording to text converter
- translate voice recording to text
- record voice to text
- audio recording to text converter
- voice recording and transcription
- chatgpt voice to text
- gmail voice to text
- speech to text reader
- speech to text ai free
- speech to talk
- Design Professional Flyers for Free on Your Phone
- Best Free Flyer Maker Apps for Android: Design Like a Pro
- How to Know If Your Business Is Ready for an AI Customer Service Agent
- Revolutionizing Storytelling: From Novels to Screenplays with AI
- Create Engaging Animated Explainer Videos with a Free AI Tool
- Stop Multi-Subscribing: Benchmark Top AI Visual Models in One Canvas
- Best Seedance 2.5 API Provider: Every Price on the Market, Checked at Source
- AI OnlyFans: How to Generate $30,000/Month (Legally)
- Transform Your Script into an Engaging Video with AI Video Maker!
- AI Marketing Automation: A Comprehensive Guide for Small Businesses
- Design Professional Flyers for Free on Your Phone
- Best Free Flyer Maker Apps for Android: Design Like a Pro
- Unleash Creativity: AI Coloring Pages with ColoringBook.ai
- Generate Stunning AI Photos with Google Gemini: A Guide
- Boost Your Etsy Sales with Stunning Digital Invitations!
- Revolutionize Your Etsy Listing with AI Text Generator
- Create Coloring Pages with AI: A Bing AI Tutorial
- Photo Lab App: Transform Your Photos with Stunning AI Effects
- Effortless Design: Rewriting Text with Microsoft Designer's AI
- Create & Sell Kids' Coloring Books with AI - KDP Guide

Copyright ©2026 toolify