































Table of Contents
- Key Points
- Understanding OpenCV Warp Perspective
- Complete Code Example
- Implementing Warp Perspective with OpenCV
- Advantages and Disadvantages of Warp Perspective
- FAQ
- Related Questions


Understanding OpenCV Warp Perspective
What is Perspective Transformation?
Perspective transformation, also known as homography, is a type of geometric transformation that maps points from one plane to another. Unlike affine transformations, perspective transformations do not preserve parallelism. Instead, they preserve straight lines. This makes them ideal for correcting perspective distortions and aligning objects that are not Parallel to the image plane.
This OpenCV technique involves selecting four points in the original image and mapping them to corresponding points in the output image. The warpPerspective function calculates the transformation matrix and applies it to the entire image. This allows you to change the viewpoint, correct distortions, and extract regions of interest from a new perspective.
Understanding warp perspective is crucial for many computer vision tasks, such as:
- Document scanning and correction
- Object alignment and recognition
- Image stitching
- Creating panoramic images
With OpenCV and Python, you can easily implement these transformations to enhance your image processing workflows.
Setting Up the Environment
Before diving into the code, make sure you have the necessary libraries installed. You'll need OpenCV (cv2) and NumPy (numpy). If you don't have them already, install them using pip:
pip install opencv-python numpyOnce installed, import these libraries into your Python script:
import cv2
import numpy as np
With the environment set up, you're ready to start coding. OpenCV is essential for using the image processing functions, and NumPy is needed for handling arrays and matrices efficiently. These are the basic building blocks for any image manipulation task in Python. Proper setup ensures that the code runs without errors and leverages the full power of these libraries.
Preparing the Image
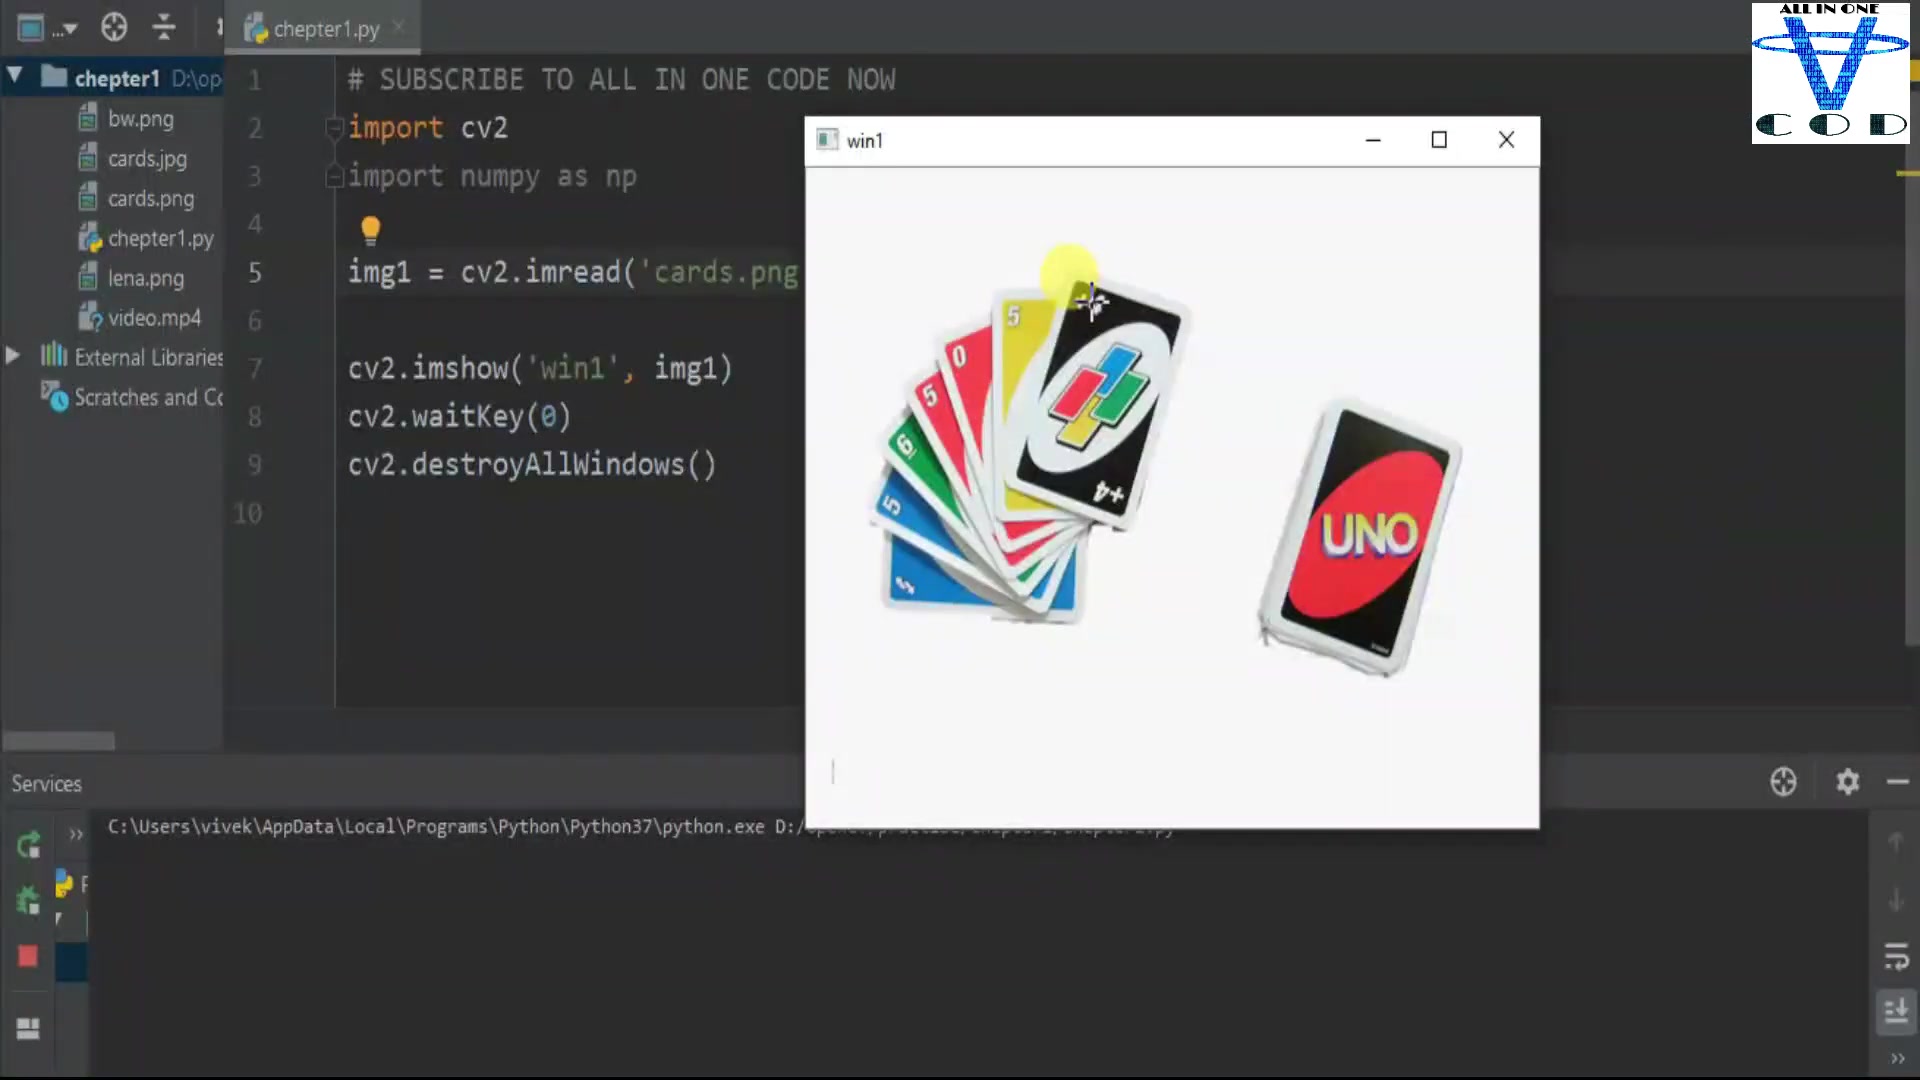
To demonstrate the warpPerspective function, we'll use an image containing several playing cards. You can use any image you like, but make sure it has distinct features or objects that you want to transform. Load the image using cv2.imread():
img = cv2.imread('cards.png')

if img is None:
    print("Error: Image not found.")
    exit()

cv2.imshow('Original Image', img)
cv2.waitKey(0)
cv2.destroyAllWindows()
This code loads the image 'cards.png' and displays it in a window. If the image is not found, it prints an error message and exits. Displaying the original image allows you to verify that the image is loaded correctly and to identify the points you want to use for the perspective transformation.
Consider the image cards.png can be downloaded online or you can use your image. If you want to skip finding the image you can also use any image URL directly in your code.
Implementing Warp Perspective with OpenCV
Defining the Input and Output Coordinates
The key to perspective transformation is defining the input and output coordinates correctly. You need to select four points in the original image that define the region you want to transform. These points should form a quadrilateral. Then, you need to define the corresponding points in the output image, which will determine the new Shape and perspective of the region.
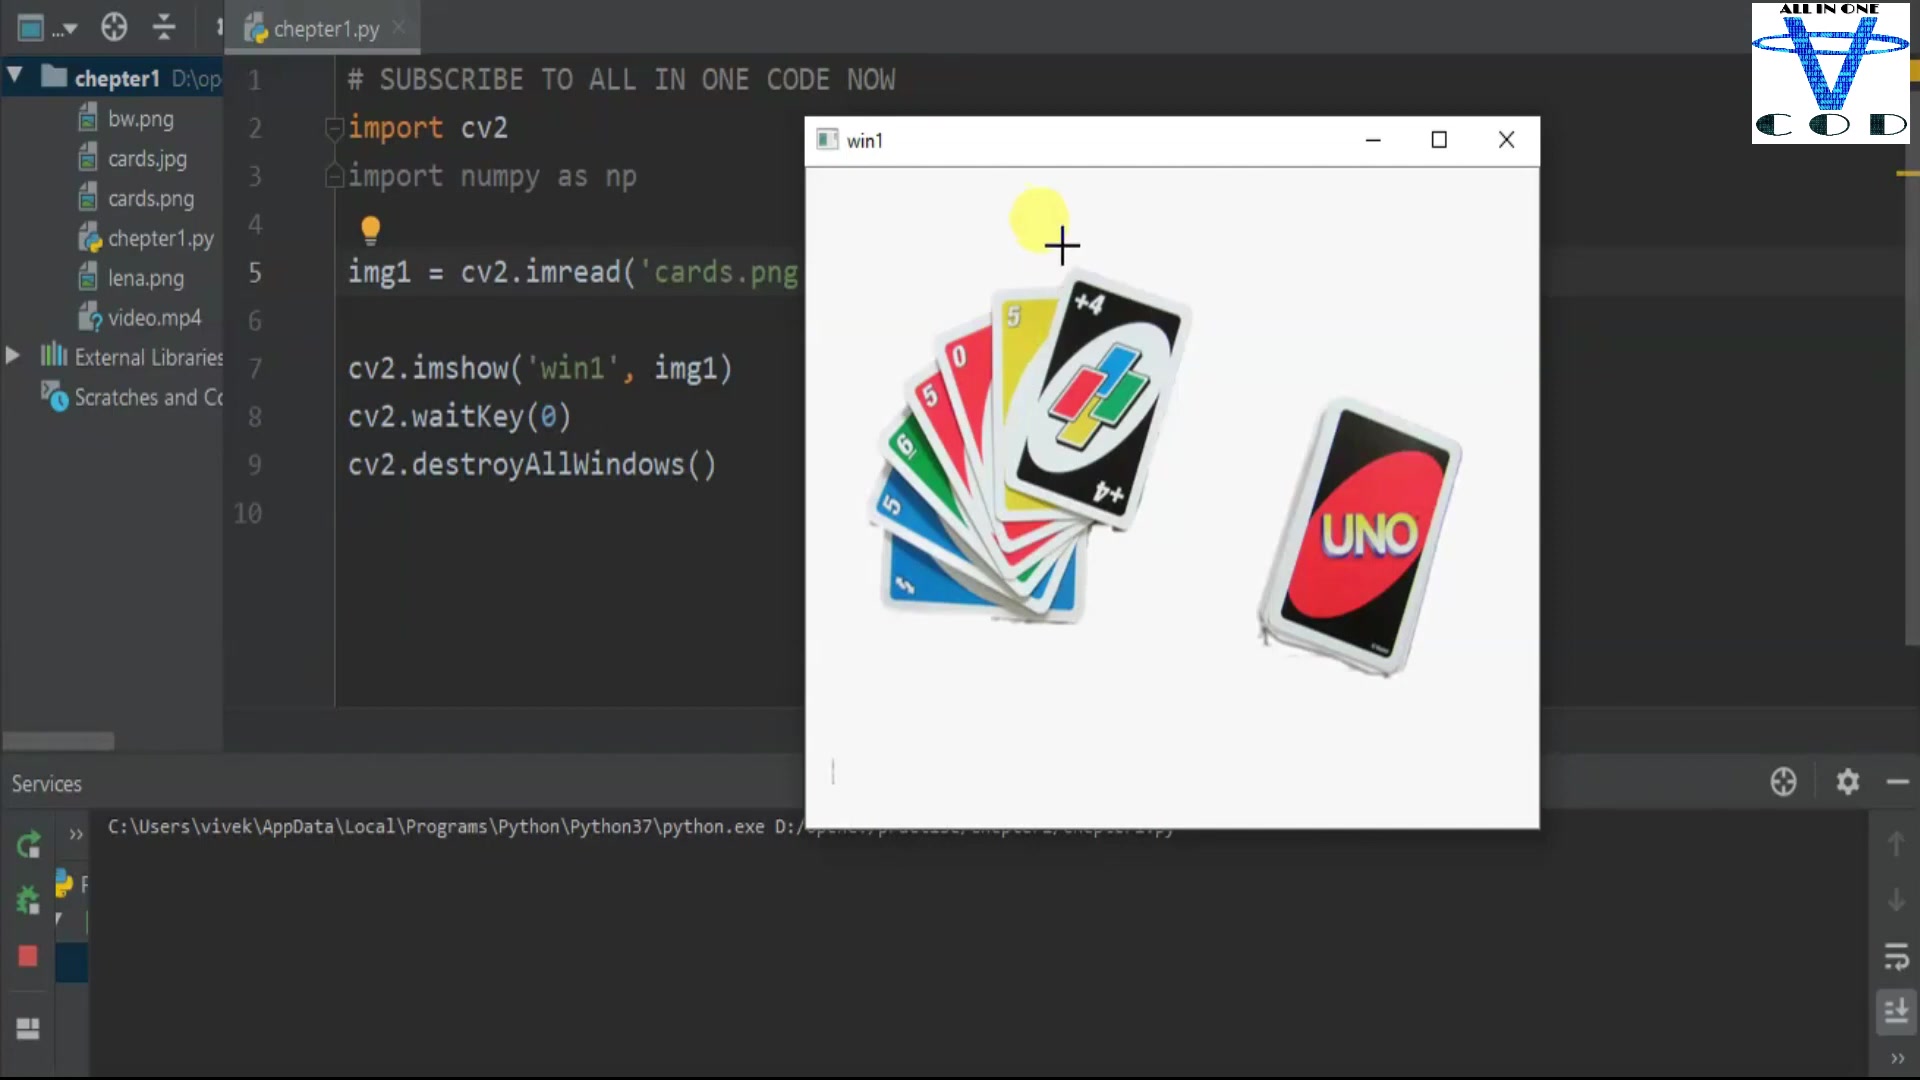
First, let's manually get the coordinates from the picture paint. To use the coordinates later you need to follow these step:
- Find a picture with the item you want to warp perspective
- Open the image using Paint
- Move your Cursor to the first point and you can see in the bottom left corner what the coordinate is
- Do the same to the other points
- Remember that, the first point will be at the left corner and the fourth at the right corner
pts1 = np.float32([[179, 60], [263, 86], [136, 189], [220, 217]])These are the coordinates of the four corners of a card in the image. Now, define the output coordinates:
width, Height = 300, 400
pts2 = np.float32([[0, 0], [width, 0], [0, height], [width, height]])
Here, pts2 defines a rectangle with a specified width and height. These coordinates will map the selected region in the original image to a rectangular region in the output image. Make sure that the order of the points in pts1 and pts2 corresponds correctly. NumPy is used to structure these coordinates for processing in OpenCV.
Getting the Perspective Transform Matrix
Now that you have the input and output coordinates, you can calculate the perspective transform matrix using cv2.getPerspectiveTransform():
matrix = cv2.getPerspectiveTransform(pts1, pts2)This function takes the input and output coordinates and returns a 3x3 transformation matrix. This matrix encapsulates the perspective transformation that maps the points in pts1 to the points in pts2. The transform matrix represents the mathematical transformation needed to warp the image. Understanding how to use this function is crucial for performing perspective correction in image processing tasks.
Applying the Warp Perspective
With the transformation matrix in HAND, you can apply the warp perspective to the image using cv2.warpPerspective():
output = cv2.warpPerspective(img, matrix, (width, height))This function takes the original image, the transformation matrix, and the desired output size, and returns the transformed image. The width and height arguments define the size of the output image. The OpenCV warp perspective function effectively applies the perspective transform, creating a new view of the image. By adjusting the output size, you can control the resolution and aspect ratio of the transformed image.
Displaying the Output
Finally, display the output image to see the result of the perspective transformation:
cv2.imshow('Warped Perspective', output)
cv2.waitKey(0)
cv2.destroyAllWindows()
This code displays the transformed image in a new window. cv2.waitKey(0) waits indefinitely for a key press, and cv2.destroyAllWindows() closes all open windows. You can adjust the width and height values to control the size and resolution of the warped perspective image. Verifying the output is a key step in image processing to ensure the desired transformation is achieved.





Most people like

































Report
Please select a reason for reporting
- 13 Reasons to Switch from Snapchat to Text Messaging
- 7 Powerful Speech to Text Apps to Boost Productivity
- 10 Best Speech to Text Tools for Effortless Transcription
- 13 Free Tools to Easily Transcribe Audio to Text
- 15 Surprising Ways Google's Speech-to-Text Boosts Productivity
- 7 Best Free Online Audio to Text Transcription Tools
- 9 Tips to Transcribe Speech to Text Faster and Better
- 13 Best Speech to Text Software for Windows 10 in 2023
- 7 Tips for Choosing the Best Transcriber for Audio to Text
- 11 Reasons Why Dragon Speech-to-Text Apps are Game-Changers
- 6 Secrets to Enhance Your Speech to Text Transcription
- 6 Brilliant Ways to Boost Productivity with Talk-to-Text on Your MacBook
- 6 Ways Transcription Software Converts Audio to Text
- 8 Tips to Transcribe Speech to Text Like a Pro
- 6 Reasons IBM Watson Speech to Text is a Game-Changer
- 14 Powerful Ways Talk-to-Text Improves Your Workflow
- 12 Top Windows Speech-to-Text Software for Efficient Transcription
- 12 Game-Changing Benefits of Apple's Speech to Text Technology
- 9 Powerful Use Cases for AWS Speech to Text Technology
- 10 Easy Steps to Transcribe YouTube Videos to Text
- transcription audio en texte
- online audio transcription
- free audio file transcription
- free ai audio transcription
- audio transcription service
- audio transcription online free
- audio transcription free online
- audio to transcription software
- audio and transcript
- ai audio transcription free
- voice recording to text converter
- translate voice recording to text
- record voice to text
- audio recording to text converter
- voice recording and transcription
- chatgpt voice to text
- gmail voice to text
- speech to text reader
- speech to text ai free
- speech to talk
- Create Engaging Animated Explainer Videos with a Free AI Tool
- Stop Multi-Subscribing: Benchmark Top AI Visual Models in One Canvas
- Best Seedance 2.5 API Provider: Every Price on the Market, Checked at Source
- AI OnlyFans: How to Generate $30,000/Month (Legally)
- Transform Your Script into an Engaging Video with AI Video Maker!
- AI Marketing Automation: A Comprehensive Guide for Small Businesses
- Midjourney Alternative for Anime Art Creators: Why PixAI May Be Better for Character Workflows
- 10 Things Most People Get Wrong About AI Image Search
- AI Girlfriend Apps: Top Choices Redefining Relationships 2025
- How to Reduce Quoting Errors in Salesforce with AI-Assisted Quote Creation
- AI Resume Builders: EnhanceCV, ResumeNerd AI, & Teal Compared
- ResumeAI: Crafting ATS-Optimized Resumes with AI
- AI in Resume Writing: A New Era for Job Seekers
- AI Resume Tools: Streamline Your Job Search and Land Your Dream Role
- AI Resume Optimization: The Right Way to Land Interviews
- Crafting a Killer Resume with AI: A Step-by-Step Guide
- Crafting a Winning Resume: AI Tools and Expert Tips
- AI Job Search: Level Up Your Career with AI Automation
- Empower Your Career Journey: Dynamic Resumes with AI
- AI Resume Builder: Create Professional Resumes Effortlessly

Copyright ©2026 toolify