


Table of Contents
- Key Points
- Setting Up Your Python Motion Detector
- Optimizing Your Motion Detector
- Step-by-Step Guide to Setting Up Your Motion Detector
- Pros and Cons of OpenCV Motion Detection
- Frequently Asked Questions
- Related Questions


Setting Up Your Python Motion Detector
What is Motion Detection?
Motion detection is the process of identifying changes in a video stream that indicate movement. It involves comparing consecutive frames and highlighting areas where significant differences occur. This technique is fundamental in applications like surveillance systems, where it helps to trigger alarms or Recording based on detected activity.
Motion detection can be implemented using various algorithms, but this Tutorial focuses on a simple yet effective method using frame differencing and thresholding with OpenCV.
Importing OpenCV and Initializing the Webcam
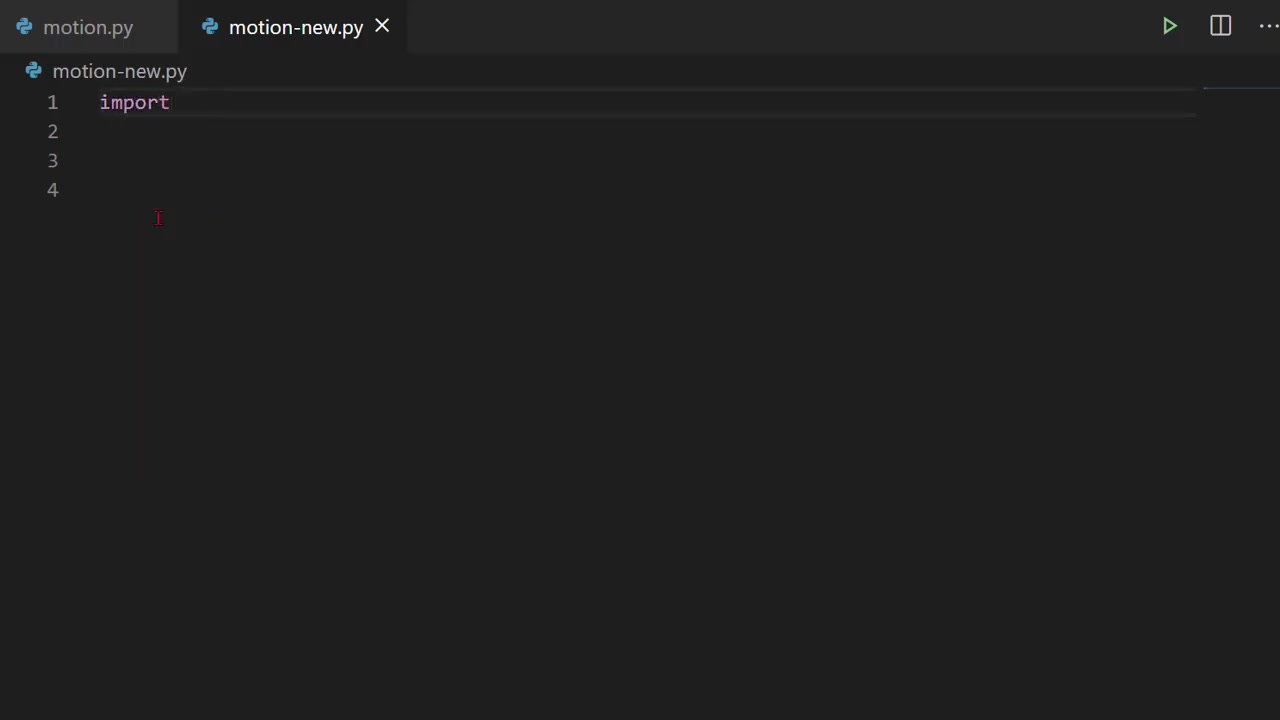
Before diving into the code, you'll need to ensure you have OpenCV installed. You can install it using pip: pip install opencv-python. Once installed, import the library into your Python script using the following code:
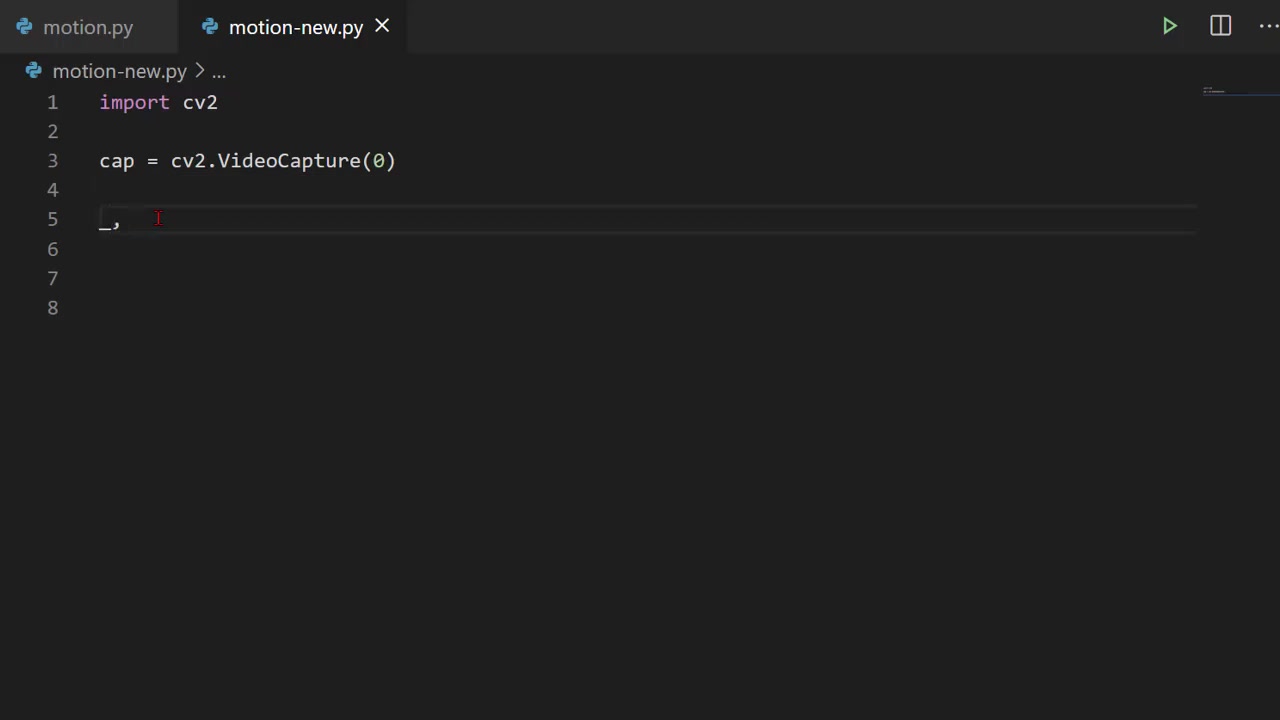
import cv2Next, initialize your webcam. OpenCV's VideoCapture() function allows you to access your computer's camera.
By passing 0 as an argument, you're specifying the default webcam. You can assign this capture object to a variable, such as cap, for further use:
cap = cv2.VideoCapture(0)This establishes a connection to your webcam, allowing you to capture video frames for processing.
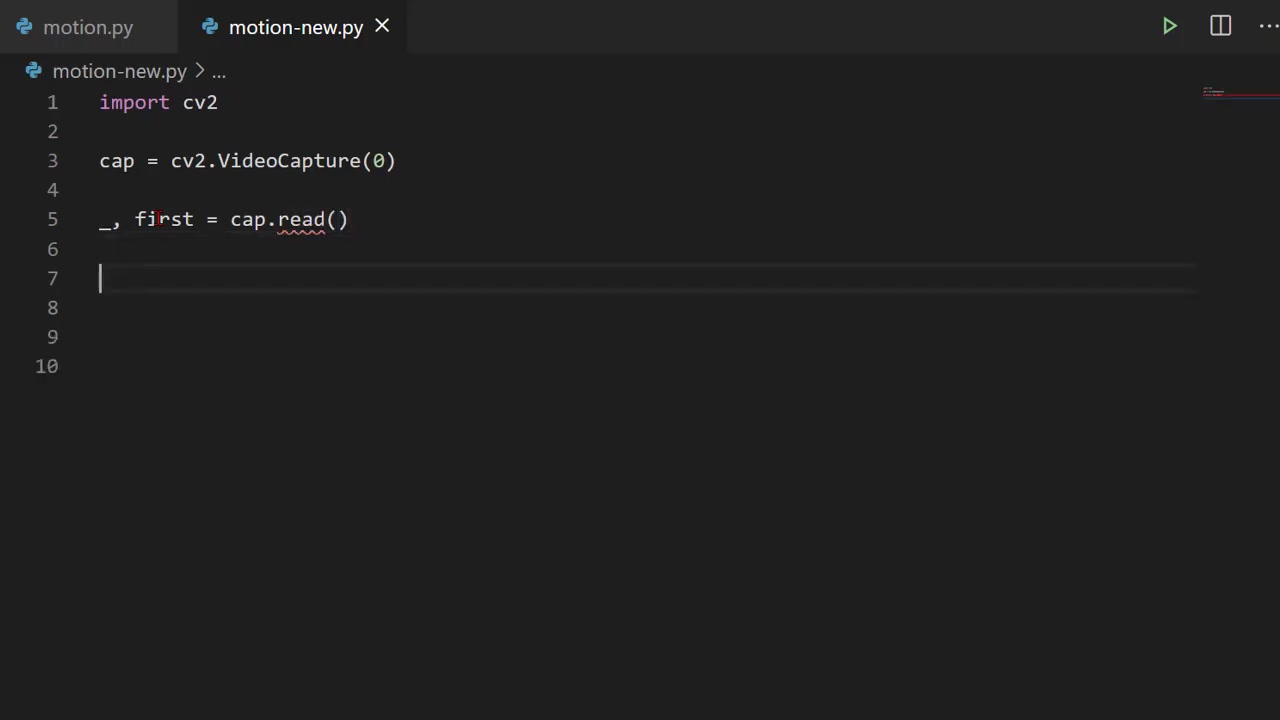
Capturing the First Frame as a Baseline
To detect motion, you first need a baseline. This is achieved by capturing and storing the first frame of the video stream. This frame will serve as a reference point against which subsequent frames are compared.
The code to accomplish this looks like:
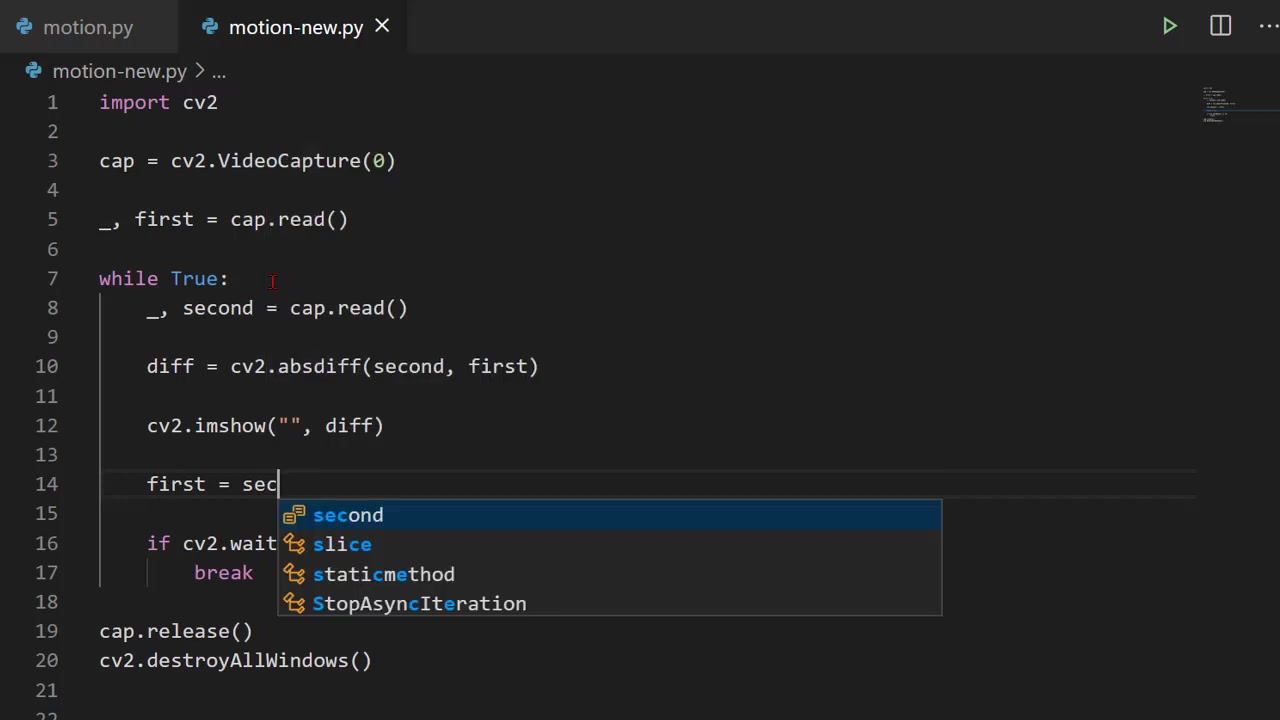
_, first_frame = cap.read()The cap.read() function returns two values: a boolean indicating success and the actual frame data. The underscore _ is used to discard the boolean value since we're primarily interested in the frame data. The first_frame variable now holds the initial image from the webcam.
Implementing the Main Loop for Real-Time Processing
The heart of the motion detector is a continuous loop that processes incoming frames in real-time. This is achieved using a while True: loop, which keeps running until a specific condition is met to break out of it.
Inside the loop, you'll read each frame, perform motion detection calculations, and display the results. The loop also includes a mechanism to exit the program gracefully when the user presses the 'Esc' key (or any other specified key).
while True:
    _, frame = cap.read()

    # Motion detection logic will go here

    cv2.imshow('Motion Detector', frame)

    key = cv2.waitKey(1)
    if key == 27:
        break
The cv2.waitKey(1) function waits for 1 millisecond for a key press. If the 'Esc' key (ASCII code 27) is pressed, the loop breaks, and the program proceeds to release resources and close windows.
Calculating Frame Differences and Converting to Grayscale
To pinpoint motion, we need to compare each new frame to the initial baseline frame. OpenCV provides a convenient function, cv2.absdiff(), which calculates the absolute difference between two images. This difference highlights the areas where changes have occurred.
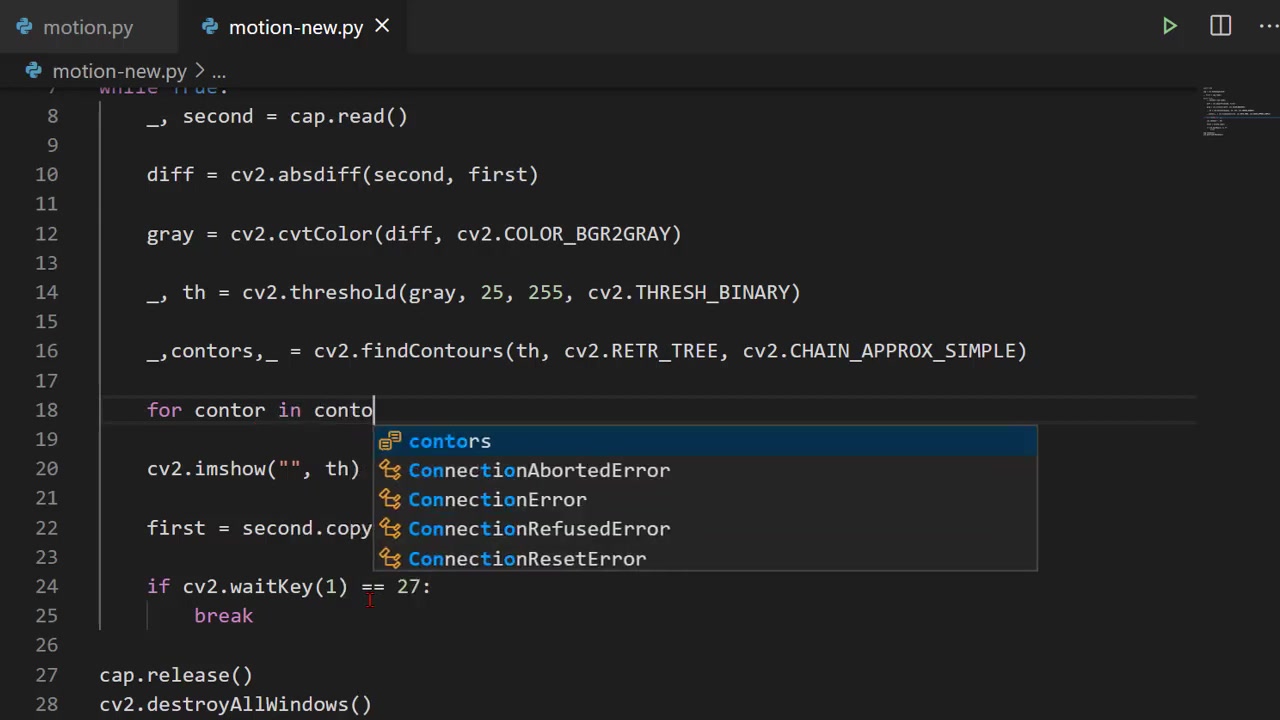
diff = cv2.absdiff(first_frame, frame)Since color information isn't crucial for motion detection, converting the difference image to grayscale simplifies the analysis. Use cv2.cvtColor() for this conversion:
gray = cv2.cvtColor(diff, cv2.COLOR_BGR2GRAY)Grayscale images have a single Channel representing intensity, making it easier to identify significant changes.
Thresholding: Highlighting Significant Motion
Thresholding is a technique used to segment an image by setting pixel values above a certain threshold to one value (e.g., white) and values below the threshold to another (e.g., black). This creates a binary image, clearly delineating areas of motion.
OpenCV's cv2.threshold() function implements this:
_, thresh = cv2.threshold(gray, 25, 255, cv2.THRESH_BINARY)This function takes the grayscale image, a threshold value (25 in this case), a maximum value (255 for white), and a thresholding type (cv2.THRESH_BINARY). It returns a thresholded image where pixels with intensity greater than 25 are set to white, and others are set to black. This binary image makes it easier to isolate and identify moving objects.
Finding Contours: Outlining Moving Objects
Contours are outlines representing the boundaries of objects in an image. By finding contours in the thresholded image, you can precisely identify the Shape and location of moving objects.
Use OpenCV's cv2.findContours() function to detect these outlines:
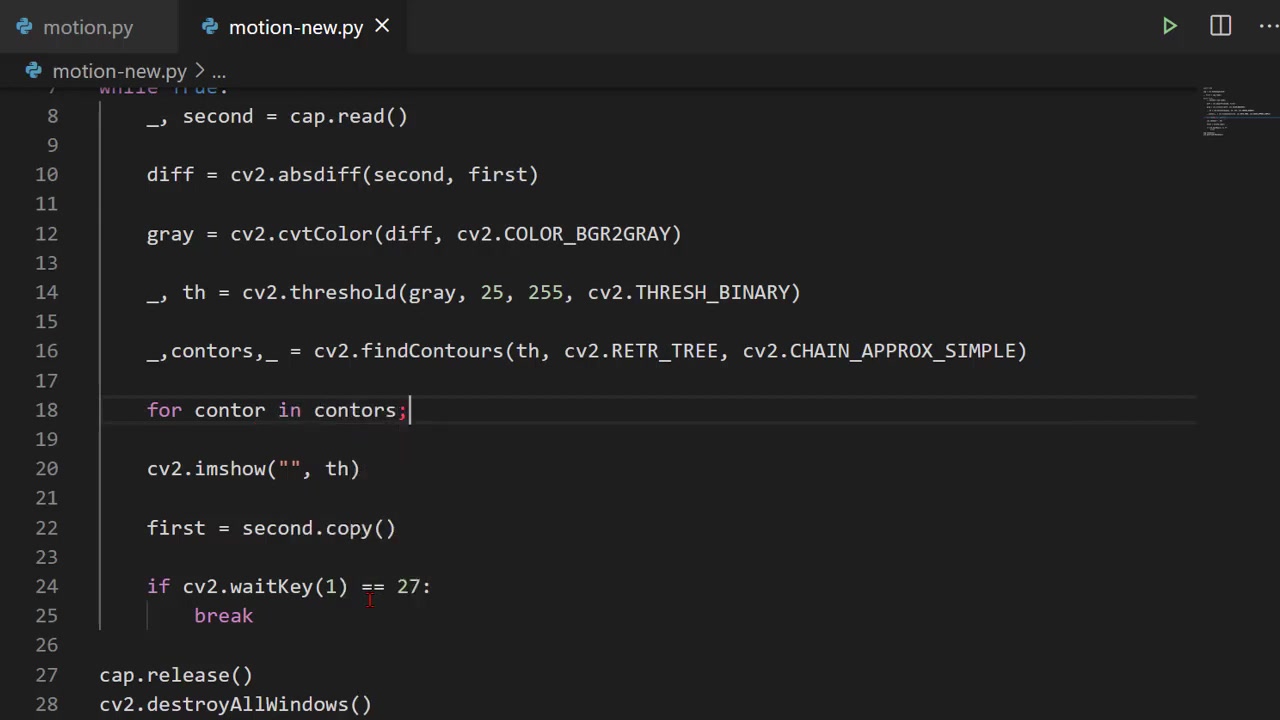
contours, _ = cv2.findContours(thresh, cv2.RETR_TREE, cv2.CHAIN_APPROX_SIMPLE)This function returns a list of contours and a hierarchy representing their relationships. The cv2.RETR_TREE retrieval mode retrieves all contours in a hierarchical structure, while cv2.CHAIN_APPROX_SIMPLE compresses horizontal, vertical, and diagonal segments into their endpoints.
Drawing Bounding Boxes: Visualizing Motion
Once you have the contours, you can draw bounding boxes around them to visually highlight the detected motion. This is achieved by iterating through the contours and drawing rectangles around those that meet certain criteria (e.g., area greater than a threshold).
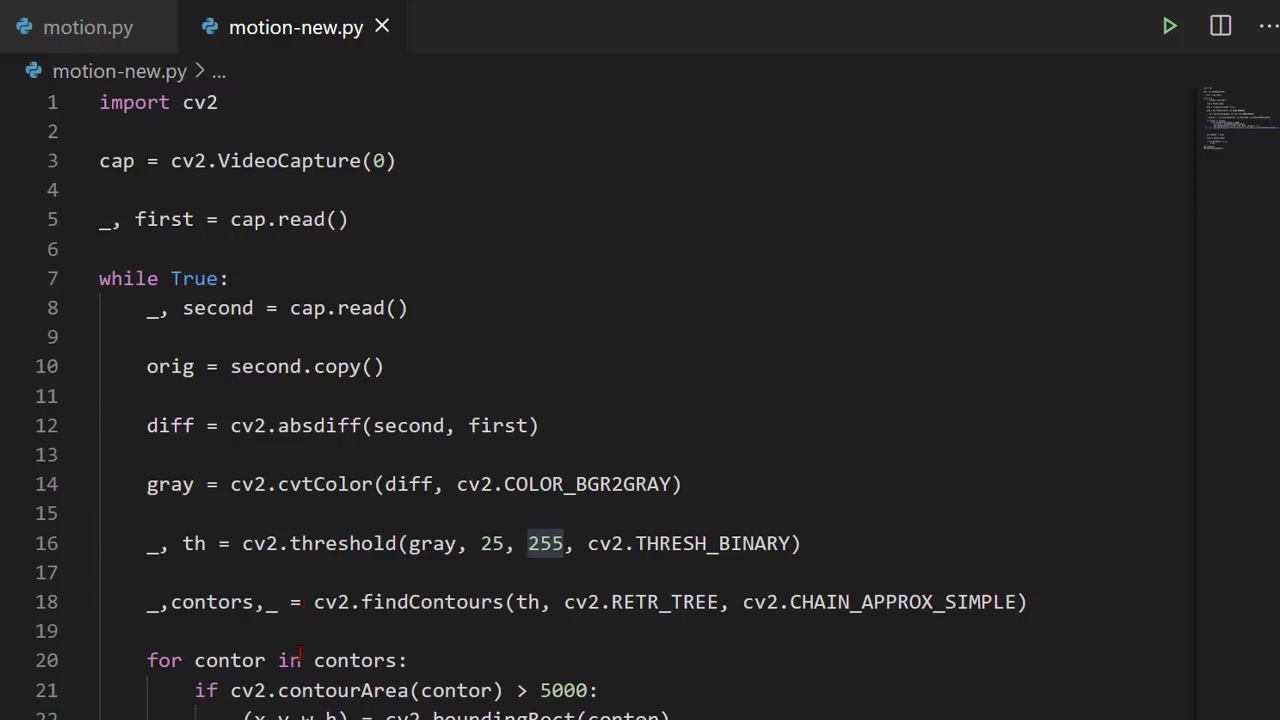
for contour in contours:
    if cv2.contourArea(contour) < 1000:
        continue

    (x, y, w, h) = cv2.boundingRect(contour)
    cv2.rectangle(frame, (x, y), (x + w, y + h), (0, 255, 0), 2)
This code iterates through the contours. If the contour area is greater than 1000 pixels (to filter out small noise), it calculates the bounding rectangle using cv2.boundingRect(). The cv2.rectangle() function then draws a green rectangle around the motion with the coordinates (x, y) as the top-left corner and (x + w, y + h) as the bottom-right corner. The 2 specifies the rectangle's thickness.
Releasing Resources and Closing Windows
Finally, it's crucial to release the webcam and destroy all created windows when the program exits. This ensures that your system's resources are freed up. The following code snippet does this:
cap.release()
cv2.destroyAllWindows()
cap.release() releases the webcam, and cv2.destroyAllWindows() closes any OpenCV windows that were created during the program's execution.


Most people like


Report
Please select a reason for reporting
- 13 Reasons to Switch from Snapchat to Text Messaging
- 7 Powerful Speech to Text Apps to Boost Productivity
- 10 Best Speech to Text Tools for Effortless Transcription
- 13 Free Tools to Easily Transcribe Audio to Text
- 15 Surprising Ways Google's Speech-to-Text Boosts Productivity
- 7 Best Free Online Audio to Text Transcription Tools
- 9 Tips to Transcribe Speech to Text Faster and Better
- 13 Best Speech to Text Software for Windows 10 in 2023
- 7 Tips for Choosing the Best Transcriber for Audio to Text
- 11 Reasons Why Dragon Speech-to-Text Apps are Game-Changers
- 6 Secrets to Enhance Your Speech to Text Transcription
- 6 Brilliant Ways to Boost Productivity with Talk-to-Text on Your MacBook
- 6 Ways Transcription Software Converts Audio to Text
- 8 Tips to Transcribe Speech to Text Like a Pro
- 6 Reasons IBM Watson Speech to Text is a Game-Changer
- 14 Powerful Ways Talk-to-Text Improves Your Workflow
- 12 Top Windows Speech-to-Text Software for Efficient Transcription
- 12 Game-Changing Benefits of Apple's Speech to Text Technology
- 9 Powerful Use Cases for AWS Speech to Text Technology
- 10 Easy Steps to Transcribe YouTube Videos to Text
- transcription audio en texte
- online audio transcription
- free audio file transcription
- free ai audio transcription
- audio transcription service
- audio transcription online free
- audio transcription free online
- audio to transcription software
- audio and transcript
- ai audio transcription free
- voice recording to text converter
- translate voice recording to text
- record voice to text
- audio recording to text converter
- voice recording and transcription
- chatgpt voice to text
- gmail voice to text
- speech to text reader
- speech to text ai free
- speech to talk
- 2026别再为 Claude多花冤枉钱了,ClaudeAPI.com国内直连让我每月省下 ¥780
- 5 Best AI Chat Apps for Mac in 2026
- What Makes Happy Horse 1.0 Different from Basic AI Video Tools
- Key Features of Happy Horse 1.0 AI Video Generator You Should Know
- 爱翻译功能全面解析:核心优势及主要功能
- Best AI Humanizers for SEO Content Writers in 2026
- Seedance 2.0 Prompting 101: The 6 Parameters You Need to Master (by Topview)
- Top 5 AI Text-to-Video Generators: A 2025 Review
- Create Professional UGC Videos with AI: Introducing Magic Ads
- Top 5 Browsers for Managing Multiple Accounts in 2026: What Actually Works
- AI Dropshipping in 2026: How Automation Is Changing Ecommerce
- Mastering Meeting Minutes: A Comprehensive Guide for Efficiency
- The Dangers of Deepfake for K-Pop: From Idol to Porn Star
- Key Metrics Used in AI Benchmarking for Enterprise Systems
- Top Free AI Video Generators: Latest Tools Compared!
- Top 5 Free AI Video Generators: Unlimited Options in 2025
- Top AI Video Generators: Ranking the Best Tools for 2025
- Top AI Video Generators: Create Stunning Videos Effortlessly
- Top AI Video Generators for Stunning Animations in 2024
- Free AI Video Generators: Unlimited & No Watermarks in 2025
Copyright ©2026 toolify