































Table of Contents
- Key Points
- Introduction to AI-Powered Web Apps
- Project Setup
- Building Your AI-Powered Background Removal Web App
- RemoveBG API Pricing
- Core Features of RemoveBG API
- Use Cases for AI-Powered Background Removal
- Frequently Asked Questions
- Related Questions


Introduction to AI-Powered Web Apps
What is an AI-Powered Web Application?
An AI-powered web application is a website or web app that incorporates artificial intelligence to enhance its functionality, improve user experience, or automate tasks. These applications use machine learning algorithms, natural language processing, and other AI technologies to provide smart solutions. Building one might seem daunting, but with the right tools and a bit of guidance, it's totally achievable. AI can be integrated in various forms, such as Image Recognition, predictive analytics, or automated content generation. In this context, we’re focusing on an application that uses AI to automatically remove backgrounds from images, a task made easier with tools like RemoveBG API.

One of the primary benefits of AI-powered web applications is their ability to automate and streamline complex processes. For example, an e-commerce site might use AI to personalize product recommendations based on a user's browsing history. Alternatively, a content management system could leverage AI to automatically tag and categorize articles, saving editors significant time and effort. For users, this often translates into a more intuitive and efficient experience. The app learns from user interactions, becoming more refined over time.
Why Build a Background Removal Web App?
Building a background removal web app has numerous practical applications. For example, photographers can quickly prepare product images for e-commerce listings. Graphic designers can isolate subjects for creative projects. Even individuals can use it to create professional-looking headshots or improve social media content. The possibilities are endless, and the demand for such tools is constantly growing. Creating your own background removal tool allows you to tailor the application to your specific needs, integrate it into existing workflows, and potentially offer it as a service to others.
The rising demand for visual content across various industries underscores the value of a background removal web app. Whether it’s for marketing, Advertising, or personal use, the ability to isolate subjects from their backgrounds is invaluable. By building your own application, you're not just creating a tool; you're offering a solution that can save time, enhance creativity, and improve the overall quality of visual communication. The app can be customized to cater to specific requirements, ensuring that the output aligns perfectly with your intended use.
Project Setup
Step 1: Setting Up Your Local Development Environment with XAMPP
First, download and install XAMPP from the Apache Friends website. Once installed, start the Apache and MySQL services from the XAMPP Control Panel. This will create a local server environment on your computer, allowing you to run PHP code and store data in a MySQL database. Be sure to test the installation by opening your web browser and navigating to http://localhost. If XAMPP is installed correctly, you should see the XAMPP welcome page.
Setting up your local development environment is crucial for testing and debugging your web application before deploying it to a live server. XAMPP simplifies this process by providing a pre-configured environment with all the necessary components. Starting the Apache and MySQL services ensures that you can execute PHP code and interact with a database, which are essential for building a dynamic web application. Confirming the installation with http://localhost verifies that XAMPP is working correctly and that you're ready to proceed with the next steps.
Step 2: Creating Your Project Folder
Navigate to the htdocs directory within your XAMPP installation folder (usually located in C:\xampp\htdocs). Create a new folder for your project, such as remove_image_bg. This folder will house all the files for your web application, including HTML, CSS, JavaScript, and PHP code.
Creating a dedicated project folder ensures that all the files related to your web application are organized and easily accessible. The htdocs directory is the default location for web content in XAMPP, so placing your project folder there allows you to access your web app through the http://localhost URL. Naming the folder appropriately, such as remove_image_bg, makes it easier to identify and manage your project. This step is essential for maintaining a clean and structured development environment.
Step 3: Setting Up Visual Studio Code
Open Visual Studio Code and open the project folder you just created (remove_image_bg). In VS Code, create the following files: index.html, style.css, script.js, and upload.php. These files will contain the HTML structure, CSS styling, JavaScript functionality, and PHP backend code for your background removal web app.
This structure allows you to separate the different aspects of your web application, making it easier to develop and maintain. The index.html file will contain the structure of your website, style.css will handle the visual presentation, script.js will add interactivity, and upload.php will process the image uploads and interact with the RemoveBG API. Creating these files upfront provides a clear roadmap for the development process and ensures that you have a solid foundation to build upon. Using VS Code to manage these files allows you to leverage its powerful features for code editing, debugging, and version control.
Building Your AI-Powered Background Removal Web App
Step 1: HTML Structure (index.html)
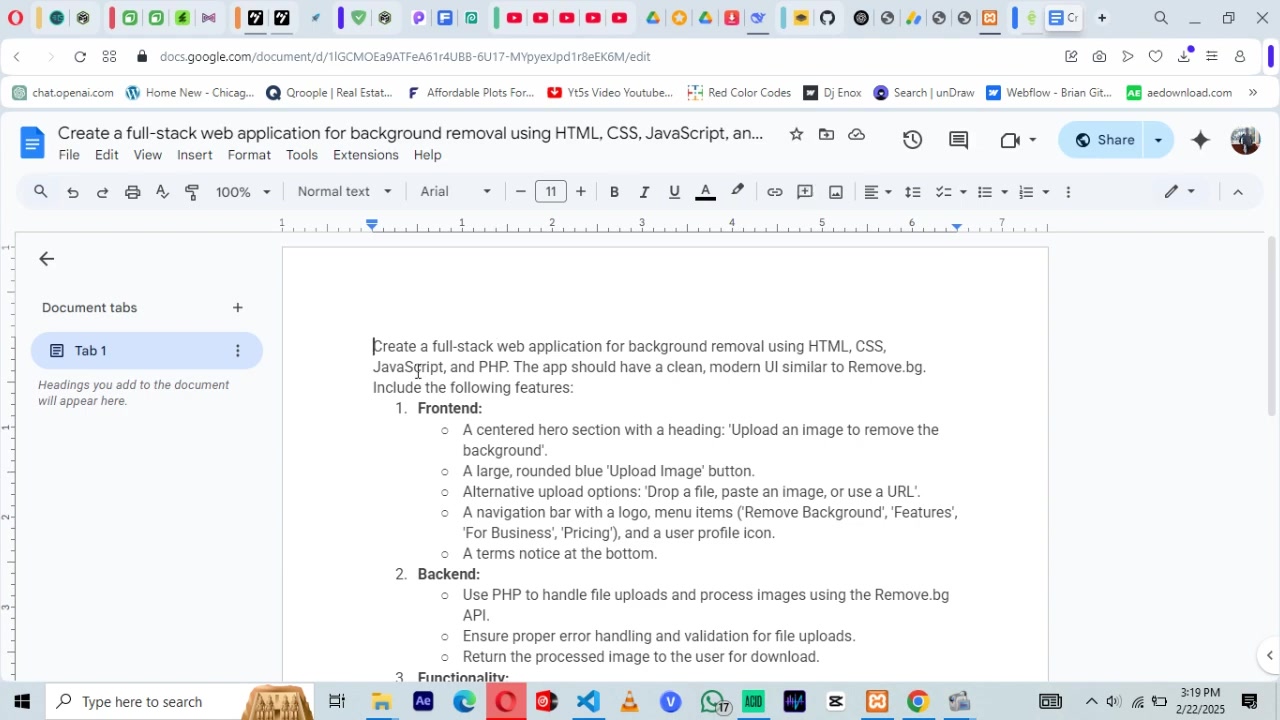
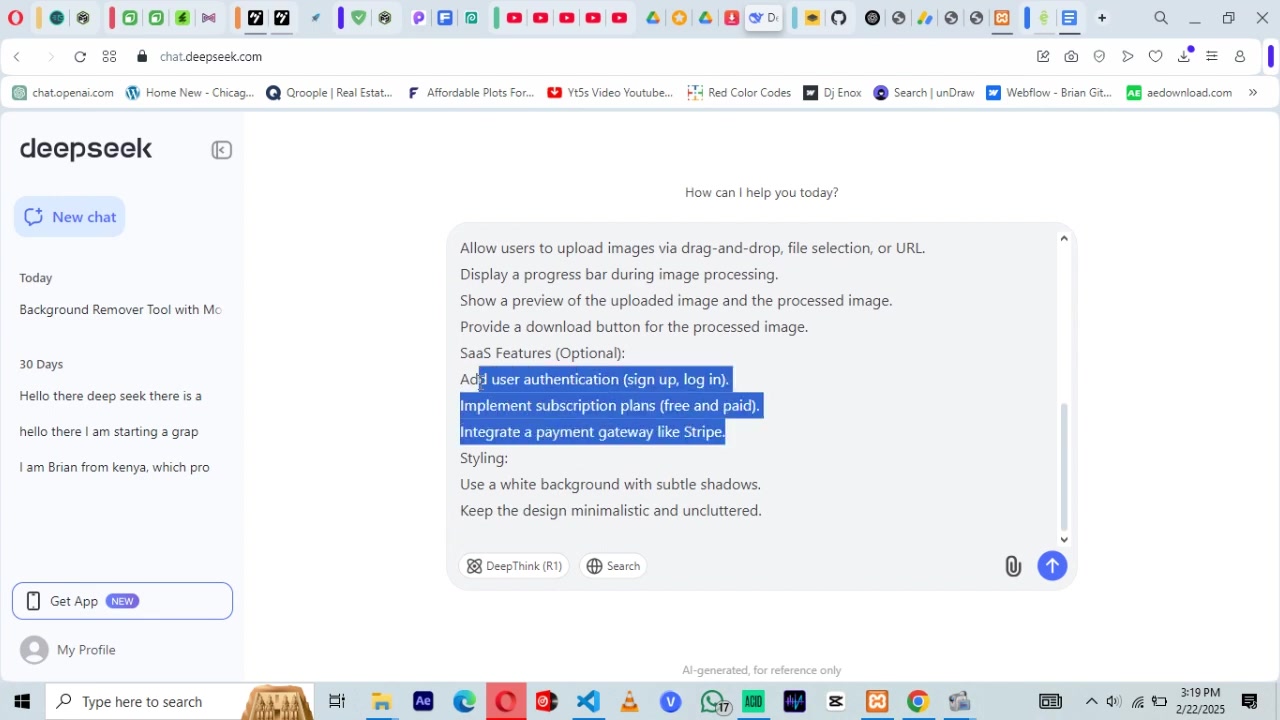
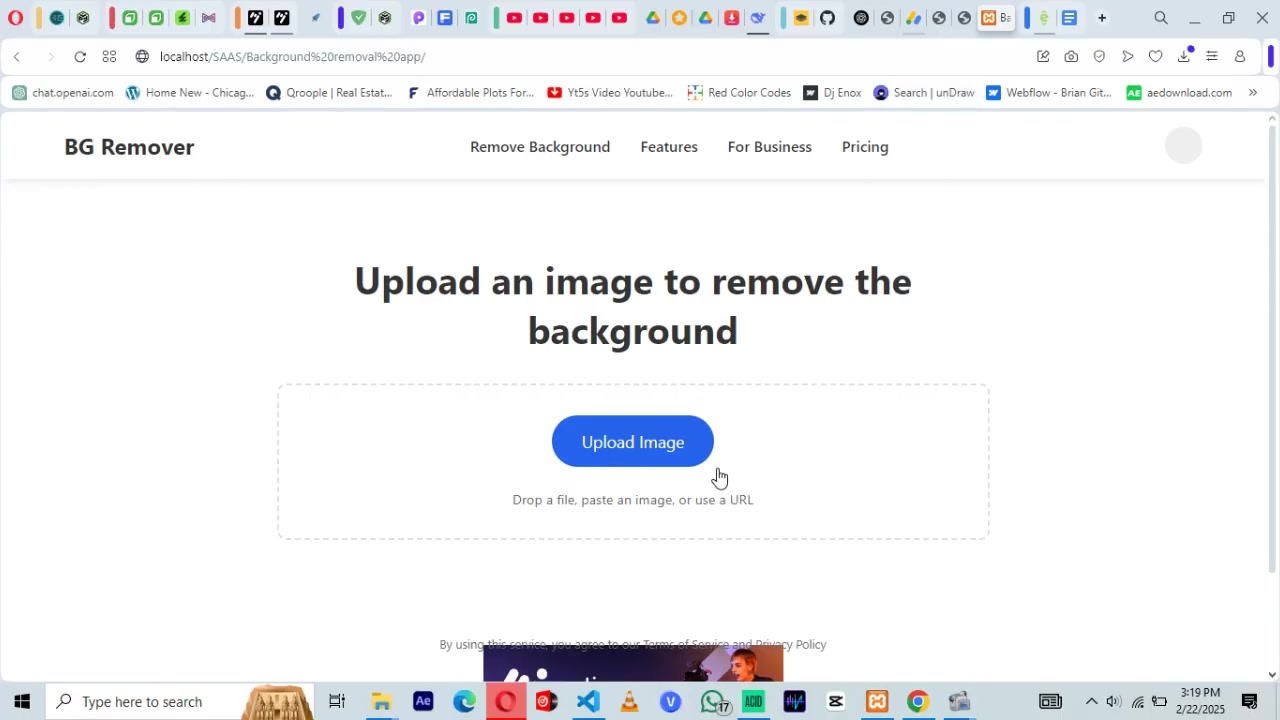
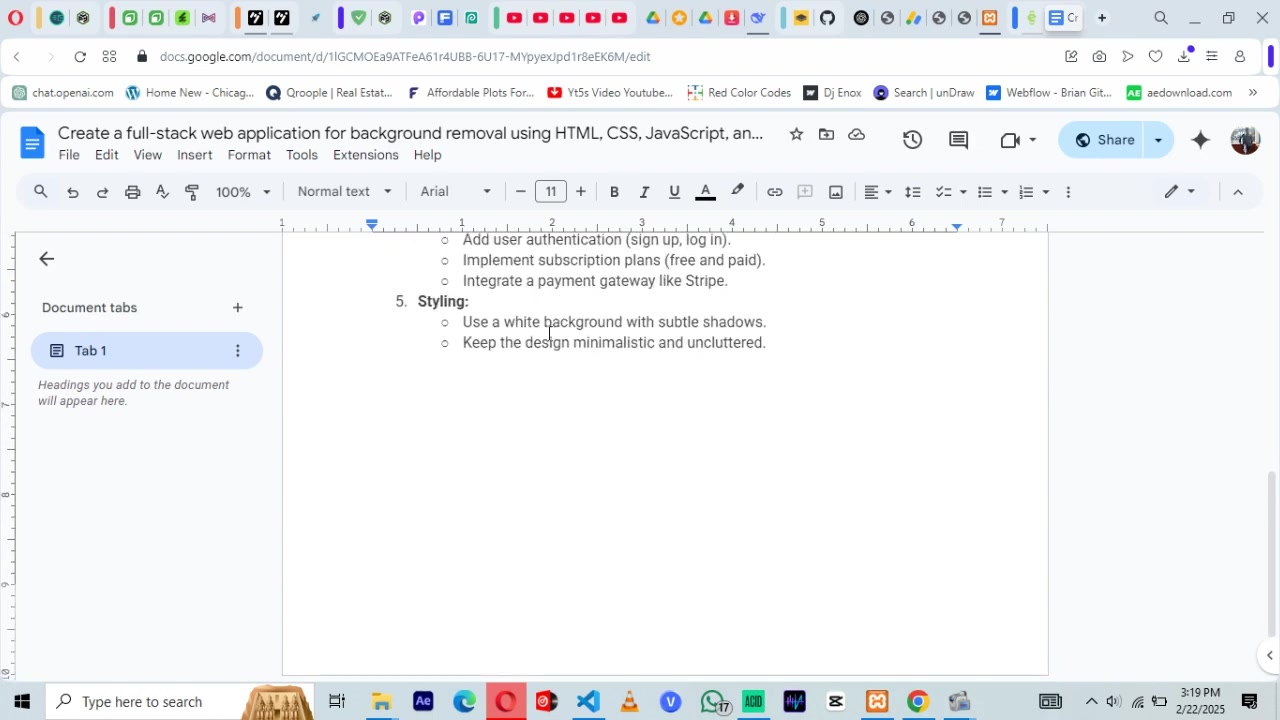
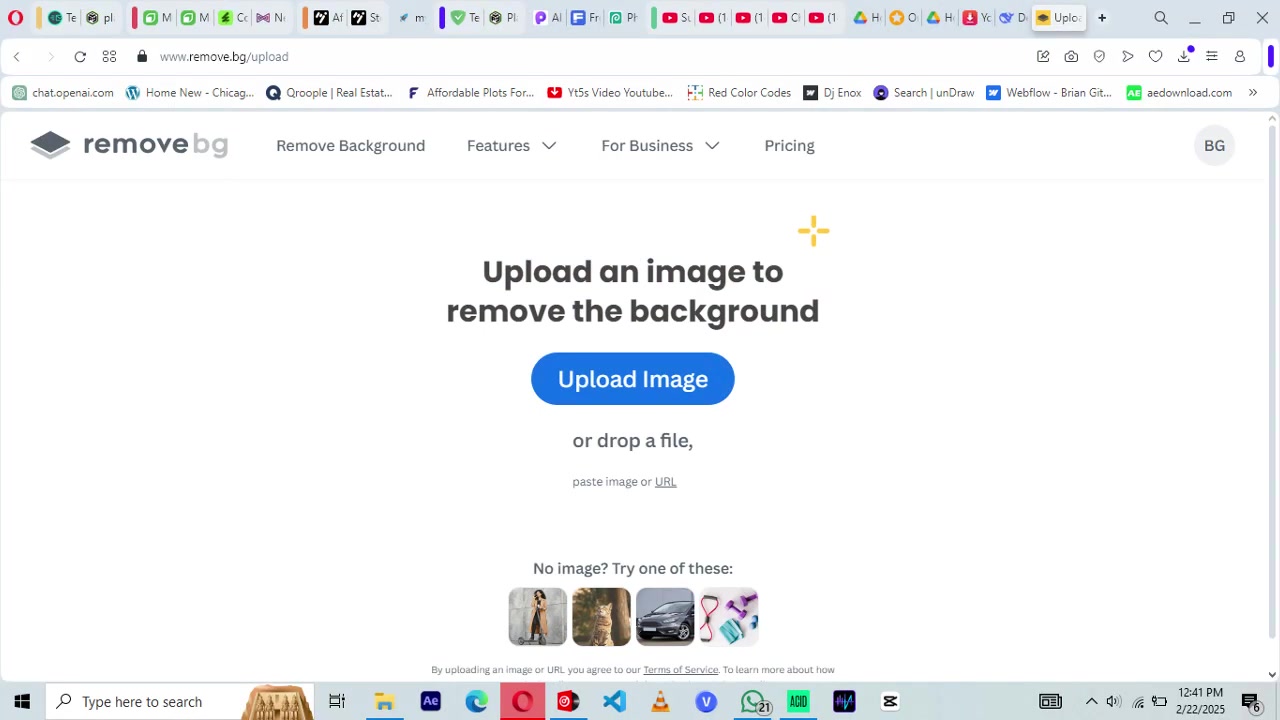
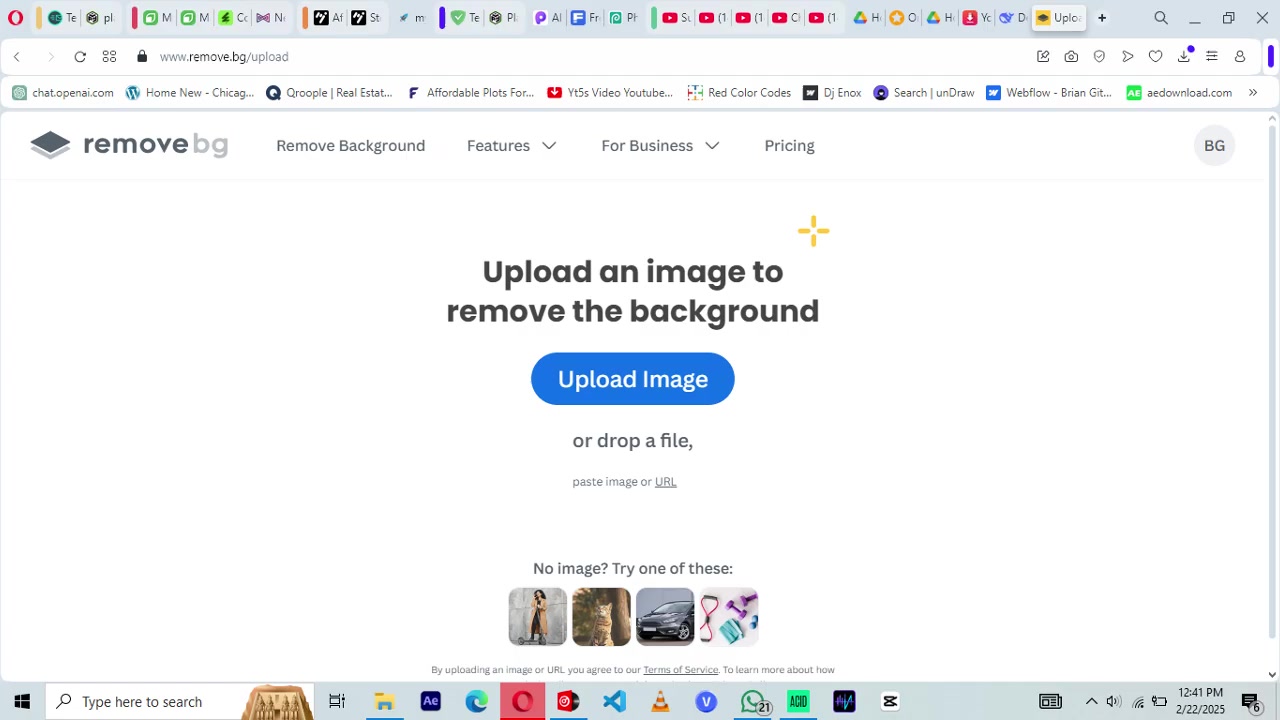
Use deepseek to generate the HTML structure for your web app. The HTML should include a navigation bar, a hero section, an upload section, an image preview section, a progress bar, and a footer. The upload section should include an upload button and a drag-and-drop area. The image preview section should display the original and processed images.
Below is an example of the HTML structure you can use:
<!DOCTYPE html>
<html lang="en">
<head>
    <meta charset="UTF-8">
    <meta name="viewport" content="width=device-width, initial-scale=1.0">
    <title>Background Removal</title>
    <link rel="stylesheet" href="style.css">
</head>
<body>
    <nav>
        <div class="logo">BG Remover</div>
        <ul>
            <li><a href="#">Remove Background</a></li>
            <li><a href="#">Features</a></li>
            <li><a href="#">For Business</a></li>
            <li><a href="#">Pricing</a></li>
            <li><div class="profile-icon"></div></li>
        </ul>
    </nav>

    <section class="hero">
        <h1>Upload an image to remove the background</h1>
        <div class="upload-options">
            <button id="upload-btn">Upload Image</button>
            <p>or drop a file, paste an image, or use a URL</p>
            <input type="file" id="file-input" accept="image/*" hidden>
            <input type="text" id="url-input" placeholder="Paste Image URL" hidden>
        </div>
    </section>

    <section class="preview-section" id="preview-section" hidden>
        <div class="image-container">
            <h2>Original Image</h2>
            <img id="original-image" src="#" alt="Original Image">
        </div>
        <div class="image-container">
            <h2>Processed Image</h2>
            <img id="processed-image" src="#" alt="Processed Image">
        </div>
        <button id="download-btn" hidden>Download Processed Image</button>
    </section>

    <div class="progress-bar" id="progress-bar" hidden>
        <div class="progress"></div>
    </div>

    <footer>
        <p>By uploading an image, you agree to our <a href="#">Terms of Service</a></p>
    </footer>

    <script src="script.js"></script>
</body>
</html>
This HTML structure provides a clear and organized layout for your web application. The navigation bar allows users to easily access different sections of the site, while the hero section provides a prominent area for uploading images. The preview section displays the original and processed images, and the progress bar indicates the status of the background removal process. The footer provides a link to the terms of service. By using DeepSeek to generate this HTML, you can ensure that the structure is well-formed and follows best practices.
Step 2: CSS Styling (style.css)
Use DeepSeek to generate the CSS styling for your web app. The CSS should include styles for the navigation bar, hero section, upload section, image preview section, progress bar, and footer. Use a white background with subtle shadows for a minimalist design. Style the upload button and drag-and-drop area to be visually appealing.
Below is an example of the CSS styling you can use:
/* General Styles */
body {
    font-family: Arial, sans-serif;
    margin: 0;
    padding: 0;
    background-color: #f9f9f9;
    color: #333;
}

/* Navigation Bar */
nav {
    display: flex;
    justify-content: space-between;
    align-items: center;
    padding: 20px;
    background-color: #fff;
    box-shadow: 0 2px 4px rgba(0, 0, 0, 0.1);
}

nav .logo {
    font-size: 24px;
    font-weight: bold;
}

nav ul {
    list-style: none;
    display: flex;
    gap: 20px;
}

nav ul li a {
    text-decoration: none;
    color: #333;
}

/* Hero Section */
.hero {
    text-align: center;
    padding: 100px 20px;
}

.hero h1 {
    font-size: 36px;
    margin-bottom: 20px;
}

/* Upload Options */
.upload-options {
    margin-top: 20px;
}

#upload-btn {
    padding: 15px 30px;
    background-color: #007bff;
    color: #fff;
    border: none;
    border-radius: 50px;
    font-size: 18px;
    cursor: pointer;
}

#upload-btn:hover {
    background-color: #0056b3;
}

.upload-options p {
    margin-top: 10px;
    color: #666;
}

/* Image Preview Section */
.preview-section {
    display: flex;
    justify-content: center;
    gap: 20px;
    margin-top: 50px;
}

.image-container {
    text-align: center;
}

.image-container img {
    max-width: 300px;
    border-radius: 10px;
    box-shadow: 0 4px 8px rgba(0, 0, 0, 0.1);
}

#download-btn {
    padding: 15px 30px;
    background-color: #007bff;
    color: #fff;
    border: none;
    border-radius: 50px;
    font-size: 18px;
    cursor: pointer;
}

#download-btn:hover {
    background-color: #218838;
}

/* Progress Bar */
.progress-bar {
    width: 100%;
    background-color: #ddd;
    border-radius: 5px;
    margin-top: 20px;
    overflow: hidden;
}

.progress {
    width: 0%;
    height: 10px;
    background-color: #007bff;
    transition: width 0.3s;
}

/* Footer */
footer {
    text-align: center;
    padding: 20px;
    margin-top: 50px;
    background-color: #fff;
    box-shadow: 0 -2px 4px rgba(0, 0, 0, 0.1);
}

footer a {
    color: #007bff;
    text-decoration: none;
}

footer a:hover {
    text-decoration: underline;
}
This CSS styling provides a clean and modern look for your web application. The white background with subtle shadows creates a minimalist design, while the styling for the upload button and drag-and-drop area makes them visually appealing. The navigation bar is styled to be clear and easy to use, and the image preview section displays the original and processed images in an organized manner. By using DeepSeek to generate this CSS, you can ensure that your web application has a professional and visually appealing design.
Step 3: JavaScript Functionality (script.js)
Use DeepSeek to generate the JavaScript functionality for your web app. The JavaScript should handle the upload button click event, the drag-and-drop event, and the image upload process. It should also display the original and processed images, display the progress bar, and handle the download button click event.

Below is an example of the JavaScript functionality you can use:
document.getElementById('upload-btn').addEventListener('click', () => {
    document.getElementById('file-input').click();
});

document.getElementById('file-input').addEventListener('change', (e) => {
    const file = e.target.files[0];
    if (file) {
        uploadImage(file);
    }
});

function uploadImage(file) {
    const formData = new FormData();
    formData.append('image', file);

    fetch('upload.php', {
        method: 'POST',
        body: formData
    })
    .then(response => response.json())
    .then(data => {
        if (data.success) {
            showPreview(data.originalImage, data.processedImage);
        } else {
            alert('Error processing image.');
        }
    })
    .catch(error => {
        console.error('Error:', error);
    });
}

function showPreview(originalImage, processedImage) {
    document.getElementById('original-image').src = originalImage;
    document.getElementById('processed-image').src = processedImage;
    document.getElementById('preview-section').hidden = false;
    document.getElementById('download-btn').hidden = false;
    window.location.href=processedImage;
}
This JavaScript functionality adds interactivity to your web application. The upload button click event triggers the file input, allowing users to select an image from their computer. The drag-and-drop event allows users to drag and drop an image into the upload area. The image upload process sends the image to the PHP backend for processing, and the original and processed images are displayed in the preview section. The progress bar indicates the status of the background removal process, and the download button allows users to download the processed image. By using DeepSeek to generate this JavaScript, you can ensure that your web application is interactive and user-friendly.
Step 4: PHP Backend (upload.php)
Use DeepSeek to generate the PHP backend code for your web app. The PHP code should handle the image upload, call the RemoveBG API, and return the processed image URL. You'll need to replace YOUR_REMOVE_BG_API_KEY with your actual RemoveBG API key.
Below is an example of the PHP backend code you can use:
<?php
header('Content-Type: application/json');

if ($_SERVER['REQUEST_METHOD'] == 'POST') {
    if (isset($_FILES['image']) && $_FILES['image']['error'] == UPLOAD_ERR_OK) {
        $uploadDir = 'assets/uploads/';
        $processedDir = 'assets/processed/';
        $uploadFile = $uploadDir . basename($_FILES['image']['name']);
        $processedFile = $processedDir . basename($_FILES['image']['name']);

        move_uploaded_file($_FILES['image']['tmp_name'], $uploadFile);

        // Call Remove Bg API (replace with your API key)
        $apiKey = 'YOUR_REMOVE_BG_API_KEY';
        $imageUrl = 'data:image/'.pathinfo($uploadFile, PATHINFO_EXTENSION).';base64,'.base64_encode(file_get_contents($uploadFile));
        $postFields = array('image_file_b64' => $imageUrl);

        $ch = curl_init();
        curl_setopt($ch, CURLOPT_URL, 'https://api.remove.bg/v1.0/removebg');
        curl_setopt($ch, CURLOPT_POST, 1);
        curl_setopt($ch, CURLOPT_POSTFIELDS, http_build_query($postFields));
        curl_setopt($ch, CURLOPT_HTTPHEADER, array('X-Api-Key: '.$apiKey));
        curl_setopt($ch, CURLOPT_RETURNTRANSFER, true);

        $response = curl_exec($ch);
        curl_close($ch);

        // Save Processed Image
        file_put_contents($processedFile, $response);
        // Return JSON
        echo json_encode(array('success' => true, 'originalImage' => $uploadFile, 'processedImage' => $processedFile));
    } else {
        echo json_encode(array('success' => false, 'error' => 'File upload failed.'));
    }
} else {
    echo json_encode(array('success' => false, 'error' => 'Invalid request method.'));
}

?>
This PHP backend code handles the image upload, calls the RemoveBG API, and returns the processed image URL. The image is uploaded to the assets/uploads/ directory, and the processed image is saved to the assets/processed/ directory. The RemoveBG API is called using the cURL library, and the API key is passed in the X-Api-Key header. The response from the RemoveBG API is saved to the assets/processed/ directory, and the JSON response is returned to the client. By using DeepSeek to generate this PHP code, you can ensure that your backend is secure, efficient, and follows best practices.
RemoveBG API Pricing
Understanding RemoveBG's Pricing Structure
RemoveBG offers a flexible pricing structure to cater to different user needs. You can choose between subscription plans and pay-as-you-go options. Subscription plans are ideal for users who need to process a large volume of images regularly, while pay-as-you-go is suitable for occasional use. Prices vary depending on the number of credits you purchase.
Understanding the pricing structure is essential for making an informed decision about which option is best for you. Subscription plans offer cost savings for high-volume users, while pay-as-you-go provides flexibility for those who only need to process images occasionally. Prices vary depending on the number of credits you purchase, so it's important to assess your usage patterns and choose a plan that aligns with your needs. The RemoveBG website provides detailed information about pricing, allowing you to compare different options and select the one that best suits your budget and requirements.
Subscription Plans vs. Pay-As-You-Go
Subscription plans are designed for users who have consistent and predictable background removal needs. These plans offer a fixed number of credits per month at a discounted rate compared to pay-as-you-go. Pay-as-you-go is best for users who have infrequent or unpredictable needs. You purchase credits as needed, without any monthly commitment. Consider your usage Patterns to determine which option is more cost-effective.
The choice between subscription plans and pay-as-you-go depends largely on your individual needs and usage patterns. If you consistently process a large number of images each month, a subscription plan will likely be the more economical option. However, if your needs are sporadic, pay-as-you-go offers the flexibility to purchase credits only when you need them, without any long-term commitment. Evaluating your usage patterns and comparing the costs of each option is crucial for making the right decision. The RemoveBG website provides tools and resources to help you estimate your usage and compare different pricing options.
Core Features of RemoveBG API
Automated Background Removal
The primary feature of RemoveBG API is its ability to automatically remove backgrounds from images using AI. The API is accurate, fast, and easy to integrate into your web application. This saves significant time and effort compared to manual background removal techniques.

The automated background removal feature is the cornerstone of RemoveBG API, offering a seamless and efficient solution for isolating subjects from their backgrounds. The AI-driven algorithms ensure that the removal is accurate, even with complex images. Integrating the API into your web application is straightforward, thanks to the clear documentation and code examples provided by RemoveBG. This feature not only saves time and effort but also enhances the overall quality of your visual content. With automated background removal, you can focus on other creative and strategic aspects of your projects.
High Accuracy and Speed
The RemoveBG API is known for its high accuracy and speed. It can process images quickly without sacrificing quality. This is crucial for applications that require real-time background removal or need to process a large volume of images.

The combination of high accuracy and speed sets RemoveBG API apart from other background removal solutions. The AI-driven algorithms ensure that the subject of the image is cleanly isolated, while the optimized processing pipeline allows for rapid turnaround times. This is particularly important for applications that require real-time background removal or need to handle a large volume of images. The accuracy and speed of RemoveBG API contribute to a seamless and efficient user experience, making it an invaluable tool for developers and content creators.
Easy Integration
The RemoveBG API is designed to be easy to integrate into your web application. It provides clear documentation, code examples, and libraries for various programming languages. This makes it simple to add background removal functionality to your existing projects.

The easy integration of RemoveBG API is a key benefit for developers of all skill levels. The clear documentation provides step-by-step instructions, and the code examples offer practical guidance for incorporating the API into your projects. The libraries for various programming languages further simplify the integration process. With easy integration, you can quickly add background removal functionality to your web application, without the complexity of building it from scratch. This allows you to focus on other aspects of your project and deliver a seamless user experience.
Use Cases for AI-Powered Background Removal
E-commerce Product Photography
Remove backgrounds from product photos to create clean, professional-looking e-commerce listings. This helps to showcase your products and improve the overall shopping experience. Clean product images can increase conversion rates and boost sales.

Using AI-powered background removal for e-commerce product Photography offers numerous benefits. Clean and consistent product images create a professional and trustworthy impression, which can significantly increase conversion rates and boost sales. By removing distractions from the background, you draw the viewer's attention to the product itself, highlighting its features and details. The automated nature of background removal saves significant time and effort compared to manual techniques, allowing you to focus on other aspects of your business. With AI-powered background removal, you can optimize your e-commerce listings and create a compelling shopping experience.
Graphic Design and Content Creation
Isolate subjects from their backgrounds for use in Graphic Design projects and content creation. This allows you to create visually appealing marketing materials, social media posts, and presentations.

AI-powered background removal is an invaluable tool for graphic designers and content creators. By isolating subjects from their backgrounds, you can create visually appealing marketing materials, social media posts, and presentations that capture the viewer's attention. The ability to quickly and accurately remove backgrounds opens up a world of creative possibilities, allowing you to experiment with different compositions and visual elements. Whether you're creating a logo, designing a banner ad, or preparing a presentation, AI-powered background removal can help you achieve professional-looking results with minimal effort.
Professional Headshots
Create professional-looking headshots by removing distracting backgrounds. This is ideal for LinkedIn profiles, resumes, and company websites. A clean headshot can make a positive first impression.

AI-powered background removal offers a simple and effective way to create professional-looking headshots. By removing distracting backgrounds, you can ensure that the focus is on the individual, creating a positive first impression. A clean headshot is essential for LinkedIn profiles, resumes, and company websites, as it conveys professionalism and attention to detail. Whether you're a job seeker, a business professional, or an entrepreneur, AI-powered background removal can help you Present your best self to the world.






Most people like




































Report
Please select a reason for reporting
- 13 Reasons to Switch from Snapchat to Text Messaging
- 7 Powerful Speech to Text Apps to Boost Productivity
- 10 Best Speech to Text Tools for Effortless Transcription
- 13 Free Tools to Easily Transcribe Audio to Text
- 15 Surprising Ways Google's Speech-to-Text Boosts Productivity
- 7 Best Free Online Audio to Text Transcription Tools
- 9 Tips to Transcribe Speech to Text Faster and Better
- 13 Best Speech to Text Software for Windows 10 in 2023
- 7 Tips for Choosing the Best Transcriber for Audio to Text
- 11 Reasons Why Dragon Speech-to-Text Apps are Game-Changers
- 6 Secrets to Enhance Your Speech to Text Transcription
- 6 Brilliant Ways to Boost Productivity with Talk-to-Text on Your MacBook
- 6 Ways Transcription Software Converts Audio to Text
- 8 Tips to Transcribe Speech to Text Like a Pro
- 6 Reasons IBM Watson Speech to Text is a Game-Changer
- 14 Powerful Ways Talk-to-Text Improves Your Workflow
- 12 Top Windows Speech-to-Text Software for Efficient Transcription
- 12 Game-Changing Benefits of Apple's Speech to Text Technology
- 9 Powerful Use Cases for AWS Speech to Text Technology
- 10 Easy Steps to Transcribe YouTube Videos to Text
- transcription audio en texte
- online audio transcription
- free audio file transcription
- free ai audio transcription
- audio transcription service
- audio transcription online free
- audio transcription free online
- audio to transcription software
- audio and transcript
- ai audio transcription free
- voice recording to text converter
- translate voice recording to text
- record voice to text
- audio recording to text converter
- voice recording and transcription
- chatgpt voice to text
- gmail voice to text
- speech to text reader
- speech to text ai free
- speech to talk
- How SEO and Marketing Dashboards Empower Agencies to Drive Results
- How to Use AI Tools to Find Internal Linking Opportunities Across a Business Website
- Discover Your Perfect Haircut with AI Hairstyle Apps
- Free Reputation Calculator Tools: How They're Adapting to Score AI Visibility, Not Just Rankings
- Design Professional Flyers for Free on Your Phone
- Best Free Flyer Maker Apps for Android: Design Like a Pro
- How to Know If Your Business Is Ready for an AI Customer Service Agent
- Revolutionizing Storytelling: From Novels to Screenplays with AI
- Create Engaging Animated Explainer Videos with a Free AI Tool
- Stop Multi-Subscribing: Benchmark Top AI Visual Models in One Canvas
- AI & Elections: Defending Democracy Against Misinformation
- Navigating Political Discourse: AI, Deepfakes, and Reality Checks
- Detecting Political Bias in News Articles: A Powerful AI Algorithm
- AI Bias Unveiled: Political Leanings in ChatGPT & Beyond
- Revolutionize Learning: Discover Quizzes AI for Engaging Interactive Quizzes
- From AI-Generated to Audience-Ready: How Quillbot Humanize AI Is Changing the Content Editing Process
- Building an AI Writing Stack in 2026: LLMs, Detectors, and Humanizers
- 7 Top AI-Powered Database Assistant Platforms
- An Objective Look at Modern Web-Based Visual Modifications
- My Honest Experience with VideoAI: The Secret Weapon for Creators Who Need Character Voices

Copyright ©2026 toolify