































Table of Contents
- Key Points
- Getting Started with AI Image Detection Using JavaScript
- Step-by-Step Implementation: Building the AI Image Detector
- Running the Project: Seeing Your AI Image Detector in Action
- Cost of Development:
- Advantages and Disadvantages of Using JavaScript and TensorFlow.js for AI Image Detection
- Key Features of this AI Image Detector:
- Use Cases:
- FAQ
- Related Questions


Getting Started with AI Image Detection Using JavaScript
What is AI Image Detection?
AI Image Detection, also known as computer vision, is a subfield of artificial intelligence that focuses on enabling computers to “see” and interpret images like humans do. It involves training algorithms to recognize patterns, objects, and features within images, allowing applications to classify, identify, and analyze visual content.
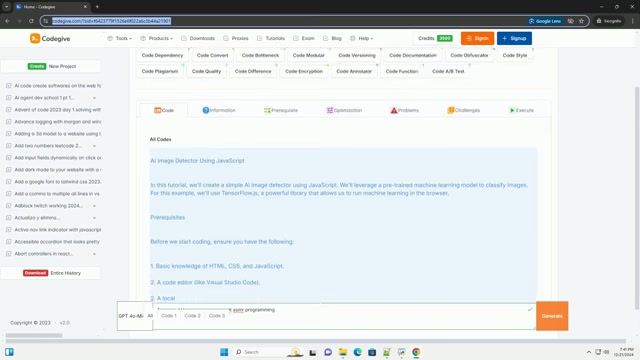
AI image detection has a wide range of applications, from security systems and medical imaging to autonomous vehicles and e-commerce.
This article will focus on how you can use JavaScript and TensorFlow.js to build your own AI image detector, making it accessible directly from a web browser. This combination allows for client-side processing, reducing server load and enhancing user experience.
By the end of this article, you will have a solid understanding of the fundamental concepts and practical steps required to integrate AI image detection into your web projects, enabling them to perform intelligent visual analysis.
Prerequisites: What You Need Before You Start
Before diving into the code, it's essential to ensure you have a basic understanding of the core technologies involved. Here’s a breakdown of the prerequisites:
- Basic Knowledge of HTML, CSS, and JavaScript:
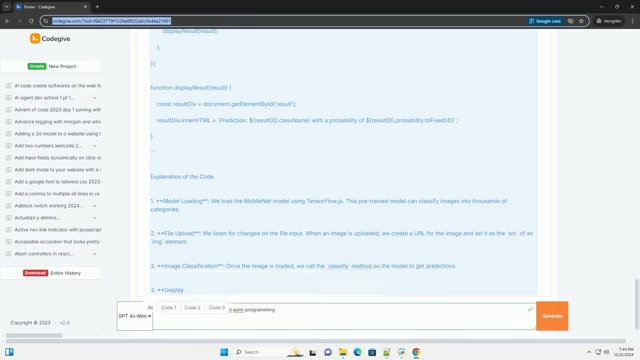
These are the building blocks of web development. Familiarity with HTML for structuring content, CSS for styling, and JavaScript for adding interactivity is crucial.
- A Code Editor: A good code editor is essential for writing and managing your code. Visual Studio Code is a popular choice due to its extensive features and extensions.
- A Local Server: To run your web applications, you'll need a local server. Simple tools like the Live Server extension in VS Code can get you up and running quickly.
Having these prerequisites in place will ensure a smooth and productive development experience. If you're new to any of these technologies, there are countless online resources available to help you get up to speed.
Setting Up the Project: Laying the Foundation
To begin, you'll need to set up your project environment. This involves creating a project folder and adding the necessary files. Follow these steps:
- Create a Project Folder:
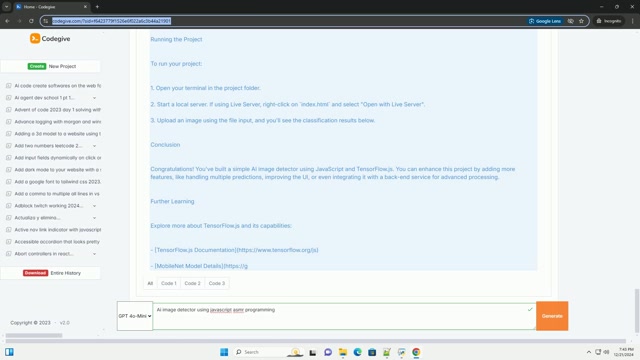
Start by creating a new folder for your project. Name it something descriptive, like
ai-image-detector. - Create Essential Files: Inside the project folder, create three essential files:
index.html: This file will contain the HTML structure of your web application.style.css: This file will hold the CSS styles to enhance the visual appearance.script.js: This file will contain the JavaScript logic for handling file uploads, image display, and AI image detection.
With your project structure in place, you're now ready to start building the core functionality of your AI image detector.
Step-by-Step Implementation: Building the AI Image Detector
HTML Setup: Structuring the Web Page
The first step is to set up the basic HTML structure in index.html. This will include the necessary elements for image uploading and display. Here's the code you'll need to add:
<!DOCTYPE html>
<html lang="en">
<head>
    <meta charset="UTF-8">
    <meta name="viewport" content="width=device-width, initial-scale=1.0">
    <title>AI Image Detector</title>
    <link rel="stylesheet" href="style.css">
</head>
<body>
    <h1>AI Image Detector</h1>
    <input type="file" id="upload" accept="image/*">
    <img id="image" src="" alt="Uploaded Image" style="display: none;">
    <div id="result"></div>

    <script src="https://cdn.jsdelivr.net/npm/@tensorflow/tfjs@latest"></script>
    <script src="https://cdn.jsdelivr.net/npm/@tensorflow-models/mobilenet@latest"></script>
    <script src="script.js"></script>
</body>
</html>
This HTML structure includes the following elements:
- A title for the web page.
- A link to the CSS stylesheet (
style.css). - A heading (
h1) for the page. - An input element (
input type="file") for uploading images. - An image element (
img) to display the uploaded image. - A div element (
div) to display the classification results. - Links to TensorFlow.js and the MobileNet model from a CDN.
- A link to the JavaScript file (
script.js).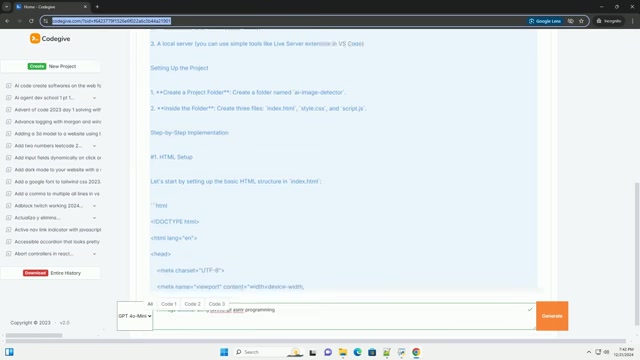
The code sets up the basic layout for users to upload an image and see its AI-powered classification.
CSS Styling: Enhancing the User Interface
Next, let's add some basic styles to style.css to improve the visual appearance of the web page:
body {
    display: flex;
    flex-direction: column;
    align-items: center;
    font-family: Arial, sans-serif;
    margin: 20px;
}

h1 {
    color: #333;
}

#result {
    margin-top: 20px;
    font-size: 20px;
}
These CSS styles provide the following:
- A flexible layout for the page.
- Alignment of elements to the center.
- A clean and readable Font.
- Styling for the heading and result display.
With the HTML structure and CSS styles in place, you're now ready to add the JavaScript logic that brings your AI image detector to life.
JavaScript Logic: Implementing the AI Functionality
The core functionality of your AI image detector lies in the script.js file. This is where you'll handle file uploads, image display, and AI image classification. Here's the JavaScript code you'll need:
// Load the MobileNet model
let net;

async function loadModel() {
    net = await mobilenet.load();
    console.log('Model Loaded');
}

loadModel();

// Handle file upload and image display
document.getElementById('upload').addEventListener('change', async (event) => {
    const file = event.target.files[0];
    const img = document.getElementById('image');
    img.src = URL.createObjectURL(file);
    img.style.display = 'block';

    // Wait for the image to load
    img.onload = async () => {
        const result = await net.classify(img);
        displayResult(result);
    };
});

function displayResult(result) {
    const resultDiv = document.getElementById('result');
    resultDiv.innerHTML = `Prediction: ${result[0].className} with a probability of ${result[0].probability.toFixed(4)}`;
}
This JavaScript code performs the following tasks:
- Loads the MobileNet model using TensorFlow.js.
- Handles file uploads and displays the uploaded image.
- Waits for the image to load.
- Classifies the image using the MobileNet model.
- Displays the predicted class and probability in the result div.
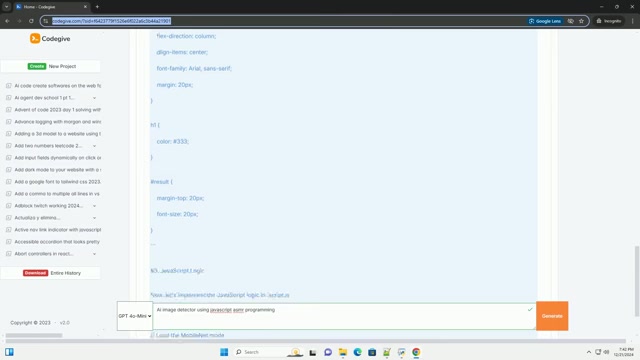
This JavaScript logic ties together the user interface and the AI model, providing real-time image classification.
Running the Project: Seeing Your AI Image Detector in Action
Steps to Run Your Project
To see your AI image detector in action, follow these steps:
- Open Your Terminal: Open your terminal in the project folder.
- Start a Local Server: Start a local server using tools like the Live Server extension in VS Code. Right-click on
index.htmland select “Open with Live Server”. - Upload an Image:
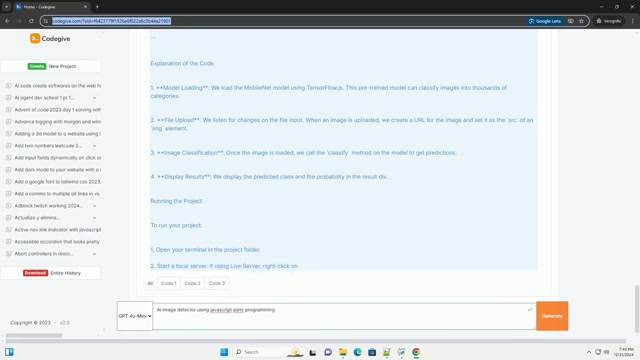
Upload an image using the file input. You'll see the classification results below the image.
By following these steps, you can run your AI image detector and classify images in real-time, showcasing the power of AI in web development.





Most people like


































Report
Please select a reason for reporting
- 13 Reasons to Switch from Snapchat to Text Messaging
- 7 Powerful Speech to Text Apps to Boost Productivity
- 10 Best Speech to Text Tools for Effortless Transcription
- 13 Free Tools to Easily Transcribe Audio to Text
- 15 Surprising Ways Google's Speech-to-Text Boosts Productivity
- 7 Best Free Online Audio to Text Transcription Tools
- 9 Tips to Transcribe Speech to Text Faster and Better
- 13 Best Speech to Text Software for Windows 10 in 2023
- 7 Tips for Choosing the Best Transcriber for Audio to Text
- 11 Reasons Why Dragon Speech-to-Text Apps are Game-Changers
- 6 Secrets to Enhance Your Speech to Text Transcription
- 6 Brilliant Ways to Boost Productivity with Talk-to-Text on Your MacBook
- 6 Ways Transcription Software Converts Audio to Text
- 8 Tips to Transcribe Speech to Text Like a Pro
- 6 Reasons IBM Watson Speech to Text is a Game-Changer
- 14 Powerful Ways Talk-to-Text Improves Your Workflow
- 12 Top Windows Speech-to-Text Software for Efficient Transcription
- 12 Game-Changing Benefits of Apple's Speech to Text Technology
- 9 Powerful Use Cases for AWS Speech to Text Technology
- 10 Easy Steps to Transcribe YouTube Videos to Text
- transcription audio en texte
- online audio transcription
- free audio file transcription
- free ai audio transcription
- audio transcription service
- audio transcription online free
- audio transcription free online
- audio to transcription software
- audio and transcript
- ai audio transcription free
- voice recording to text converter
- translate voice recording to text
- record voice to text
- audio recording to text converter
- voice recording and transcription
- chatgpt voice to text
- gmail voice to text
- speech to text reader
- speech to text ai free
- speech to talk
- How to Use AI Tools to Find Internal Linking Opportunities Across a Business Website
- Discover Your Perfect Haircut with AI Hairstyle Apps
- Free Reputation Calculator Tools: How They're Adapting to Score AI Visibility, Not Just Rankings
- Design Professional Flyers for Free on Your Phone
- Best Free Flyer Maker Apps for Android: Design Like a Pro
- How to Know If Your Business Is Ready for an AI Customer Service Agent
- Revolutionizing Storytelling: From Novels to Screenplays with AI
- Create Engaging Animated Explainer Videos with a Free AI Tool
- Stop Multi-Subscribing: Benchmark Top AI Visual Models in One Canvas
- Best Seedance 2.5 API Provider: Every Price on the Market, Checked at Source
- Top AI Social Media Management Tools: Automate Your Content Strategy
- Free AI Text to Video Generator: Create Stunning Videos from Text
- Discover 17 ChatGPT Alternatives: A Comprehensive Comparison
- Character.AI vs. Janitor AI: Which AI Chat Platform Reigns Supreme?
- Top Virtual Assistant Companies in 2026: Reviews, Pricing, and Plans Compared
- Unveiling FaceCheck.ID: Revolutionizing Reverse Image Searches with AI
- 11 Best AI Dialers in 2026: Features, Pricing, Pros and Cons
- How I Direct Consistent AI Clips: A Hands-On Guide to Multi-Model Generation
- A Realistic Review of the Photo Generator Image Tool
- Playwright MCP Server: Automated Web Testing with Agent Mode

Copyright ©2026 toolify