































Table of Contents
- Key Points
- Setting Up the Development Environment
- Building Your Discord Bot: Core Components
- How to Invite and Use Your Chatbot on Discord
- Pros and Cons of Using Python for Discord Bot Development
- FAQ
- Related Questions


Setting Up the Development Environment
Prerequisites: Python and Pip
Before starting, ensure you have Python installed on your system. Python is a versatile language, ideal for chatbot development due to its extensive libraries and clear syntax. You'll also need Pip, the Python package installer, to manage external libraries. Verify your installations by running python --version and pip --version in your terminal or command Prompt. If you need to install Python, download the latest version from the official Python website.
Choosing an IDE: PyCharm Recommendation
An Integrated Development Environment (IDE) can greatly streamline your coding experience. While various options are available, PyCharm is highly recommended for its features like code completion, debugging tools, and integration with version control systems. PyCharm simplifies many tasks related to Python development, making it an excellent choice for both beginners and experienced developers. Download the community edition of PyCharm for free from the JetBrains website.
Creating a Project and Virtual Environment
To begin, create a new project in PyCharm named something like 'discord_chatbot_2025'. Next, set up a virtual environment for your project. This isolates your project's dependencies, preventing conflicts with other Python projects. Inside PyCharm's terminal, navigate to your project directory and create the virtual environment with: python -m venv venv. Then activate it using: source venv/bin/activate (macOS/Linux) or .\venv\Scripts\activate (Windows). A virtual environment allows you to install packages like the Discord.py library without affecting your global Python installation, preventing dependency conflicts and maintaining a clean, organized project.
Installing Essential Libraries: Discord.py and Python-dotenv
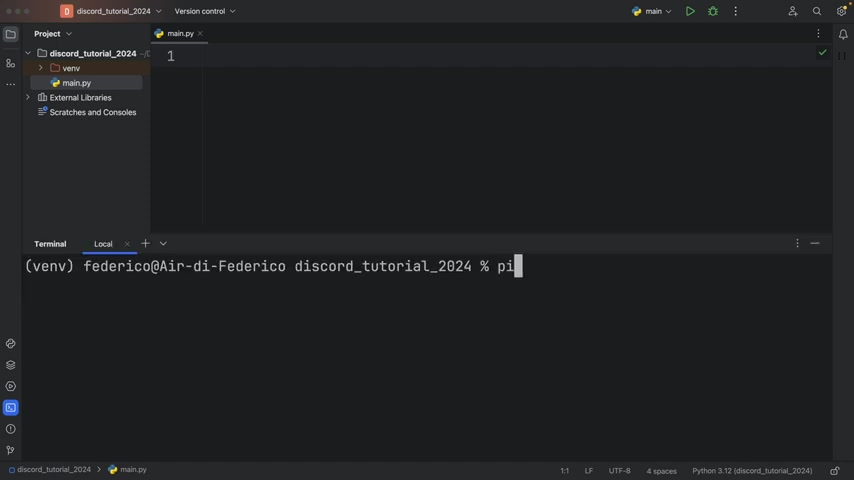
The Discord.py library provides the necessary tools to interact with the Discord API, while Python-dotenv helps manage sensitive information like your bot's token securely. In your activated virtual environment, use Pip to install these libraries: pip install discord and pip install python-dotenv. Discord.py simplifies sending messages, responding to commands, and managing bot events. Python-dotenv is crucial for keeping your bot token private, preventing it from being exposed in your code. This is a fundamental security best practice.
Building Your Discord Bot: Core Components
Setting Up Project Files: main.py and responses.py
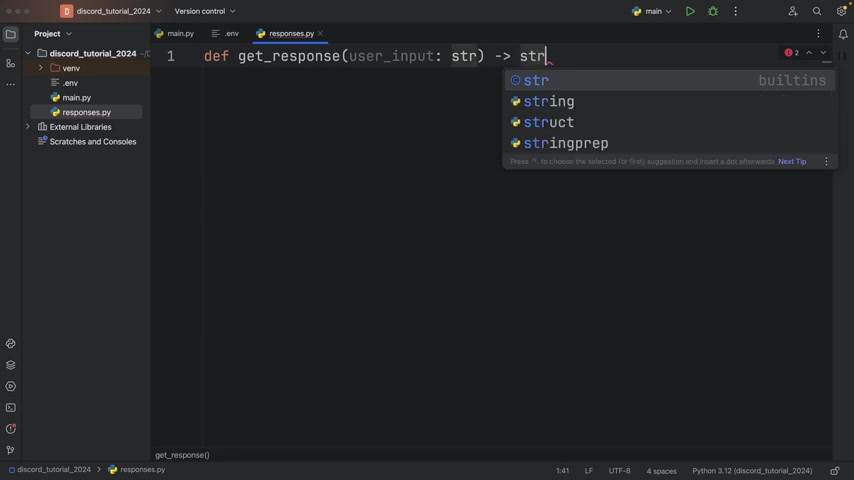
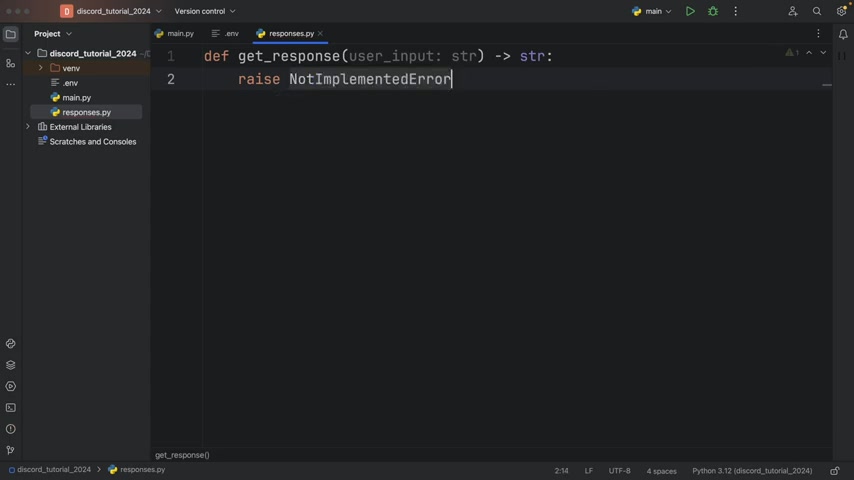
Organizing your project into multiple files improves readability and maintainability. Create two Python files: main.py will contain the main bot logic, while responses.py will store the chatbot's response functions. This separation of concerns makes it easier to manage and update your chatbot's functionality. Creating a .env file is also needed to store your tokens securely.
Securing Your Bot Token with a .env File
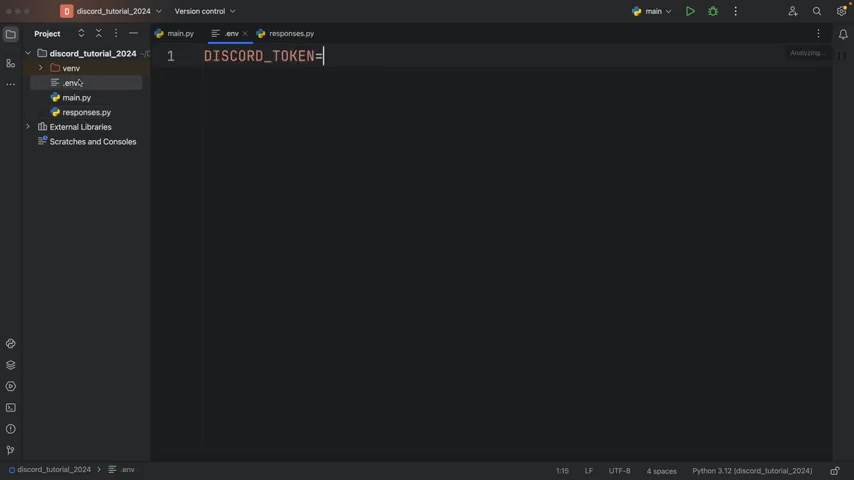
Store your bot's token in a .env file to protect it from being exposed in your code, especially when sharing your project or using version control. Create a new file named .env in your project directory and add the following line: DISCORD_TOKEN=YOUR_BOT_TOKEN. Replace YOUR_BOT_TOKEN with the actual token you obtain from the Discord Developer Portal. This prevents accidentally committing the token to a public repository. The .env file should be excluded from version control to protect this sensitive information.
Initializing the Discord Client with Intents
In main.py, import the necessary libraries and initialize the Discord client with proper intents. Intents define what events your bot will listen to. Start by enabling basic intents and then enable 'message_content' so your bot can read messages. To begin a bot, you will need to open Pycharm and enter these import commands:
from typing import Final
import os
from dotenv import load_dotenv
from discord import Intents, Client, Message
from responses import get_response

load_dotenv()
TOKEN: Final[str] = os.getenv('DISCORD_TOKEN')

intents: Intents = Intents.default()
intents.message_content = True
client: Client = Client(intents=intents)
Implementing the Message Handler (on_message Event)
The on_message event handler processes incoming messages. This function listens for messages in channels that the bot has access to and determines how the bot should respond. Here is a python code:
@client.event
async def on_ready():
    print(f'{client.user} is now running!')

@client.event
async def on_message(message: Message):
    if message.author == client.user:
        return

    username: str = str(message.author)
    user_message: str = str(message.content)
    channel: str = str(message.channel)

    print(f'[{channel}] {username}: {user_message}')

    if '?' == user_message[0]:
        user_message = user_message[1:]
        await send_message(message, user_message, is_private=True)
    else:
        await send_message(message, user_message, is_private=False)

if __name__ == '__main__':
    main()
Adding Basic Message Functionality with the get_response function
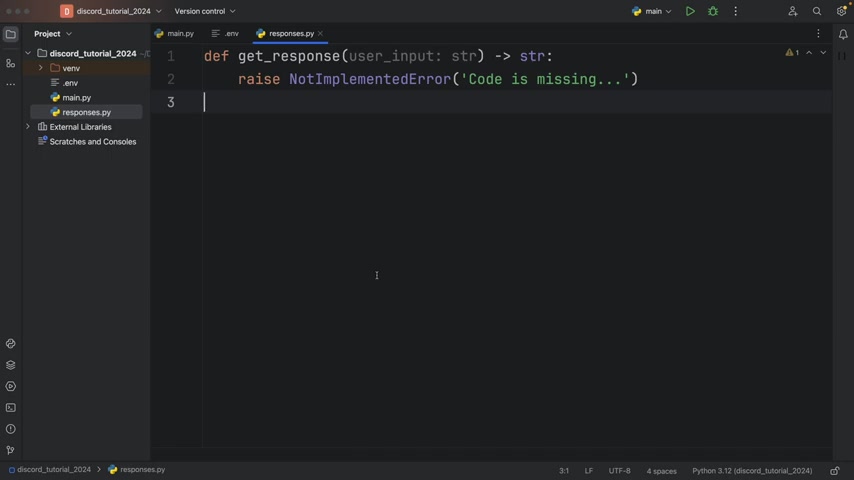
Here is basic code for making the Get_response function work:
from random import choice, randint

def get_response(user_input: str) -> str:
    lowered: str = user_input.lower()

    if lowered == '':
        return 'Well, you\'re awfully silent...'
    elif 'hello' in lowered:
        return 'Hello there!'
    elif 'how are you' in lowered:
        return 'Good, thanks!'
    elif 'bye' in lowered:
        return 'See you!'
    elif 'roll dice' in lowered:
        return f'You rolled: {randint(1, 6)}'
    else:
        return choice(['I do not understand...', 'What are you talking about?', 'Do you mind rephrasing that?'])
This provides the logic for how the chatbot will repsond.
Starting Up the Discord Bot
With everything in place, run your main.py script. If all configurations are correct, the console should display a message indicating that your bot is running and connected to the Discord gateway. Check your Discord server to see if the bot is online. If the bot is showing as offline, double-check your token, intents, and environment variable settings. A successful connection confirms your bot is ready to interact with users.
How to Invite and Use Your Chatbot on Discord
Creating a Discord Application and Generating an Invite Link
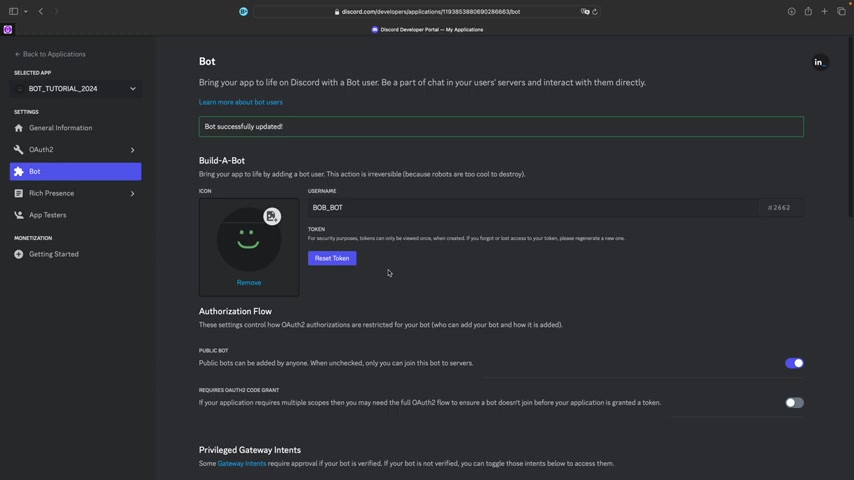
To make your bot accessible on your Discord server, you need to create a Discord application through the Discord Developer Portal. Go to the Discord Developer Portal and make an App. Next go to the Bot area and Build-A-Bot and add the bot. For your bot to be on the server you need to use the developer tool: Oauth2 URL Generator.
Select the scopes and permissions.
Navigating to the OAuth2 URL Generator
Under the "OAuth2" tab select URL Generator. Select the "bot" scope to indicate that this application is a bot.
Selecting Bot Permissions
Permissions define what your bot is allowed to do in a server. When you are setting it up the two you should select are: Read Messages/View Channel. Select send messages. Once you have completed that copy your new URL to the searchbar. Select your server, continue and Authorize.








Most people like


































Report
Please select a reason for reporting
- 13 Reasons to Switch from Snapchat to Text Messaging
- 7 Powerful Speech to Text Apps to Boost Productivity
- 10 Best Speech to Text Tools for Effortless Transcription
- 13 Free Tools to Easily Transcribe Audio to Text
- 15 Surprising Ways Google's Speech-to-Text Boosts Productivity
- 7 Best Free Online Audio to Text Transcription Tools
- 9 Tips to Transcribe Speech to Text Faster and Better
- 13 Best Speech to Text Software for Windows 10 in 2023
- 7 Tips for Choosing the Best Transcriber for Audio to Text
- 11 Reasons Why Dragon Speech-to-Text Apps are Game-Changers
- 6 Secrets to Enhance Your Speech to Text Transcription
- 6 Brilliant Ways to Boost Productivity with Talk-to-Text on Your MacBook
- 6 Ways Transcription Software Converts Audio to Text
- 8 Tips to Transcribe Speech to Text Like a Pro
- 6 Reasons IBM Watson Speech to Text is a Game-Changer
- 14 Powerful Ways Talk-to-Text Improves Your Workflow
- 12 Top Windows Speech-to-Text Software for Efficient Transcription
- 12 Game-Changing Benefits of Apple's Speech to Text Technology
- 9 Powerful Use Cases for AWS Speech to Text Technology
- 10 Easy Steps to Transcribe YouTube Videos to Text
- transcription audio en texte
- online audio transcription
- free audio file transcription
- free ai audio transcription
- audio transcription service
- audio transcription online free
- audio transcription free online
- audio to transcription software
- audio and transcript
- ai audio transcription free
- voice recording to text converter
- translate voice recording to text
- record voice to text
- audio recording to text converter
- voice recording and transcription
- chatgpt voice to text
- gmail voice to text
- speech to text reader
- speech to text ai free
- speech to talk
- How to Use AI Tools to Find Internal Linking Opportunities Across a Business Website
- Discover Your Perfect Haircut with AI Hairstyle Apps
- Free Reputation Calculator Tools: How They're Adapting to Score AI Visibility, Not Just Rankings
- Design Professional Flyers for Free on Your Phone
- Best Free Flyer Maker Apps for Android: Design Like a Pro
- How to Know If Your Business Is Ready for an AI Customer Service Agent
- Revolutionizing Storytelling: From Novels to Screenplays with AI
- Create Engaging Animated Explainer Videos with a Free AI Tool
- Stop Multi-Subscribing: Benchmark Top AI Visual Models in One Canvas
- Best Seedance 2.5 API Provider: Every Price on the Market, Checked at Source
- Top AI Social Media Management Tools: Automate Your Content Strategy
- Free AI Text to Video Generator: Create Stunning Videos from Text
- Discover 17 ChatGPT Alternatives: A Comprehensive Comparison
- Character.AI vs. Janitor AI: Which AI Chat Platform Reigns Supreme?
- Top Virtual Assistant Companies in 2026: Reviews, Pricing, and Plans Compared
- Unveiling FaceCheck.ID: Revolutionizing Reverse Image Searches with AI
- 11 Best AI Dialers in 2026: Features, Pricing, Pros and Cons
- How I Direct Consistent AI Clips: A Hands-On Guide to Multi-Model Generation
- A Realistic Review of the Photo Generator Image Tool
- Playwright MCP Server: Automated Web Testing with Agent Mode

Copyright ©2026 toolify