































Table of Contents
- Key Points
- Object Removal in Video: A Photoshop Tutorial
- King Touch Pro Assets
- Pros and Cons of Using Photoshop's Remove Tool for Video Editing
- FAQ
- Related Questions


Object Removal in Video: A Photoshop Tutorial
Introduction to the Remove Tool in Photoshop
The Remove Tool in Photoshop is a relatively new addition, designed to simplify the process of removing unwanted objects, people, or imperfections from both photos and videos. Unlike previous tools that required more intricate and time-consuming techniques, the Remove Tool uses intelligent content-aware fill to seamlessly replace selected areas with surrounding textures and patterns. This makes it incredibly efficient for tasks like removing tattoos, stray objects, or any other distraction that detracts from your video's overall aesthetic. This feature is incredibly useful for any content creator who wants complete control over their video, whether it is a short video or long format video.
Importing Your Video into Photoshop
Before you can start removing objects, you need to import your video into Photoshop.
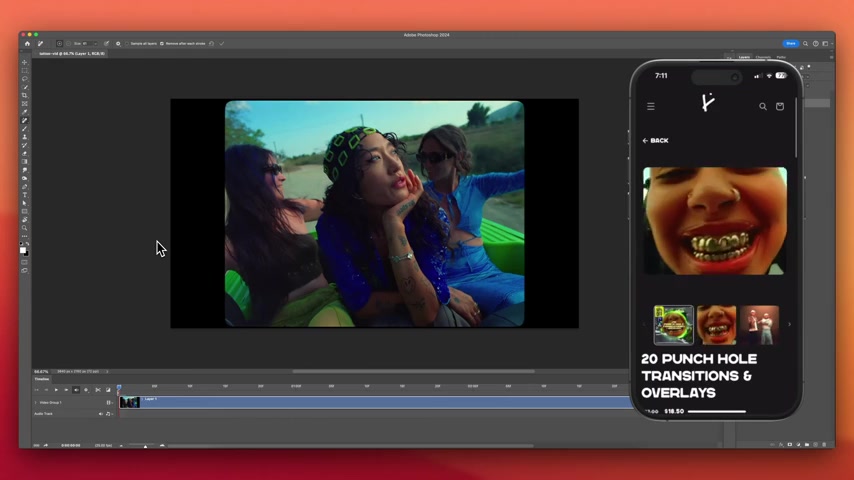
This is a straightforward process: simply open Photoshop and drag your video file into the interface. Photoshop will automatically recognize the video and load it into a timeline, ready for editing. Ensure your video is in a compatible format (MP4 is generally recommended) to avoid any import issues. Once imported, you're ready to navigate the timeline and select the frames you want to edit.
Accessing and Understanding the Remove Tool
With your video loaded, the next step is to access the Remove Tool.
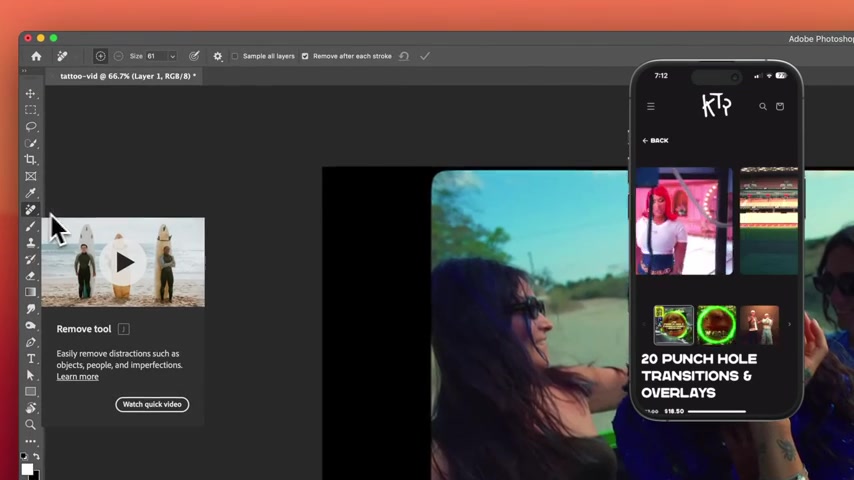
Look for the band-aid icon in the toolbar on the left side of your screen. If you don’t see it immediately, click and hold on the Spot Healing Brush Tool icon; a dropdown menu will appear, allowing you to select the Remove Tool. Alternatively, you can press 'J' on your keyboard to quickly select it. The Remove Tool functions like a brush: you can adjust its size to match the object you intend to remove. Small, precise strokes are usually better for detailed work, while larger brush sizes can expedite the removal of larger areas. The settings for the tool, such as 'Sample All Layers' and 'Remove After Each Stroke,' are available in the options bar at the top of the screen.
Step-by-Step Guide to Removing Objects
Now comes the fun part: removing objects! Follow these steps for optimal results:
-
Select the Frame: Use the timeline to navigate to the specific frame where the object you want to remove is visible. The Remove Tool works on a frame-by-frame basis for video.
-
Brush Over the Object: Carefully brush over the object you want to eliminate.
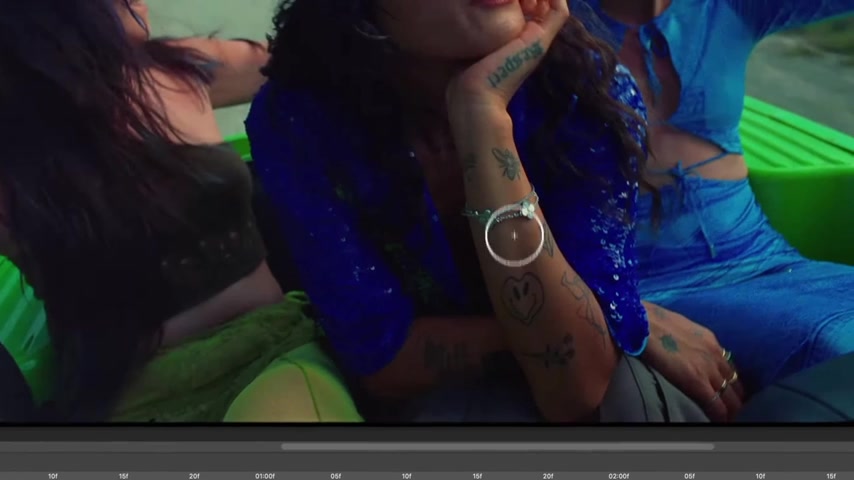
Make sure to cover the entire object, including its edges, to ensure a seamless removal. The area you brush over will be highlighted.
-
Photoshop Does the Magic: Once you release the mouse button, Photoshop’s content-aware fill kicks in, analyzing the surrounding pixels and intelligently filling in the selected area. This process may take a few seconds, depending on the complexity of the area and your computer's processing power.
-
Evaluate the Result: After the removal, closely examine the result. Sometimes, the initial fill might not be perfect. If you notice any artifacts or inconsistencies, simply brush over the area again to refine the removal.
-
Repeat for Each Frame: Repeat the process for every frame in which the object appears. This is the most time-consuming part, but consistency is key for a clean, professional edit.
By following these steps carefully, you can effectively remove objects from your videos, ensuring a polished and distraction-free final product.
Tips for Achieving Seamless Removals
To ensure your object removals look as natural as possible, keep these tips in mind:
-
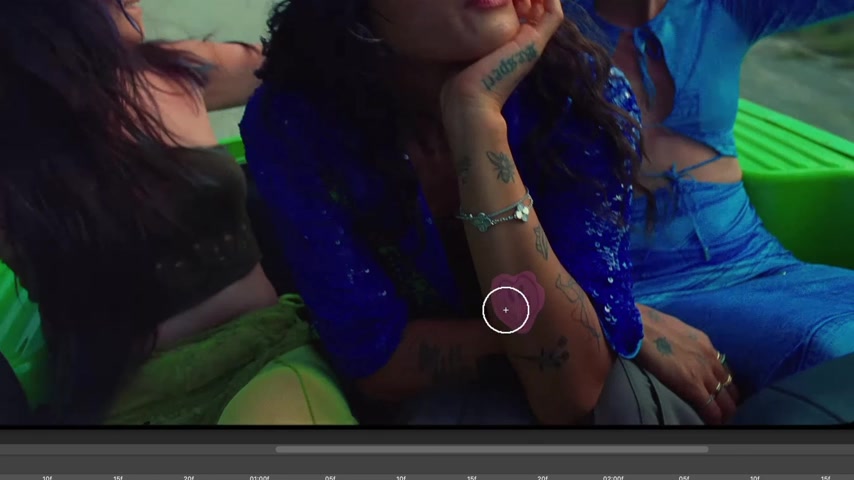
Go Over The Edge: As shown in the video, make sure that you drag over the edge of whatever it is you are trying to remove
-
Use a Consistent Brush Size: Maintaining a consistent brush size helps to keep the texture and pattern consistent across the removed area.
-
Take Advantage of One Click Removes: For large objects, you can increase the brush size and use the single click function to remove big area.
-
Pay Attention to Lighting and Shadows: Ensure the replacement pixels match the lighting and shadows of the surrounding area. Inconsistencies in lighting can make the removal look unnatural.
-
Be Patient: Removing objects frame by frame can be tedious, especially in videos with a lot of movement. Take your time and focus on achieving the best possible result in each frame.
-
Utilize Content-Aware Fill Wisely: If the initial removal isn't satisfactory, adjust the sampling area of the content-aware fill to better match the surrounding environment.
By following these tips, you can make your edits virtually undetectable, resulting in a professional-looking video.
Exporting Your Edited Video
Once you're satisfied with your edits, the final step is to export your video.
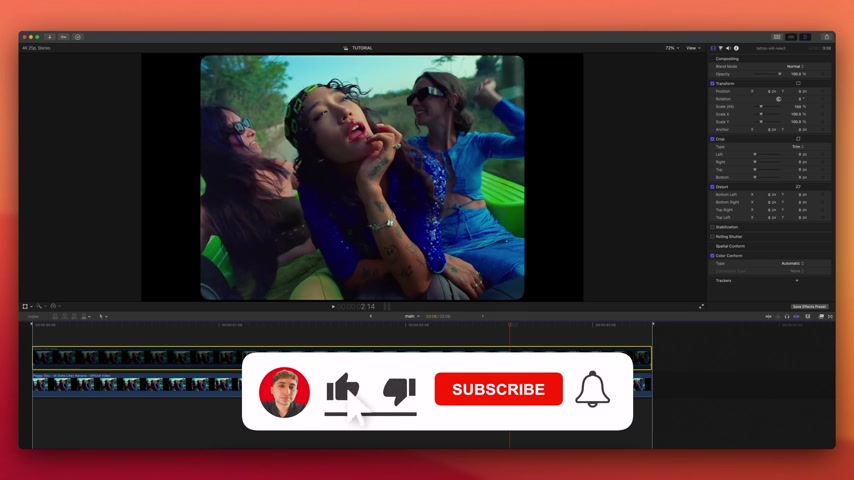
Go to File > Export > Render Video. A dialog box will appear, allowing you to customize your export settings. Choose a location to save your video, give it a name, and select your desired format. MP4 (H.264) is a widely compatible format and is generally recommended.
Make sure you set the 'Adobe Media Encoder' to save to video format. Adjust the size, frame rate, and quality settings as needed. For high-quality results, match the settings to the original video. Once you’re ready, click Render. Photoshop will then process and export your edited video, free of any unwanted objects. Now, you are able to import the video into Final Cut Pro .








Most people like
































Report
Please select a reason for reporting
- 13 Reasons to Switch from Snapchat to Text Messaging
- 7 Powerful Speech to Text Apps to Boost Productivity
- 10 Best Speech to Text Tools for Effortless Transcription
- 13 Free Tools to Easily Transcribe Audio to Text
- 15 Surprising Ways Google's Speech-to-Text Boosts Productivity
- 7 Best Free Online Audio to Text Transcription Tools
- 9 Tips to Transcribe Speech to Text Faster and Better
- 13 Best Speech to Text Software for Windows 10 in 2023
- 7 Tips for Choosing the Best Transcriber for Audio to Text
- 11 Reasons Why Dragon Speech-to-Text Apps are Game-Changers
- 6 Secrets to Enhance Your Speech to Text Transcription
- 6 Brilliant Ways to Boost Productivity with Talk-to-Text on Your MacBook
- 6 Ways Transcription Software Converts Audio to Text
- 8 Tips to Transcribe Speech to Text Like a Pro
- 6 Reasons IBM Watson Speech to Text is a Game-Changer
- 14 Powerful Ways Talk-to-Text Improves Your Workflow
- 12 Top Windows Speech-to-Text Software for Efficient Transcription
- 12 Game-Changing Benefits of Apple's Speech to Text Technology
- 9 Powerful Use Cases for AWS Speech to Text Technology
- 10 Easy Steps to Transcribe YouTube Videos to Text
- transcription audio en texte
- online audio transcription
- free audio file transcription
- free ai audio transcription
- audio transcription service
- audio transcription online free
- audio transcription free online
- audio to transcription software
- audio and transcript
- ai audio transcription free
- voice recording to text converter
- translate voice recording to text
- record voice to text
- audio recording to text converter
- voice recording and transcription
- chatgpt voice to text
- gmail voice to text
- speech to text reader
- speech to text ai free
- speech to talk
- How to Use AI Tools to Find Internal Linking Opportunities Across a Business Website
- Discover Your Perfect Haircut with AI Hairstyle Apps
- Free Reputation Calculator Tools: How They're Adapting to Score AI Visibility, Not Just Rankings
- Design Professional Flyers for Free on Your Phone
- Best Free Flyer Maker Apps for Android: Design Like a Pro
- How to Know If Your Business Is Ready for an AI Customer Service Agent
- Revolutionizing Storytelling: From Novels to Screenplays with AI
- Create Engaging Animated Explainer Videos with a Free AI Tool
- Stop Multi-Subscribing: Benchmark Top AI Visual Models in One Canvas
- Best Seedance 2.5 API Provider: Every Price on the Market, Checked at Source
- Top AI Social Media Management Tools: Automate Your Content Strategy
- Free AI Text to Video Generator: Create Stunning Videos from Text
- Discover 17 ChatGPT Alternatives: A Comprehensive Comparison
- Character.AI vs. Janitor AI: Which AI Chat Platform Reigns Supreme?
- Top Virtual Assistant Companies in 2026: Reviews, Pricing, and Plans Compared
- Unveiling FaceCheck.ID: Revolutionizing Reverse Image Searches with AI
- 11 Best AI Dialers in 2026: Features, Pricing, Pros and Cons
- How I Direct Consistent AI Clips: A Hands-On Guide to Multi-Model Generation
- A Realistic Review of the Photo Generator Image Tool
- Playwright MCP Server: Automated Web Testing with Agent Mode

Copyright ©2026 toolify