































Table of Contents
- Key Points
- Building a QR Code Generator Webpage
- Enhancing the Webpage with CSS
- Implementing QR Code Generation with JavaScript
- Pricing
- Pros and Cons of Creating Your Own QR Code Generator
- FAQ
- Related Questions


Building a QR Code Generator Webpage
What is a QR Code?
A QR (Quick Response) code is a type of matrix barcode invented in 1994 by the Japanese automotive company Denso Wave. QR codes use four standardized encoding modes (numeric, alphanumeric, byte/binary, and kanji) to efficiently store data. They are commonly used to direct users to a website, application, or other online resource, making them an invaluable tool for marketing, information sharing, and various other applications. The advantage of using QR codes is that they can store significantly more data than traditional barcodes, and can be read by smartphones with cameras, making them highly accessible. This accessibility and versatility make them ideal for a wide range of scenarios from digital payments to product tracking.
Keywords: QR code, matrix barcode, data encoding, digital payments, product tracking
Setting Up the Basic HTML Structure
The first step in creating our QR Code Generator is to set up the basic HTML structure. This involves creating an HTML file and adding the necessary elements for input, display, and functionality. Let's start by creating a simple HTML document with a title, a heading, and placeholders for our input field, button, and QR code display area. This structure will form the backbone of our webpage.
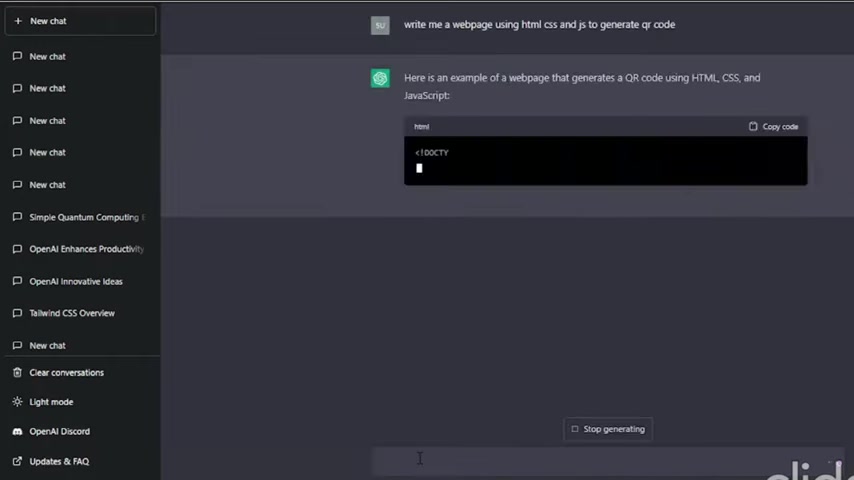
<!DOCTYPE html>
<html>
<head>
    <title>QR Code Generator</title>
</head>
<body>
    <h1>QR Code Generator</h1>

    <!-- Input and button will go here -->

    <!-- QR code display area will go here -->

</body>
</html>
Keywords: HTML structure, web development, QR code generator, input field, HTML document
Adding Input Fields and a Button
Next, we need to add an input field where users can enter the text they want to convert into a QR code, and a button that triggers the QR code generation. We will use the <input> element for the text input and the <button> element to initiate the generation process. We will also add a placeholder text to guide the user on what to input into the text field.
<input type="text" id="text-input" placeholder="Enter text to generate QR code">
<button onclick="generateQrCode()">Generate QR Code</button>
Keywords: Input field, button, QR code, HTML elements, user interface, text input
Creating the QR Code Display Area
Now, we need an area to display the generated QR code. We can use a <div> element for this purpose. This <div> will serve as a container for the QR code image that will be dynamically generated using JavaScript.

<div id="qr-code"></div>Keywords: QR code display, div element, HTML container, JavaScript, webpage
Enhancing the Webpage with CSS
Basic CSS Styling
To make our webpage more visually appealing, we will add some basic CSS styling. This includes styling the QR code container, the input field, and the button to improve the user experience. CSS helps us control the appearance of HTML elements, making the webpage look professional and engaging.
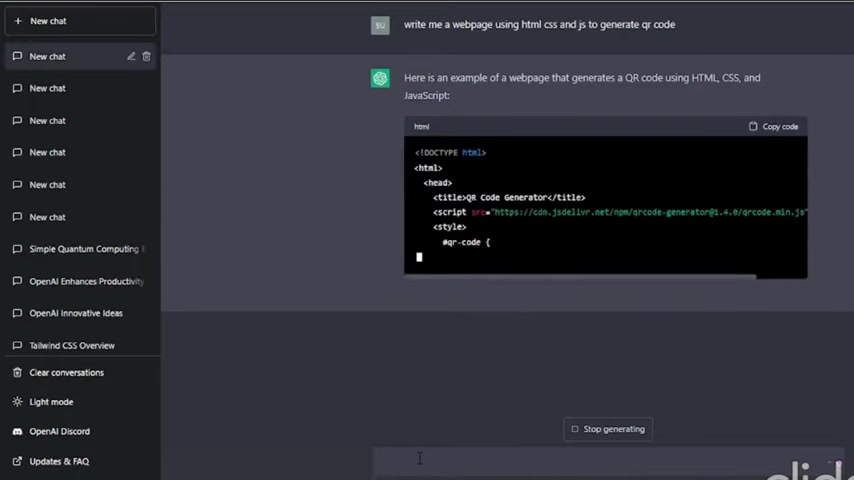
#qr-code {
    width: 256px;
    height: 256px;
}
Keywords: CSS styling, user experience, HTML elements, visual appeal, webpage design, Cascading Style Sheets
Styling with Bootstrap CSS
For more advanced styling, we can use Bootstrap CSS. Bootstrap is a popular CSS framework that provides a set of pre-designed styles and components that we can use to quickly create a visually appealing webpage. To use Bootstrap, we need to include the Bootstrap CSS file in the <head> section of our HTML document and use Bootstrap classes in our HTML elements. Bootstrap simplifies the styling process and allows us to achieve a professional look with minimal effort.
<link rel="stylesheet" href="https://maxcdn.bootstrapcdn.com/bootstrap/4.0.0/css/bootstrap.min.css">.card {
background-color: black;
color: white;
margin: 20px auto;
width: 50%;
}
.card-body {
text-align: center;
}
.form-control {
margin-bottom: 10px;
}Keywords: Bootstrap CSS, CSS framework, pre-designed styles, HTML elements, visual appeal, CSS file, user interface, responsive design
Creating a Card Layout with Bootstrap
Using Bootstrap, we can create a card layout to hold our QR code generator elements. This improves the organization and aesthetics of our webpage.
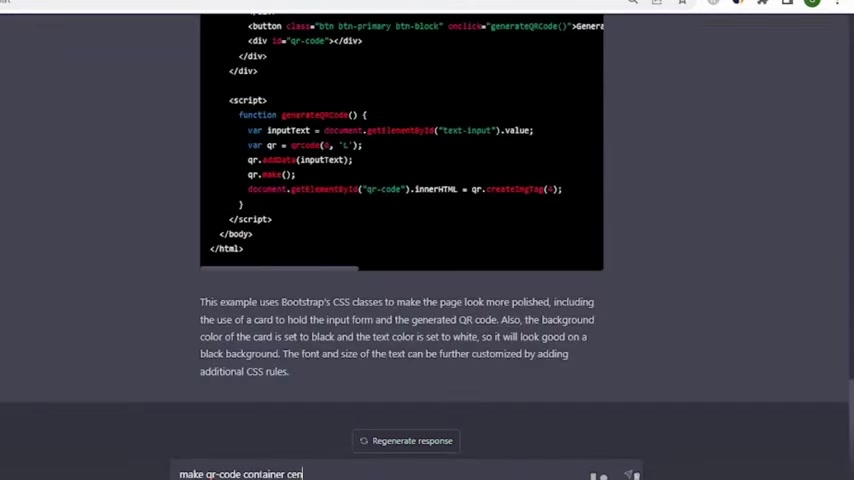
The card layout adds a polished look to the overall design.
<div class="card">
    <div class="card-body">
        <h5 class="card-title text-center">QR Code Generator</h5>
        <div class="form-group">
            <input type="text" class="form-control" id="text-input" placeholder="Enter text to generate QR code">
        </div>
        <button class="btn btn-primary btn-block" onclick="generateQrCode()">Generate QR Code</button>
        <div id="qr-code"></div>
    </div>
</div>
Keywords: Bootstrap card, card layout, HTML elements, webpage organization, professional design, user interface, aesthetic design
Implementing QR Code Generation with JavaScript
Adding the JavaScript Function
Now, we need to add the JavaScript function that generates the QR code. We will use a QR code generation library called qrcode-generator. This library simplifies the process of creating QR codes from text input. First, include the library in your HTML:
<script src="https://cdn.jsdelivr.net/npm/qrcode-generator@1.4.0/qrcode-generator.min.js"></script>Then, we will create the generateQrCode() function to handle the QR code generation.
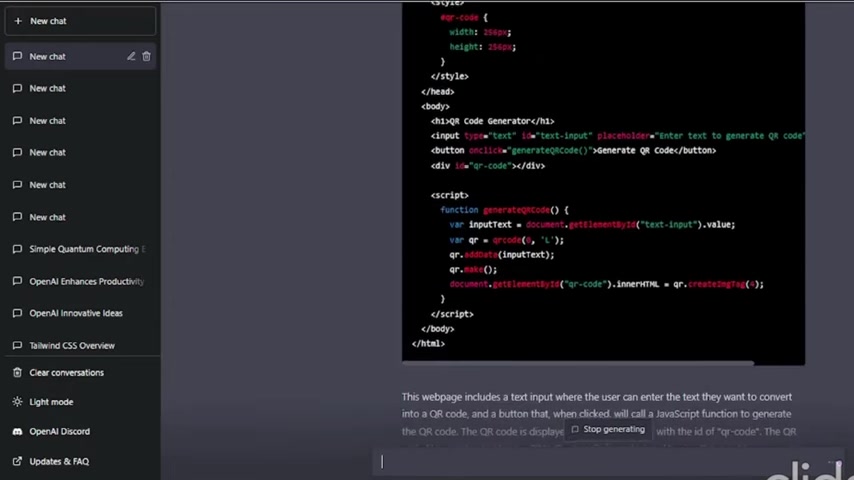
function generateQrCode() {
    var inputText = document.getElementById("text-input").value;
    var qr = qrcode(0, 'L');
    qr.addData(inputText);
    qr.make();
    document.getElementById('qr-code').innerHTML = qr.createImgTag(4);
}
Keywords: JavaScript, QR code generation, QR code library, qrcode-generator, dynamic QR code, HTML elements, function implementation, event handling
Adding a Random Color Generator (Advanced)
To make the QR code more visually appealing, we can add a random color generator that changes the color of the QR code every time it is generated. This involves modifying the createImgTag function to include a random color property.
function generateQrCode() {
    var inputText = document.getElementById("text-input").value;
    var qr = qrcode(0, 'L');
    qr.addData(inputText);
    qr.make();

    // Generate a random color
    var randomColor = '#' + Math.floor(Math.random() * 0xFFFFFF).toString(16);

    // Modified createImgTag function to add random color
    document.getElementById('qr-code').innerHTML = '<img src="' + qr.createDataURL() + '" style="background-color:' + randomColor + ';"/>';

}
This adds a dynamic visual element, making the QR code generator more engaging. Be aware that this introduces some complexities, as the basic version of the library might not directly support color customization.
Keywords: Random color generator, visual appeal, dynamic element, QR code design, JavaScript function, hex color codes
Understanding the Code
Let's break down the JavaScript code:
function generateQrCode() { ... }: Defines the function that will be called when the button is clicked.var inputText = document.getElementById("text-input").value;: Retrieves the text entered by the user.var qr = qrcode(0, 'L');: Initializes the QR code generator with error correction level 'L'.qr.addData(inputText);: Adds the user's text data to the QR code.qr.make();: Generates the QR code.document.getElementById('qr-code').innerHTML = qr.createImgTag(4);: Creates an image tag of the QR code and sets it as the content of theqr-codediv.
Error Correction Levels:
- L (Low): Recovers 7% of data.
- M (Medium): Recovers 15% of data.
- Q (Quartile): Recovers 25% of data.
- H (High): Recovers 30% of data.
Keywords: JavaScript code, function definition, user input, error correction, image tag, QR code generation process, Code Explanation





Most people like

































Report
Please select a reason for reporting
- 13 Reasons to Switch from Snapchat to Text Messaging
- 7 Powerful Speech to Text Apps to Boost Productivity
- 10 Best Speech to Text Tools for Effortless Transcription
- 13 Free Tools to Easily Transcribe Audio to Text
- 15 Surprising Ways Google's Speech-to-Text Boosts Productivity
- 7 Best Free Online Audio to Text Transcription Tools
- 9 Tips to Transcribe Speech to Text Faster and Better
- 13 Best Speech to Text Software for Windows 10 in 2023
- 7 Tips for Choosing the Best Transcriber for Audio to Text
- 11 Reasons Why Dragon Speech-to-Text Apps are Game-Changers
- 6 Secrets to Enhance Your Speech to Text Transcription
- 6 Brilliant Ways to Boost Productivity with Talk-to-Text on Your MacBook
- 6 Ways Transcription Software Converts Audio to Text
- 8 Tips to Transcribe Speech to Text Like a Pro
- 6 Reasons IBM Watson Speech to Text is a Game-Changer
- 14 Powerful Ways Talk-to-Text Improves Your Workflow
- 12 Top Windows Speech-to-Text Software for Efficient Transcription
- 12 Game-Changing Benefits of Apple's Speech to Text Technology
- 9 Powerful Use Cases for AWS Speech to Text Technology
- 10 Easy Steps to Transcribe YouTube Videos to Text
- transcription audio en texte
- online audio transcription
- free audio file transcription
- free ai audio transcription
- audio transcription service
- audio transcription online free
- audio transcription free online
- audio to transcription software
- audio and transcript
- ai audio transcription free
- voice recording to text converter
- translate voice recording to text
- record voice to text
- audio recording to text converter
- voice recording and transcription
- chatgpt voice to text
- gmail voice to text
- speech to text reader
- speech to text ai free
- speech to talk
- How to Use AI Tools to Find Internal Linking Opportunities Across a Business Website
- Discover Your Perfect Haircut with AI Hairstyle Apps
- Free Reputation Calculator Tools: How They're Adapting to Score AI Visibility, Not Just Rankings
- Design Professional Flyers for Free on Your Phone
- Best Free Flyer Maker Apps for Android: Design Like a Pro
- How to Know If Your Business Is Ready for an AI Customer Service Agent
- Revolutionizing Storytelling: From Novels to Screenplays with AI
- Create Engaging Animated Explainer Videos with a Free AI Tool
- Stop Multi-Subscribing: Benchmark Top AI Visual Models in One Canvas
- Best Seedance 2.5 API Provider: Every Price on the Market, Checked at Source
- Top AI Social Media Management Tools: Automate Your Content Strategy
- Free AI Text to Video Generator: Create Stunning Videos from Text
- Discover 17 ChatGPT Alternatives: A Comprehensive Comparison
- Character.AI vs. Janitor AI: Which AI Chat Platform Reigns Supreme?
- Top Virtual Assistant Companies in 2026: Reviews, Pricing, and Plans Compared
- Unveiling FaceCheck.ID: Revolutionizing Reverse Image Searches with AI
- 11 Best AI Dialers in 2026: Features, Pricing, Pros and Cons
- How I Direct Consistent AI Clips: A Hands-On Guide to Multi-Model Generation
- A Realistic Review of the Photo Generator Image Tool
- Playwright MCP Server: Automated Web Testing with Agent Mode

Copyright ©2026 toolify