































Table of Contents
- Key Points
- Introduction to GitHub Copilot CLI
- Exploring the Core Functionalities of GitHub Copilot CLI
- Step-by-Step Guide to Using GitHub Copilot CLI
- Advantages and Disadvantages of Using GitHub Copilot CLI
- FAQ
- Related Questions


Introduction to GitHub Copilot CLI
What is GitHub Copilot CLI?
The GitHub Copilot CLI is an extension of the GitHub Copilot ecosystem, designed specifically for terminal environments. It allows developers to interact with AI to generate code, debug, write tests, and even understand existing codebases directly from the command line.

This tool caters to developers who spend significant time in the terminal and prefer a streamlined, keyboard-centric workflow. The Copilot CLI is very powerful and works as AI coding assistant in the terminal. By integrating AI into the terminal, Copilot CLI removes the need to switch between different environments, which maximizes productivity and helps developers stay focused.
Key benefits of using GitHub Copilot CLI:
- Stay in Your Terminal: No need to switch to an IDE for AI assistance.
- Code Generation: Generate code snippets and complete functions with natural language prompts.
- Debugging: Get help identifying and fixing errors in your code.
- Testing: Generate unit tests to ensure code quality.
- Codebase Understanding: Quickly learn the structure and layout of unfamiliar projects.
- Increased Productivity: Automate repetitive tasks and focus on complex problem-solving.
GitHub Copilot CLI represents the last remaining piece of the puzzle of all Copilot offerings. As GitHub continues to integrate AI into development workflows, Copilot CLI is a significant step toward making AI accessible to all developers, regardless of their preferred tools or coding style. This helps to improve and accelerate the development process.
Installing GitHub Copilot CLI
Getting started with GitHub Copilot CLI is straightforward. The installation process is quick and easy, allowing you to start using AI assistance in your terminal within minutes. Here’s how to install GitHub Copilot CLI:
Prerequisites:
- Node.js version 22 or higher
- npm (Node Package Manager)
- A GitHub Copilot subscription
Installation Steps:
- Open Your Terminal: Launch your terminal application.
-
Install Copilot CLI Globally: Run the following command to install Copilot CLI globally:
npm install -g copilot
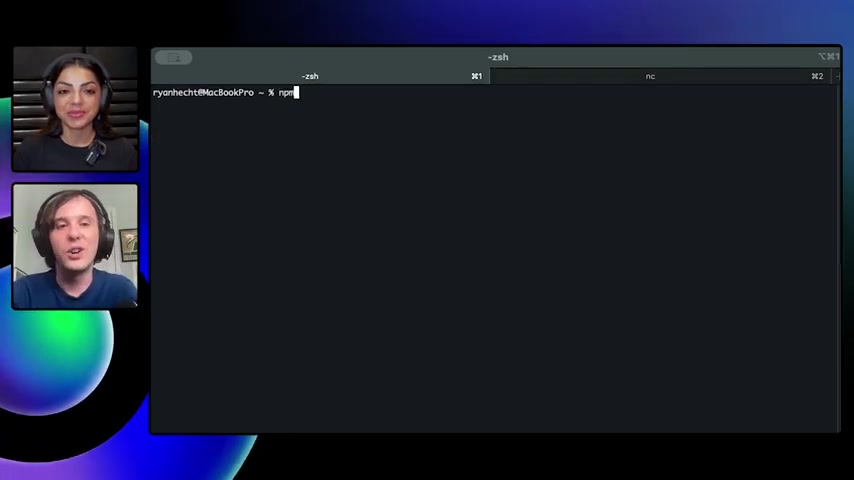
This command installs the Copilot CLI package globally, making it accessible from any directory in your terminal.
-
Verify Installation: After the installation is complete, verify that Copilot CLI is installed correctly by running:
copilot --versionThis command displays the version number of Copilot CLI, confirming that it is installed and functioning correctly.
- Authentication: The first time you run Copilot CLI, you will be prompted to authenticate with your GitHub account. Follow the instructions provided in the terminal to complete the authentication process. This step ensures that you have the necessary permissions to use GitHub Copilot services.
With these steps, you’re ready to start using GitHub Copilot CLI and experience AI-assisted coding in your terminal.
Exploring the Core Functionalities of GitHub Copilot CLI
Understanding Codebase Layouts
GitHub Copilot CLI excels at helping developers quickly grasp the structure of unfamiliar codebases. By simply asking Copilot to describe the layout of a project, you can gain insights into its organization and key components.
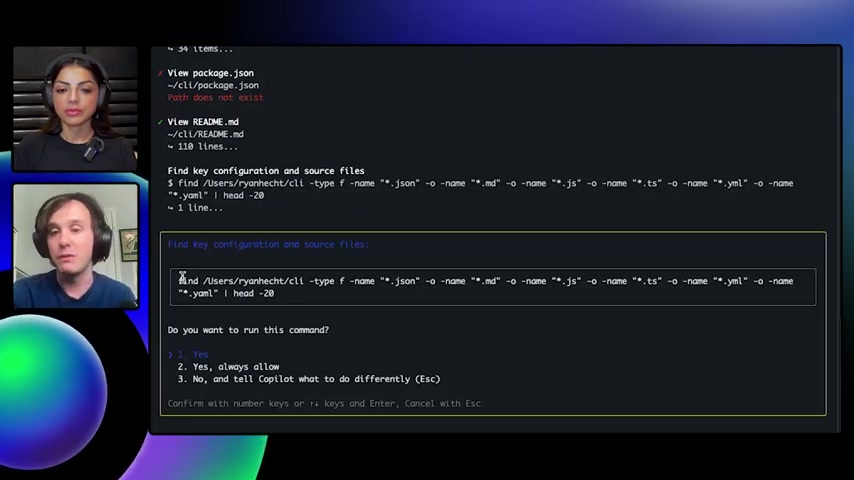
This is particularly useful when joining a new project or working with legacy code.
How to Use:
- Navigate to the Project Directory: In your terminal, navigate to the root directory of the project you want to explore.
-
Ask Copilot: Run the following command:
copilotOnce the copilot is initiated, you can then write a description of what is needed. For example:
Tell me about the layout of this projectCopilot CLI analyzes the project structure, including files, directories, and key configuration files, and provides a summary of the project layout.
Finding Contribution Opportunities
Contributing to open-source projects can be daunting, especially when you're new to the codebase. GitHub Copilot CLI simplifies this process by identifying good first issues and potential contribution opportunities. This feature helps you find manageable tasks that allow you to make meaningful contributions to the project.
How to Use:
- Navigate to the Project Directory: In your terminal, navigate to the root directory of the project you want to contribute to.
-
Ask Copilot: Run the following command:
Copilot, find good first issuesCopilot CLI searches the project's issue tracker and lists issues that are labeled as beginner-friendly or good first issues.
Troubleshooting Ports
GitHub Copilot CLI can assist in identifying which process is using it.
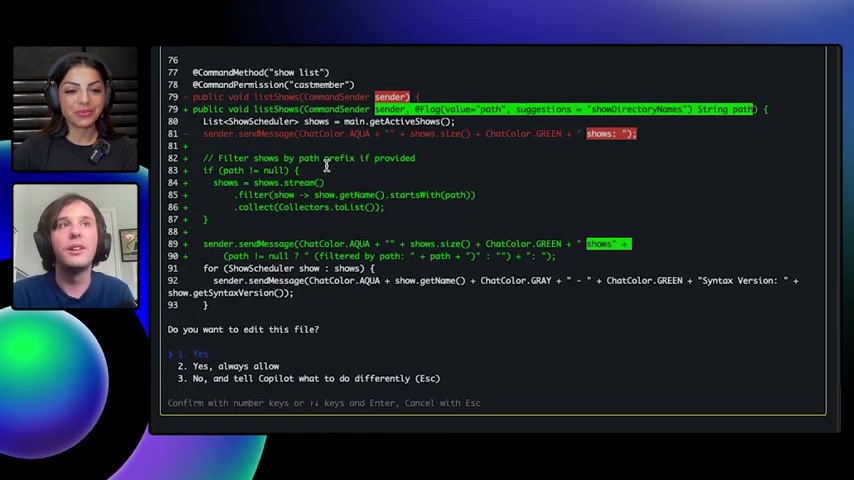
This feature is useful for resolving port conflicts and ensuring that your applications can run smoothly.
How to Use:
-
Ask Copilot: Run the following command:
Copilot, what process is using port 8080GitHub Copilot CLI helps to verify port and determine which command to use.
Step-by-Step Guide to Using GitHub Copilot CLI
Setting Up Your Environment
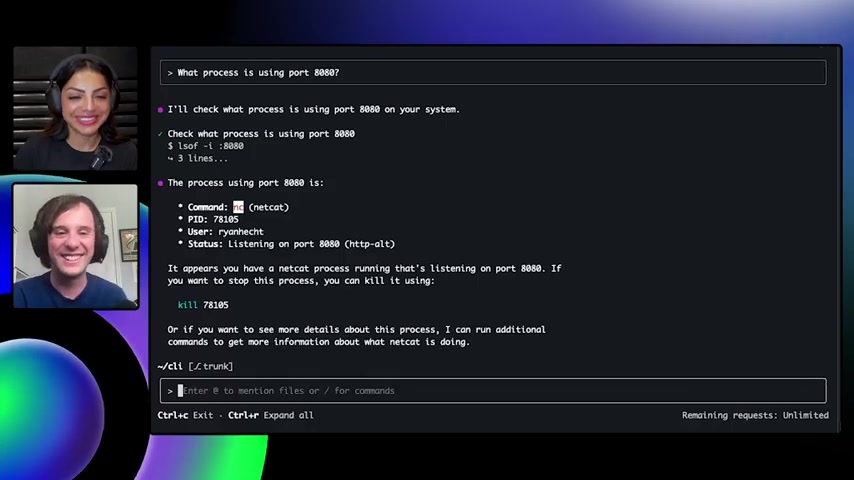
Before diving into code generation and debugging, it’s essential to ensure your development environment is properly configured. GitHub Copilot CLI can help verify that all necessary dependencies, libraries, and tools are installed and set up correctly.
How to Use:
- Navigate to Your Project Directory: In your terminal, navigate to the root directory of your project.
-
Ask Copilot: Run the following command:
Copilot, make sure that our environment is all set up for building the Github CLIGitHub Copilot CLI scans your project and identifies any missing dependencies or configuration issues. It then provides guidance on how to resolve these issues to ensure your environment is ready for development.
Coding with Github Copilot CLI
With GitHub Copilot CLI installed and your environment configured, you can start leveraging AI to assist with code generation and development tasks. The CLI supports natural language queries, allowing you to describe what you want to achieve, and Copilot will generate the corresponding code snippets.

How to Use:
-
Ask Copilot: In your terminal, describe the code you want to generate. For example:
Copilot, write a function that returns the factorial of a number in python -
Review and Accept the Suggestions: Review the code snippet generated by Copilot. If it meets your requirements, accept the suggestion and integrate it into your project.






Most people like





































Report
Please select a reason for reporting
- 13 Reasons to Switch from Snapchat to Text Messaging
- 7 Powerful Speech to Text Apps to Boost Productivity
- 10 Best Speech to Text Tools for Effortless Transcription
- 13 Free Tools to Easily Transcribe Audio to Text
- 15 Surprising Ways Google's Speech-to-Text Boosts Productivity
- 7 Best Free Online Audio to Text Transcription Tools
- 9 Tips to Transcribe Speech to Text Faster and Better
- 13 Best Speech to Text Software for Windows 10 in 2023
- 7 Tips for Choosing the Best Transcriber for Audio to Text
- 11 Reasons Why Dragon Speech-to-Text Apps are Game-Changers
- 6 Secrets to Enhance Your Speech to Text Transcription
- 6 Brilliant Ways to Boost Productivity with Talk-to-Text on Your MacBook
- 6 Ways Transcription Software Converts Audio to Text
- 8 Tips to Transcribe Speech to Text Like a Pro
- 6 Reasons IBM Watson Speech to Text is a Game-Changer
- 14 Powerful Ways Talk-to-Text Improves Your Workflow
- 12 Top Windows Speech-to-Text Software for Efficient Transcription
- 12 Game-Changing Benefits of Apple's Speech to Text Technology
- 9 Powerful Use Cases for AWS Speech to Text Technology
- 10 Easy Steps to Transcribe YouTube Videos to Text
- transcription audio en texte
- online audio transcription
- free audio file transcription
- free ai audio transcription
- audio transcription service
- audio transcription online free
- audio transcription free online
- audio to transcription software
- audio and transcript
- ai audio transcription free
- voice recording to text converter
- translate voice recording to text
- record voice to text
- audio recording to text converter
- voice recording and transcription
- chatgpt voice to text
- gmail voice to text
- speech to text reader
- speech to text ai free
- speech to talk
- How SEO and Marketing Dashboards Empower Agencies to Drive Results
- How to Use AI Tools to Find Internal Linking Opportunities Across a Business Website
- Discover Your Perfect Haircut with AI Hairstyle Apps
- Free Reputation Calculator Tools: How They're Adapting to Score AI Visibility, Not Just Rankings
- Design Professional Flyers for Free on Your Phone
- Best Free Flyer Maker Apps for Android: Design Like a Pro
- How to Know If Your Business Is Ready for an AI Customer Service Agent
- Revolutionizing Storytelling: From Novels to Screenplays with AI
- Create Engaging Animated Explainer Videos with a Free AI Tool
- Stop Multi-Subscribing: Benchmark Top AI Visual Models in One Canvas
- Top 5 Cold Email Software: Maximize Your Outreach in 2025
- Magic School AI: Revolutionizing Quiz & Assessment Generation
- Create Your Own Email Bot and Automate Your Email Tasks
- Beyond Pure Prompts: Optimizing Production with 'Text With Reference' Generation
- Stop Using Boring TTS: My Honest Deep Dive Into VideoAI and the Hunt for the Perfect Custom Voices
- AI & Elections: Defending Democracy Against Misinformation
- Navigating Political Discourse: AI, Deepfakes, and Reality Checks
- Detecting Political Bias in News Articles: A Powerful AI Algorithm
- AI Bias Unveiled: Political Leanings in ChatGPT & Beyond
- Revolutionize Learning: Discover Quizzes AI for Engaging Interactive Quizzes

Copyright ©2026 toolify