


Table of Contents
- Key Points
- Introduction to Python Turtle Graphics
- Generating Random Patterns with Python Turtle
- How to Use Python Turtle Graphics
- Pros and Cons of Python Turtle Graphics
- FAQ
- Related Questions


Introduction to Python Turtle Graphics
What is Python Turtle?
Python Turtle is a pre-installed Python library that allows users to create pictures and shapes by using a virtual turtle moving around the screen. It provides an easy-to-use interface for drawing graphics, making it a fantastic tool for beginners learning to code and for artists looking to express their creativity through programming. The turtle can be controlled to move forward, backward, turn, change color, and more, leaving a trail as it moves, thus creating drawings. The simplicity and interactive nature of Python Turtle make it an excellent educational resource and a fun way to explore computational art.
Why Use Python Turtle Graphics?
- Beginner-Friendly: The commands are intuitive and easy to learn, making it perfect for introducing programming concepts.
- Visual Feedback: Seeing the immediate visual results of your code is highly engaging and motivating.
- Creativity Unleashed: It provides endless possibilities for creating drawings, Patterns, and even simple games.
- Educational Tool: Helps understand fundamental concepts such as loops, conditional statements, and functions in a visual manner.
With Python Turtle, you can Translate your creative ideas into reality and see them unfold on the screen as you code. In this guide, we will delve into how to use Python Turtle to generate random patterns and shapes, bringing a new dimension to your coding and artistic skills.
Setting Up Your Environment for Turtle Graphics
Before diving into creating random patterns, it's crucial to set up your coding environment. Since Python Turtle comes pre-installed with Python, you don't need to install any additional libraries. However, you will need a code editor or an Integrated Development Environment (IDE) to write and run your Python code. Popular options include:
- Visual Studio Code (VS Code): A versatile and widely used code editor with extensive support for Python.
- PyCharm: A dedicated IDE for Python development, offering advanced features and tools.
- IDLE: Python's Integrated Development and Learning Environment, a simple and basic option that comes with Python.
Once you've chosen your IDE, create a new Python file where you'll write your turtle graphics code. You can start by importing the turtle module and the random module, which will be essential for generating random patterns.
Here's how you do it:
import turtle
import random
The turtle module provides the functions to control the turtle object, while the random module allows you to generate random numbers, which we'll use to create variations in our patterns.
After importing the modules, you can create a turtle object and a screen object to work with:
t = turtle.Turtle()
screen = turtle.Screen()
This sets up the basic environment for drawing. Now, you're ready to start coding and creating your first random pattern using Python Turtle graphics!
Generating Random Patterns with Python Turtle
Creating Basic Random Patterns
To generate random patterns, you can start by creating a loop that repeats a set of drawing actions. Within this loop, you can use the random module to vary parameters such as the turtle's direction, distance, and color. Here’s a basic example:
import turtle
import random

t = turtle.Turtle()
screen = turtle.Screen()

for i in range(50):
    t.color(random.random(), random.random(), random.random())
    t.forward(random.randint(10, 50))
    t.right(random.randint(0, 360))
This code creates a loop that repeats 50 times. In each iteration, the turtle's color is set to a random RGB value, it moves forward a random distance between 10 and 50 pixels, and it turns a random angle between 0 and 360 degrees. This results in a chaotic yet visually interesting pattern.
Enhancing the Pattern
To make the pattern more intricate, you can add more variables and actions within the loop. For example, you can change the Shape of the turtle, adjust the pen size, or introduce conditional statements to alter the drawing behavior. Experimenting with these elements can lead to a wide variety of unique and captivating patterns.
Another way to enhance the pattern is by using functions to encapsulate specific drawing behaviors. This makes the code more modular and easier to manage. For example, you can create a function to draw a random shape and then call that function multiple times within the loop.
By combining loops, random values, and functions, you can create an endless array of random patterns with Python Turtle graphics. The key is to experiment and observe the results of your code. Each small change can lead to a completely different and visually appealing outcome.
User Interaction: Letting Users Choose Pattern Type
Adding user interaction to your Python Turtle graphics project can make it more engaging and customizable. You can Prompt users to choose a pattern type and then generate the pattern based on their choice.

Here’s how you can do it:
import turtle
import random
t = turtle.Turtle()
screen = turtle.Screen()
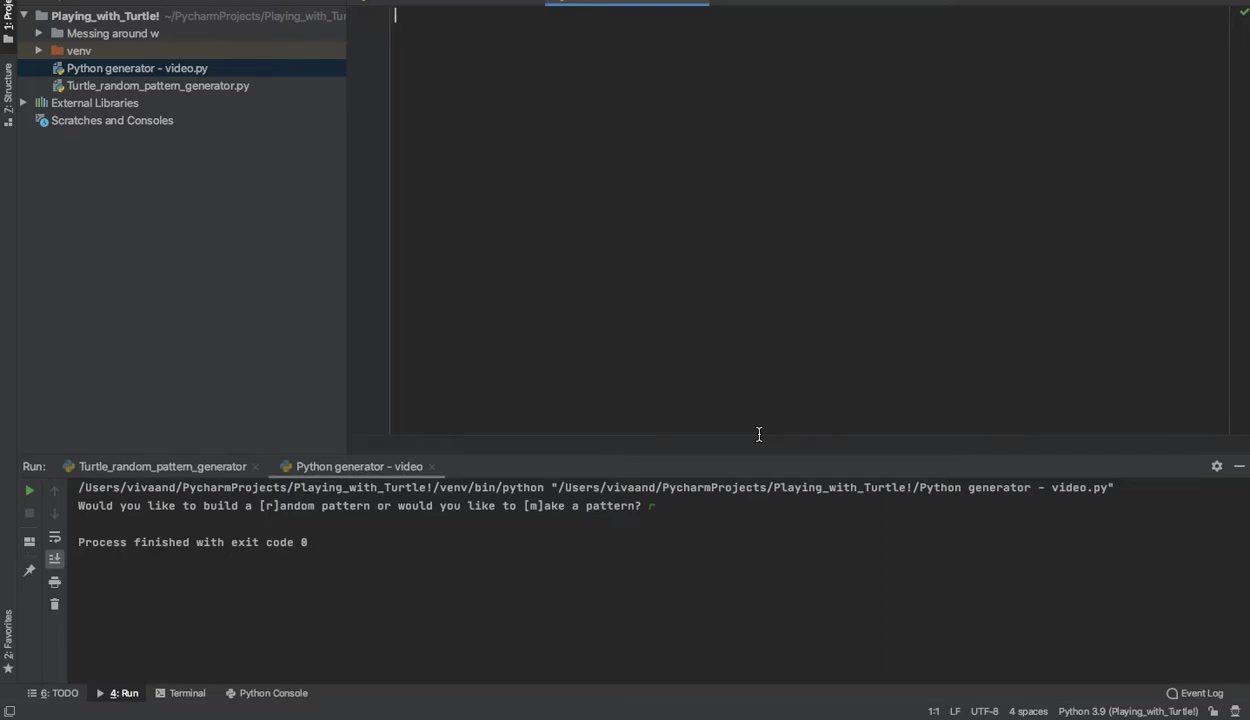
choice = input("Would you like a [r]andom pattern or would you like to [m]ake a pattern? ")
if choice.lower() == 'r':
for i in range(50):
t.color(random.random(), random.random(), random.random())
t.forward(random.randint(10, 50))
t.right(random.randint(0, 360))
elif choice.lower() == 'm':
# Code to make a specific pattern
passThis code first prompts the user to choose between a random pattern ('r') and making a specific pattern ('m'). Based on their input, the code executes different sets of drawing instructions. The input() function captures the user's choice, and the if statement checks the value of the choice variable to determine which pattern to generate.
Handling Different User Inputs
To handle different user inputs, you can add more elif statements to the code. For example, you can add an option for the user to choose the number of iterations, the size of the turtle, or the color scheme. You can also use try-except blocks to handle invalid inputs and prevent the program from crashing.
Adding More Customization
To add more customization options, you can prompt the user to enter specific values for different parameters. For example, you can ask the user to enter the minimum and maximum values for the random distance, or to choose a specific color palette. You can then use these values to generate the pattern.
By incorporating user interaction into your Python Turtle graphics project, you can create a more personalized and engaging experience for the user. This not only makes the project more fun to use, but also helps the user learn more about programming and graphics.
Advanced Techniques: Creating Complex Shapes and Patterns
Once you've mastered the basics of generating random patterns, you can move on to more advanced techniques for creating complex shapes and patterns. One such technique is to use nested loops to create intricate designs. Another technique is to use functions to encapsulate specific drawing behaviors and then call those functions multiple times within the loop.
Nested Loops
Nested loops are loops within loops. They allow you to repeat a set of drawing actions multiple times, creating intricate patterns. Here’s an example:
import turtle
import random

t = turtle.Turtle()
screen = turtle.Screen()

for i in range(10):
    for j in range(10):
        t.color(random.random(), random.random(), random.random())
        t.forward(random.randint(10, 20))
        t.right(random.randint(0, 36))
    t.penup()
    t.goto(0, i * -20)
    t.pendown()
This code creates a GRID of random shapes. The outer loop repeats 10 times, and the inner loop also repeats 10 times. In each iteration of the inner loop, the turtle draws a random shape. After the inner loop completes, the turtle moves to the next row and repeats the process.
Functions for Drawing Behaviors
Functions allow you to encapsulate specific drawing behaviors and then call those functions multiple times within the loop. This makes the code more modular and easier to manage. Here’s an example:
import turtle
import random

t = turtle.Turtle()
screen = turtle.Screen()

def draw_random_shape():
    t.color(random.random(), random.random(), random.random())
    t.forward(random.randint(10, 50))
    t.right(random.randint(0, 360))

for i in range(50):
    draw_random_shape()
This code defines a function called draw_random_shape() that draws a random shape. The code then calls this function 50 times within the loop. This makes the code more readable and easier to modify.
By combining nested loops and functions, you can create even more complex and intricate shapes and patterns with Python Turtle graphics.


Most people like


Report
Please select a reason for reporting
- 13 Reasons to Switch from Snapchat to Text Messaging
- 7 Powerful Speech to Text Apps to Boost Productivity
- 10 Best Speech to Text Tools for Effortless Transcription
- 13 Free Tools to Easily Transcribe Audio to Text
- 15 Surprising Ways Google's Speech-to-Text Boosts Productivity
- 7 Best Free Online Audio to Text Transcription Tools
- 9 Tips to Transcribe Speech to Text Faster and Better
- 13 Best Speech to Text Software for Windows 10 in 2023
- 7 Tips for Choosing the Best Transcriber for Audio to Text
- 11 Reasons Why Dragon Speech-to-Text Apps are Game-Changers
- 6 Secrets to Enhance Your Speech to Text Transcription
- 6 Brilliant Ways to Boost Productivity with Talk-to-Text on Your MacBook
- 6 Ways Transcription Software Converts Audio to Text
- 8 Tips to Transcribe Speech to Text Like a Pro
- 6 Reasons IBM Watson Speech to Text is a Game-Changer
- 14 Powerful Ways Talk-to-Text Improves Your Workflow
- 12 Top Windows Speech-to-Text Software for Efficient Transcription
- 12 Game-Changing Benefits of Apple's Speech to Text Technology
- 9 Powerful Use Cases for AWS Speech to Text Technology
- 10 Easy Steps to Transcribe YouTube Videos to Text
- transcription audio en texte
- online audio transcription
- free audio file transcription
- free ai audio transcription
- audio transcription service
- audio transcription online free
- audio transcription free online
- audio to transcription software
- audio and transcript
- ai audio transcription free
- voice recording to text converter
- translate voice recording to text
- record voice to text
- audio recording to text converter
- voice recording and transcription
- chatgpt voice to text
- gmail voice to text
- speech to text reader
- speech to text ai free
- speech to talk
- 2026别再为 Claude多花冤枉钱了,ClaudeAPI.com国内直连让我每月省下 ¥780
- 5 Best AI Chat Apps for Mac in 2026
- What Makes Happy Horse 1.0 Different from Basic AI Video Tools
- Key Features of Happy Horse 1.0 AI Video Generator You Should Know
- 爱翻译功能全面解析:核心优势及主要功能
- Best AI Humanizers for SEO Content Writers in 2026
- Seedance 2.0 Prompting 101: The 6 Parameters You Need to Master (by Topview)
- Top 5 AI Text-to-Video Generators: A 2025 Review
- Create Professional UGC Videos with AI: Introducing Magic Ads
- Top 5 Browsers for Managing Multiple Accounts in 2026: What Actually Works
- Mastering Meeting Minutes: A Comprehensive Guide for Efficiency
- The Dangers of Deepfake for K-Pop: From Idol to Porn Star
- Key Metrics Used in AI Benchmarking for Enterprise Systems
- Top Free AI Video Generators: Latest Tools Compared!
- Top 5 Free AI Video Generators: Unlimited Options in 2025
- Top AI Video Generators: Ranking the Best Tools for 2025
- Top AI Video Generators: Create Stunning Videos Effortlessly
- Top AI Video Generators for Stunning Animations in 2024
- Free AI Video Generators: Unlimited & No Watermarks in 2025
- Top AI Video Maker Tools: Create Videos Fast & Easily
Copyright ©2026 toolify