































Table of Contents
- Key Points
- Optimizing Raspberry Pi Camera Streaming
- Choosing the Right Hardware for Your Raspberry Pi Camera Setup
- Setting Up the RPi Cam Web Interface
- Advantages and Disadvantages of Using RPi Cam Web Interface
- Frequently Asked Questions
- Related Questions



Optimizing Raspberry Pi Camera Streaming
Moving Beyond VLC for Low Latency Streaming
For a long time, VLC media player has been a popular choice for streaming video from the Raspberry Pi camera module. However, its significant latency, sometimes ranging from two to four seconds, can be a major drawback for real-time applications.
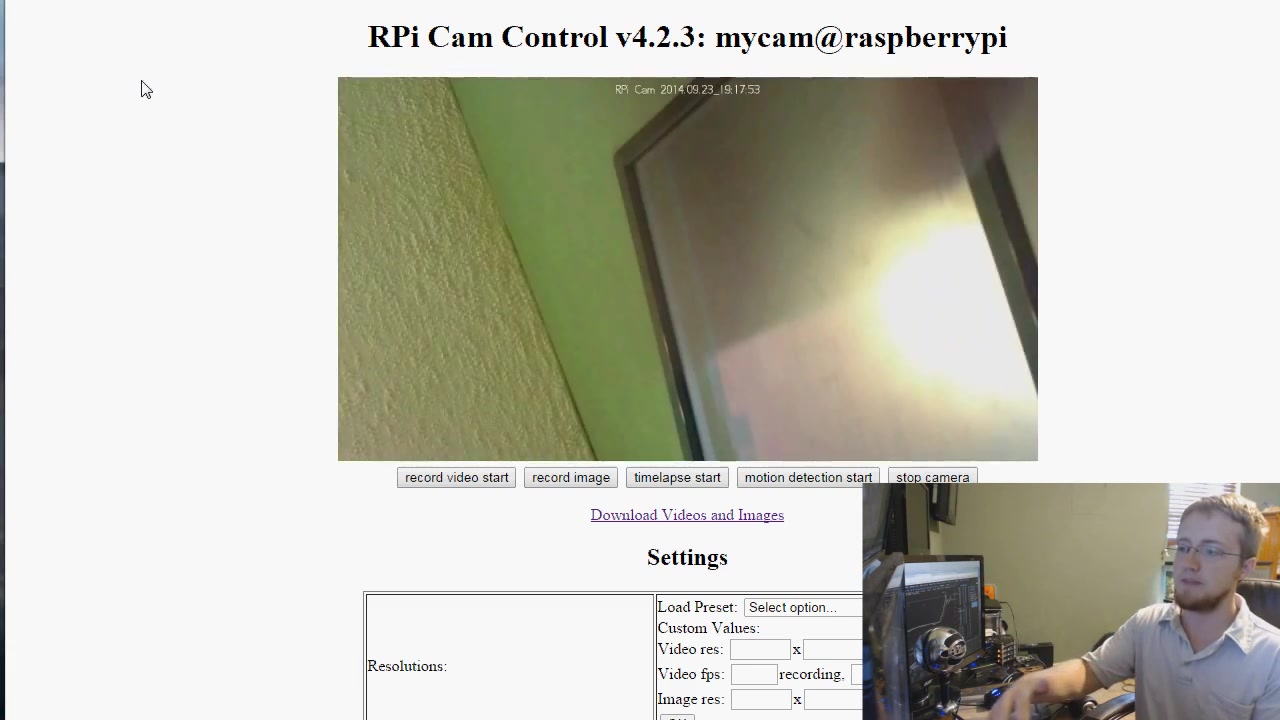
A better approach is using the RPi Cam Web Interface, which offers drastically reduced latency, providing a near-instantaneous video feed.
This web interface leverages Motion JPEG (MJPEG) encoding, a technique known for its low overhead and compatibility with various browsers. By sending a stream of individual JPEG images, MJPEG avoids the complex processing of video codecs like H.264, resulting in lower latency. For instance, when creating remote surveillance or monitoring robotic projects, low latency is extremely important. If the latency is 4 seconds then it means you will know what is happening 4 seconds later. To overcome this a better way to stream with this new web interface can be created, thus by doing this it allows to move into new areas.
Introducing the RPi Cam Web Interface
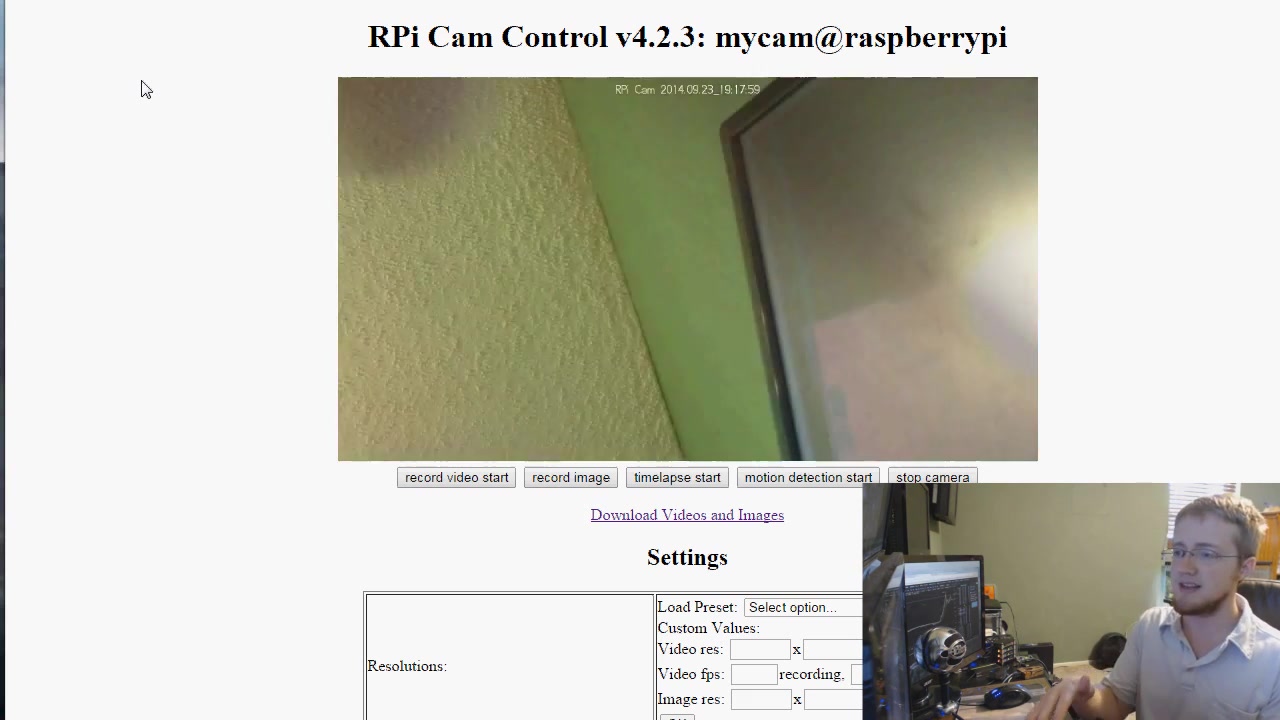
The RPi Cam Web Interface is a lightweight web interface specifically designed for streaming video from the Raspberry Pi camera module. It boasts several key advantages:
-
Low Latency: Delivers a near real-time video feed, crucial for interactive applications.
-
Browser Compatibility: Accessible from any device with a web browser, including smartphones and tablets.
-
Customization: Offers extensive settings for adjusting video resolution, frame rate, and image parameters.
-
Motion Detection: Includes built-in motion detection capabilities for creating security systems.
-
Ease of Installation: Designed for quick and easy setup on a Raspberry Pi.
By taking the new way to stream the camera it allows for the delay to be a lot shorter thus users of the camera are able to interact with the video footage in as fast of a way as possible. Thus leading to a new way to move forward with Raspberry Pi technology.
Understanding Motion JPEG (MJPEG)
MJPEG (Motion JPEG) is a video encoding format where each frame of a video is compressed as a separate JPEG image.
This differs from more advanced video codecs that use inter-frame compression, where only the changes between frames are encoded. Because each frame is self-contained, MJPEG is simple to implement and decode, making it well-suited for low-power devices like the Raspberry Pi.
The main benefits of MJPEG:
- Simplicity: Straightforward encoding and decoding processes.
- Low Latency: Minimal processing overhead translates to reduced delay.
- Hardware Compatibility: Plays well with a wide range of devices and browsers.
Note that Motion JPEG isn't the same thing as the Motion Module, the motion module is a feature with a raspberry Pi's camera. Thus make sure to not be confused between the two of these terms, as they are both very very different in what they can do.
Choosing the Right Hardware for Your Raspberry Pi Camera Setup
Camera Casing and Heat Management
The Raspberry Pi, particularly when coupled with a camera module, can generate significant heat.
Proper casing and heat management are vital for stable operation, especially in warm environments or prolonged use. While you could be tempted to get the largest camera case, it might not be the best choice. The casing should be one that can properly hold the camera, but it does not need to be one that has a lot of extra space in the case.
Here are a few suggestions:
- Enclosed Cases: Protect the Raspberry Pi and camera from physical damage but can trap heat.
- Acrylic Cases: Offer a balance of protection and ventilation.
- Cases with Fans: Provide active cooling for demanding applications. When using this there needs to be a heat sink that is next to the fan or else it would be useless to add that cooling element.
For the Raspberry Pi, what goes first is the EDIMAX wifi adapter, because after touching that is can start to burn any objects. If you do place this outside on a hot day of 90 degrees then it can lead to the components overheating.
It is important to consider a case with a fan when implementing your camera it might be better to avoid cases that are in an outdoor enviornment. Cases aren't the best solution for an outdoor system since the temperature is likely to overheat the parts. Cases with fans are important for making sure that the machine can keep running. Without these cooling elements the Raspberry Pi will likely overheat which is bad for the device.
Camera Mounting and Positioning
Once the camera is protected, the next consideration is how to mount and position it. A solid, adjustable mount is crucial for capturing stable video.
Considerations for mounting:
-
Wall Mounts: For fixed surveillance setups.
-
Tripods: Offer flexibility for adjusting the camera's field of view.
-
Custom Mounts: 3D-printed solutions or DIY designs tailored to your specific application.
-
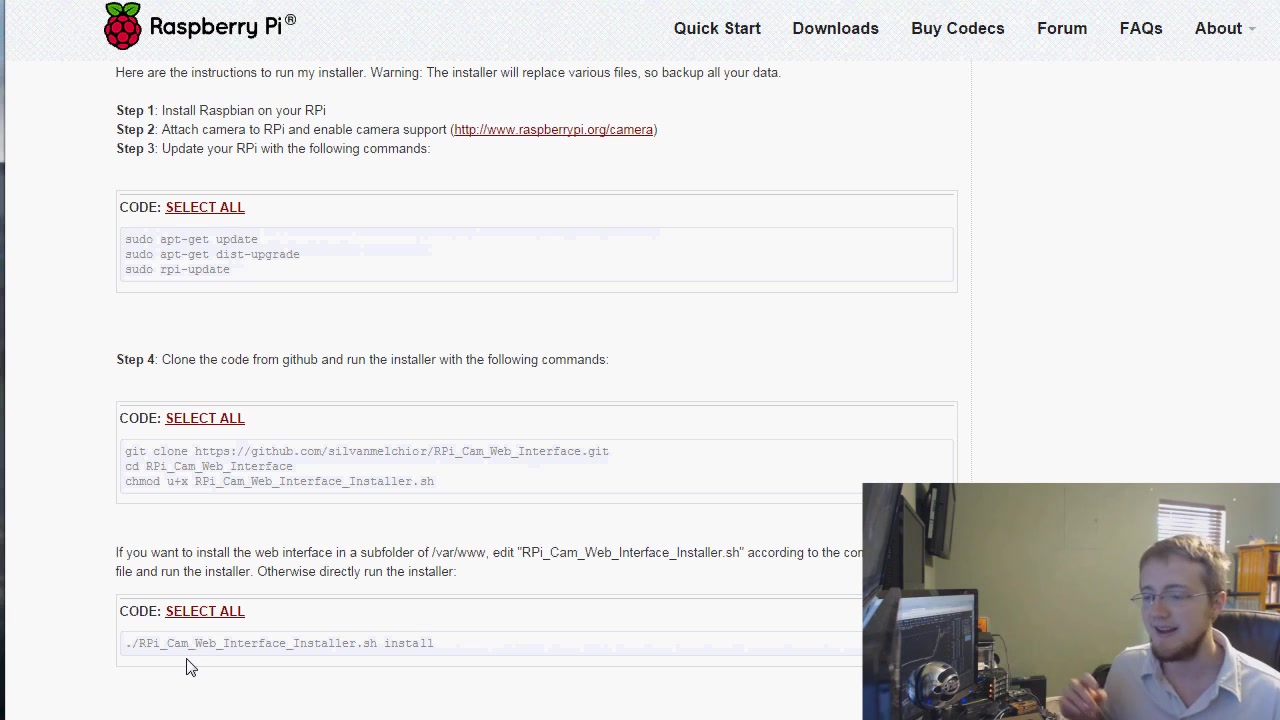
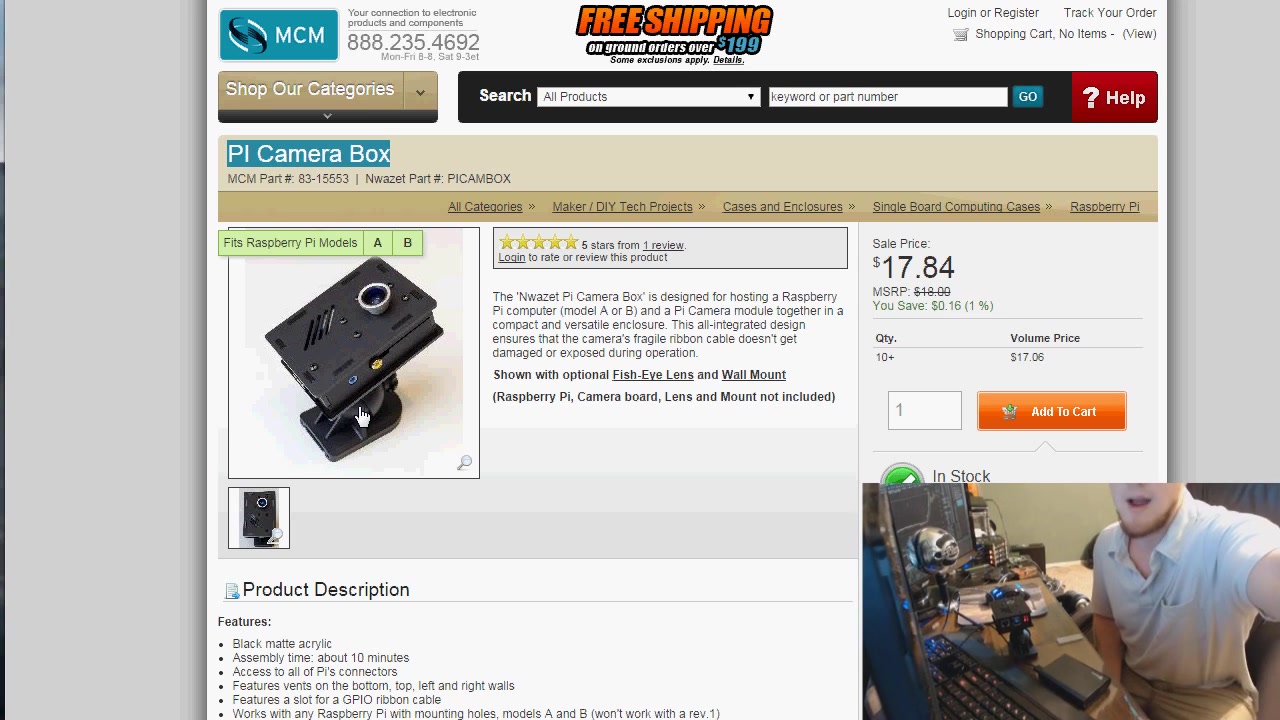
MCM Electronics: PI Camera Box: You can basically slide that on to the wall and mount the box there, this is a way to make it stay up on the wall.
Power Considerations for Remote Operation
For a portable system, it is important to consider the Jackery Power supply and portable supply for it to continue running. It provides a lot of power, it goes for about 12,000 mA. You should get this in order to make sure that the Raspberry Pi can continuously get power and the Raspberry Pi can keep running.
Even if you forget to plug the charger in it will still be running for about a day and a half. With this in consideration, it can make sure that the supply is one of the best for this set up.





Most people like





































Report
Please select a reason for reporting
- 13 Reasons to Switch from Snapchat to Text Messaging
- 7 Powerful Speech to Text Apps to Boost Productivity
- 10 Best Speech to Text Tools for Effortless Transcription
- 13 Free Tools to Easily Transcribe Audio to Text
- 15 Surprising Ways Google's Speech-to-Text Boosts Productivity
- 7 Best Free Online Audio to Text Transcription Tools
- 9 Tips to Transcribe Speech to Text Faster and Better
- 13 Best Speech to Text Software for Windows 10 in 2023
- 7 Tips for Choosing the Best Transcriber for Audio to Text
- 11 Reasons Why Dragon Speech-to-Text Apps are Game-Changers
- 6 Secrets to Enhance Your Speech to Text Transcription
- 6 Brilliant Ways to Boost Productivity with Talk-to-Text on Your MacBook
- 6 Ways Transcription Software Converts Audio to Text
- 8 Tips to Transcribe Speech to Text Like a Pro
- 6 Reasons IBM Watson Speech to Text is a Game-Changer
- 14 Powerful Ways Talk-to-Text Improves Your Workflow
- 12 Top Windows Speech-to-Text Software for Efficient Transcription
- 12 Game-Changing Benefits of Apple's Speech to Text Technology
- 9 Powerful Use Cases for AWS Speech to Text Technology
- 10 Easy Steps to Transcribe YouTube Videos to Text
- transcription audio en texte
- online audio transcription
- free audio file transcription
- free ai audio transcription
- audio transcription service
- audio transcription online free
- audio transcription free online
- audio to transcription software
- audio and transcript
- ai audio transcription free
- voice recording to text converter
- translate voice recording to text
- record voice to text
- audio recording to text converter
- voice recording and transcription
- chatgpt voice to text
- gmail voice to text
- speech to text reader
- speech to text ai free
- speech to talk
- Meshy AI: How to Create 3D Models from Text and Images
- How SEO and Marketing Dashboards Empower Agencies to Drive Results
- How to Use AI Tools to Find Internal Linking Opportunities Across a Business Website
- Discover Your Perfect Haircut with AI Hairstyle Apps
- Free Reputation Calculator Tools: How They're Adapting to Score AI Visibility, Not Just Rankings
- Design Professional Flyers for Free on Your Phone
- Best Free Flyer Maker Apps for Android: Design Like a Pro
- How to Know If Your Business Is Ready for an AI Customer Service Agent
- Revolutionizing Storytelling: From Novels to Screenplays with AI
- Create Engaging Animated Explainer Videos with a Free AI Tool
- Meshy AI: How to Create 3D Models from Text and Images
- ASOMobile Helps Teams Benchmark App Store Screenshots Against Competitors
- How to Match LMS Software With Your Organization's Training Plan
- Revolutionizing Email Marketing Agency with AI
- How to Convert BTC to HNT
- Unleashing the Power of AI: Cognizant's Roadmap for Transformation
- Frame to Video Review: A Practical Look at Turning Two Still Frames Into Motion
- NVIDIA NIM: Revolutionizing Supply Chain Data Analysis with AI
- Top AI Tools That Help Brands Stand Out Offline (Not Just Online)
- Top 5 Cold Email Software: Maximize Your Outreach in 2025

Copyright ©2026 toolify