Step-by-Step Guide: Installing and Upgrading a Motherboard
Table of Contents:
- Introduction
- Installing the Thermal Right AM5 Contact Bracket
- Removing the AM4/AM5 Brackets
- Installing the CPU and Thermal Paste
- Installing the RAM
- Securing the Motherboard into the Case
- Installing the M.2 Drives
- Installing the AIO Cooler
- Connecting the Front Panel Connectors
- Installing the Graphics Card
- Powering On and Troubleshooting
Installing and Upgrading a Motherboard: Step-by-Step Guide
Are you planning to upgrade your motherboard? Maybe you're building a new PC from scratch and need to install a brand new motherboard. In either case, this step-by-step guide will help you through the process. From installing the CPU and RAM to securing the motherboard and troubleshooting any issues, we've got you covered. So, let's dive in and get started!
1. Introduction 🖥️
Before we get into the nitty-gritty of installing and upgrading a motherboard, let's take a moment to understand the importance of this component. The motherboard is the backbone of your computer, connecting all the other components and ensuring they work together harmoniously. Upgrading your motherboard can improve performance, compatibility, and allow for future expansion. So, let's begin our journey of installing and upgrading!
2. Installing the Thermal Right AM5 Contact Bracket 🔧
To start the installation process, we need to install the Thermal Right AM5 contact bracket. This bracket ensures even contact between the new 7000 series CPUs and the motherboard. It is a simple and straightforward process.
- Remove the retention arm to relieve pressure from the socket.
- Release the screws on the corners of the socket to remove the pressure completely.
- Take out the old screws and replace them with the screws provided with the Thermal Right AM5 contact bracket.
- Carefully place the socket back into position, aligning the triangle on the CPU with the triangle on the socket.
- Position the contact bracket over the CPU and secure it with the four screws.
- Tighten the screws in a diagonal pattern to ensure even pressure.
Pros: The Thermal Right AM5 contact bracket provides secure and even contact between the CPU and the motherboard, improving thermal performance.
3. Removing the AM4/AM5 Brackets 🔩
Before proceeding further, you need to remove the AM4/AM5 brackets that may be Present on your motherboard. These brackets are used for different coolers and mounting setups. Here's how you can remove them:
- Use a normal screwdriver to release the retention screws on the AM4/AM5 brackets.
- Remove the brackets carefully, ensuring you keep them safely as you might need them in the future.
Con: Removing the AM4/AM5 brackets might limit your options for coolers that require these brackets for installation.
4. Installing the CPU and Thermal Paste 💡
Now comes the exciting part—installing the CPU and applying thermal paste. Here's a step-by-step guide to help you through this process:
- Carefully remove the CPU socket cover and take out the new CPU from its packaging.
- Align the triangle mark on the CPU with the triangle mark on the socket.
- Gently place the CPU into the socket, ensuring the pins are correctly aligned.
- Apply a small pea-sized amount of thermal paste onto the center of the CPU.
- Carefully attach the CPU cooler, ensuring the screws are tightened evenly.
Pros: Installing a new CPU can greatly enhance your computer's performance, allowing for faster speeds and better multitasking capabilities.
5. Installing the RAM 💾
RAM is an essential component of any computer, and installing it properly is vital for optimal performance. Here's how you can install the RAM modules:
- Locate the RAM slots on your motherboard.
- Open the DIMM slots by pushing down on the retaining clips on both sides.
- Insert the RAM sticks evenly into the slots, aligning the notch with the slot.
- Apply gentle pressure until the RAM clicks into place.
- Close the retaining clips to secure the RAM modules.
Con: Installing more than two RAM sticks can potentially cause compatibility issues and may require additional configuration in the BIOS.
6. Securing the Motherboard into the Case 🔩
Now that you have installed the CPU, applied thermal paste, and added the RAM, it's time to secure the motherboard into the case. Follow these steps to complete this process:
- Ensure that all necessary cables are clear of the motherboard area.
- Align the I/O shield on the case with the corresponding ports on the motherboard.
- Carefully lower the motherboard into the case, ensuring it lines up with the standoff screws.
- Secure the motherboard to the case using the appropriate screws.
- Ensure that all connections are snug and that the motherboard is firmly in place.
Pro: Securing the motherboard properly avoids any potential damage and ensures stable performance.
7. Installing the M.2 Drives 💾
M.2 drives provide fast storage solutions and are commonly used for operating systems and frequently accessed data. Here's how you can install M.2 drives in your motherboard:
- Remove the M.2 heatsinks, if present, from the motherboard.
- Insert the M.2 drive at a 20-degree angle into the appropriate slot.
- Apply gentle pressure to seat the drive fully.
- Secure the drive with the provided screws.
- Replace the M.2 heatsinks if necessary.
8. Installing the AIO Cooler 💦
An all-in-one (AIO) cooler helps keep your CPU cool, allowing for better performance and longevity. Here's how you can install an AIO cooler on your motherboard:
- Ensure the thermal paste is applied correctly on the CPU.
- Place the AIO cooler block/Pump over the CPU, aligning the screw holes.
- Secure the AIO cooler to the motherboard using the provided thumb screws.
- Connect the AIO cooler's fan to the CPU fan header on the motherboard.
- Check for any leaks or loose connections before powering on.
9. Connecting the Front Panel Connectors 🖥️
To ensure your computer's front panel buttons and ports function properly, you need to connect the front panel connectors to the appropriate ports on the motherboard. Use the motherboard manual as a reference to ensure correct connections.
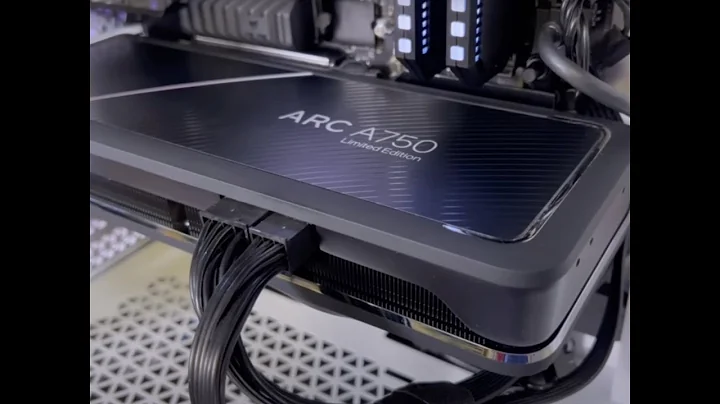
10. Installing the Graphics Card 🎮
The graphics card is responsible for rendering visuals and is a crucial component for gaming and other graphics-intensive tasks. Here's how you can install a graphics card:
- Locate the PCIe slot on the motherboard.
- Remove the PCIe slot covers if present.
- Align the graphics card with the slot and gently insert it until it is fully seated.
- Secure the graphics card to the case using the appropriate screws.
- Connect the necessary power cables to the graphics card.
11. Powering On and Troubleshooting 🔌
Congratulations! You've installed and upgraded your motherboard successfully. Now, it's time to power on your system and make sure everything is working correctly. Here are a few troubleshooting steps you can take if you encounter any issues:
- Check that all power cables are properly connected.
- Make sure the CPU cooler is functioning and properly seated.
- Ensure that all components are receiving power and are properly seated.
- Double-check that all connections, such as RAM and graphics card, are secure.
- Consult the motherboard manual and online resources for troubleshooting tips specific to your motherboard model.
Thank you for following along with this step-by-step guide on installing and upgrading a motherboard. We hope this has been helpful in your journey. Enjoy your newly upgraded or built PC and happy computing!
FAQs
Q: Do I need to apply thermal paste when installing a new CPU?
A: Yes, thermal paste is essential to ensure proper heat transfer between the CPU and the CPU cooler. It helps prevent overheating and ensures optimal performance.
Q: Can I install more than two RAM sticks on the motherboard?
A: While it is possible to install more than two RAM sticks, it may cause compatibility issues and require additional configuration in the BIOS. It's recommended to consult the motherboard manual for specific guidelines.
Q: What should I do if my computer doesn't turn on after installing the motherboard?
A: Double-check all connections, including power cables, CPU cooler, RAM, and graphics card. Ensure that everything is properly seated and receiving power. If the issue persists, refer to the motherboard manual and online resources for troubleshooting guidance.
Q: Can I reuse my old CPU cooler when upgrading my motherboard?
A: Yes, you can reuse your old CPU cooler if it is compatible with the new motherboard's socket type. Make sure to remove any old thermal paste and apply a fresh layer before reinstallation.
Resources:
 WHY YOU SHOULD CHOOSE TOOLIFY


