Ultimate 3D Rendering PC Build with Ryzen 9 3950X: Unleash your Creativity!
Table of Contents
- Introduction
- Ryzen 9 3950X: The Beast of a Processor
- ASUS Prime X570P: A Powerhouse Motherboard
- Sabrent Rocket NVMe 4.0: Lightning Fast Storage
- Be Quiet! Dark Rock Pro 4: The Ultimate Cooling Solution
- Memory Installation on the Motherboard
- Mounting the Ryzen 9 3950X
- Applying Thermal Paste and Installing the Heatsink
- The Graphics Card: A True Powerhouse
- Power Supply and Cable Management
- Installing the Operating System
- Final Thoughts and Optimization
Ryzen 9 3950X: Building the Ultimate PC for 3D Rendering 🚀
Are you a professional 3D renderer in need of a high-performance PC? Look no further! In this article, we will guide you through the step-by-step process of building a gaming rig powered by the Ryzen 9 3950X processor. With its impressive 16 cores and 32 Threads, and a max boost speed of 4.7 GHz, this beast of a processor is designed to handle even the most demanding rendering tasks. So let's dive in and get started!
Introduction
Before we delve into the nitty-gritty details of building this powerful PC, let's take a moment to understand the components we will be working with. The Ryzen 9 3950X is the centerpiece of our build, providing unparalleled processing power for 3D rendering. Paired with the ASUS Prime X570P motherboard, the Sabrent Rocket NVMe 4.0 SSD, and the Be Quiet! Dark Rock Pro 4 cooling solution, this PC is set to deliver exceptional performance and stability.
Ryzen 9 3950X: The Beast of a Processor
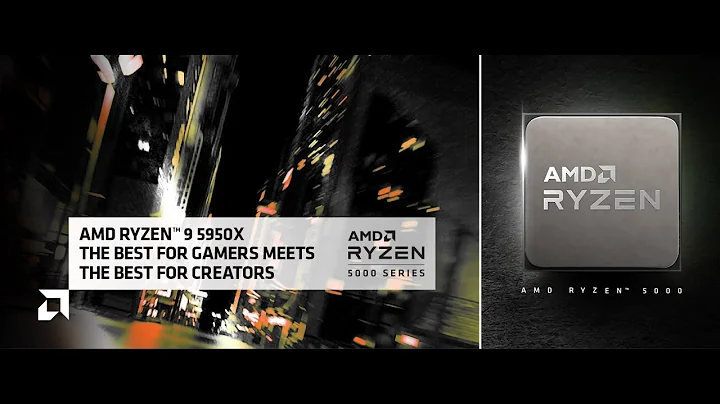
The Ryzen 9 3950X is a true workhorse, offering an incredible 16 cores and 32 threads. With a base clock speed of 3.5 GHz and a boost speed of up to 4.7 GHz, this processor is optimized for intense multitasking and heavy workloads. Whether you're rendering complex 3D scenes or editing high-res videos, the Ryzen 9 3950X has got you covered.
Pros:
- Superior multitasking capabilities
- Impressive rendering performance
- Higher clock speeds for faster processing
- Efficient power consumption
Cons:
- Higher price point compared to lower-end processors
ASUS Prime X570P: A Powerhouse Motherboard
To unlock the full potential of the Ryzen 9 3950X, we need a motherboard that can handle its raw power. The ASUS Prime X570P is built with high-quality components and offers a robust power delivery system, ensuring stable performance even under heavy loads. With multiple expansion slots and support for high-speed DDR4 memory, this motherboard is a perfect match for our build.
Pros:
- Excellent power delivery for stable performance
- Multiple expansion slots for future upgrades
- Support for high-speed DDR4 memory
- Reliable and Durable construction
Cons:
- Slightly higher price compared to entry-level motherboards
Sabrent Rocket NVMe 4.0: Lightning Fast Storage
When it comes to storage, speed is of utmost importance. The Sabrent Rocket NVMe 4.0 SSD delivers exceptional read and write speeds, thanks to its cutting-edge PCIe Gen4 interface. With capacities of up to 2TB, this SSD provides ample space for your projects and applications while offering blazing-fast performance.
Pros:
- Lightning-fast read and write speeds
- PCIe Gen4 interface for maximum throughput
- Large storage capacity for projects and applications
Cons:
- Relatively higher cost compared to traditional hard drives
Be Quiet! Dark Rock Pro 4: The Ultimate Cooling Solution
Running a powerful processor like the Ryzen 9 3950X requires efficient cooling to prevent overheating. The Be Quiet! Dark Rock Pro 4 is a high-performance CPU cooler that combines exceptional cooling capabilities with near-silent operation. Its dual tower design and seven heat pipes ensure maximum heat dissipation, keeping your CPU cool even during the most demanding tasks.
Pros:
- Excellent cooling performance
- Near-silent operation
- Premium build quality
- Easy installation process
Cons:
- Large size may not fit in all PC cases
Memory Installation on the Motherboard
Before we can start installing the components, let's tackle the memory installation. The ASUS Prime X570P motherboard supports dual-Channel memory, allowing for faster data access and improved system performance. It's important to ensure that the memory modules are installed correctly to take full advantage of this feature.
Mounting the Ryzen 9 3950X
With the memory installed, it's time to tackle the heart of our build – the Ryzen 9 3950X processor. This powerhouse CPU requires careful installation to ensure optimal performance and stability. We'll guide you through the step-by-step process of mounting the processor on the motherboard.
Applying Thermal Paste and Installing the Heatsink
To prevent overheating, it's crucial to apply thermal paste and install an effective heatsink on the Ryzen 9 3950X. We'll explain the importance of thermal paste and guide you through the process of applying it correctly. Additionally, we'll show you how to install the Be Quiet! Dark Rock Pro 4 heatsink, ensuring efficient heat dissipation.
The Graphics Card: A True Powerhouse
To complement the Ryzen 9 3950X's processing power, we'll need a capable graphics card. We'll explore different options and help you choose a card that suits your rendering needs. Whether you're rendering complex 3D scenes or editing high-res videos, a powerful graphics card is essential for smooth and fast performance.
Power Supply and Cable Management
A reliable power supply is crucial to ensure stable and uninterrupted performance. We'll introduce the EVGA 850 BQ power supply, which provides ample power for our build while offering excellent efficiency and reliability. We'll also guide you through the process of cable management, ensuring a clean and organized build.
Installing the Operating System
With the hardware components assembled, it's time to install the operating system. We'll guide you through the process of creating a bootable USB drive and installing the OS on the Sabrent Rocket NVMe 4.0 SSD. We'll also provide tips on setting up drivers and optimizing the system for maximum performance.
Final Thoughts and Optimization
Congratulations! You have successfully built a high-performance PC for 3D rendering. In our final thoughts, we'll summarize the key components and steps involved in the build process. We'll also provide tips on optimizing your PC for even better performance and share additional resources for further customization and enhancements.
Resources:
 WHY YOU SHOULD CHOOSE TOOLIFY


