































Table of Contents
- Key Points
- Understanding AI Image Analysis with ChatbotBuilder
- Practical Application: Analyzing Driveway Conditions
- Step-by-Step Guide: Image Analysis with ChatbotBuilder
- Advantages and Disadvantages of AI Image Analysis with ChatbotBuilder
- FAQ
- Related Questions



Understanding AI Image Analysis with ChatbotBuilder
What is AI Image Analysis?
AI image analysis involves using algorithms to process and interpret images, identifying objects, Patterns, and other Relevant features. This technology is invaluable across various fields, such as Healthcare, security, and marketing, due to its ability to automate complex visual tasks and extract actionable data.
ChatbotBuilder provides an intuitive platform to integrate these capabilities into your workflows, making AI accessible even to users without extensive technical expertise. With ChatbotBuilder, you can create automated processes that analyze images, provide insights, and automate tasks based on image content, improving efficiency and productivity. This makes it an excellent tool for businesses and individuals looking to harness the power of AI without the complexities of traditional AI development.
The integration of AI image analysis into ChatbotBuilder streamlines the processing of visual data, allowing for quick assessments and decision-making. This capability is crucial for automating tasks and extracting useful information from images, making it an invaluable tool for industries requiring rapid analysis of visual data.
Setting Up the Workflow in ChatbotBuilder
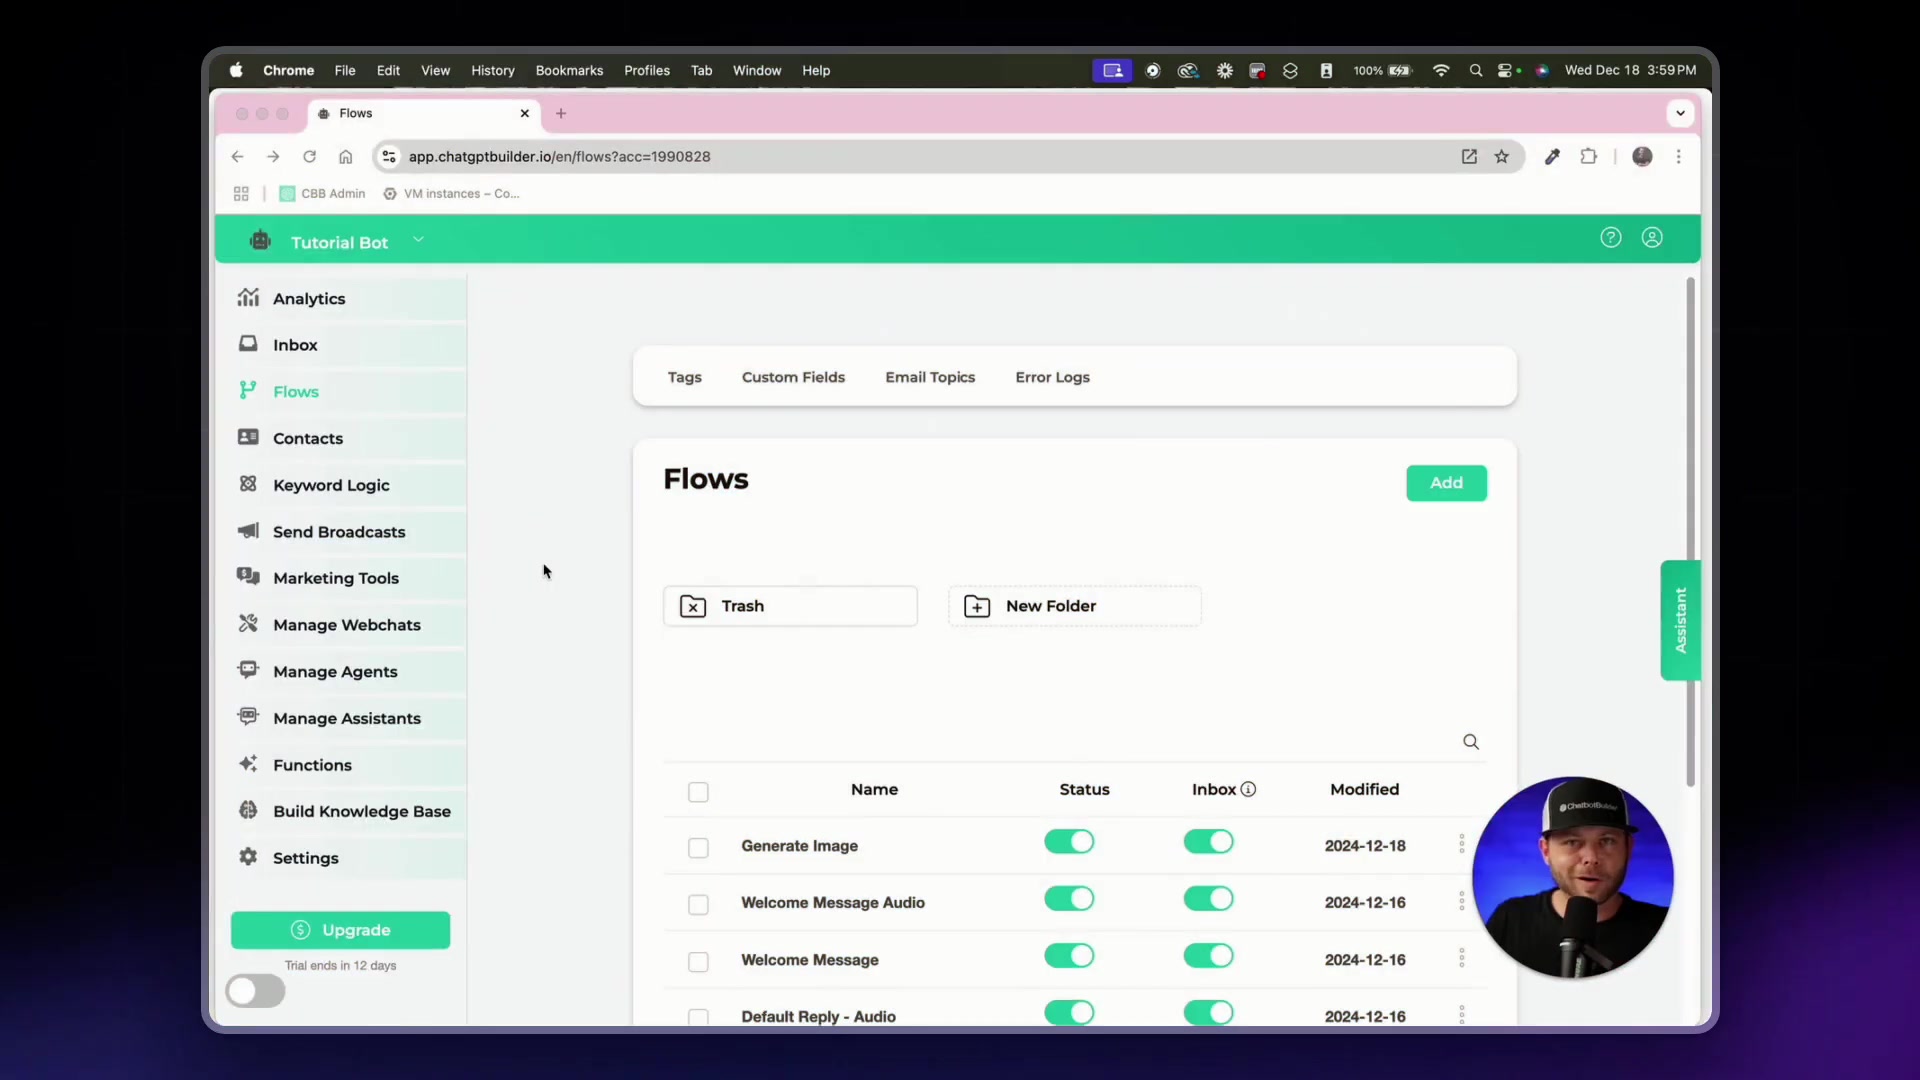
The first step to implementing AI image analysis is setting up a workflow in ChatbotBuilder. This involves creating a sequence of steps that define how the images are requested, uploaded, analyzed, and processed. Here’s how to get started:
-
Create a New Flow: Start by creating a new flow in ChatbotBuilder. This flow will be dedicated to analyzing images.
-
Name the Flow: Give your flow a descriptive name, such as “Analyze Image.” This helps in organizing and identifying the flow later.
By following these steps, you lay the foundation for a robust AI image analysis workflow in ChatbotBuilder. The key is to structure each stage clearly, ensuring seamless integration and optimal performance. This set up is crucial for automating tasks and extracting useful information from images, making it an invaluable tool for industries requiring rapid analysis of visual data.
Requesting and Uploading Images
To analyze images, you need a mechanism for users to upload them. ChatbotBuilder provides tools to request and receive images seamlessly:
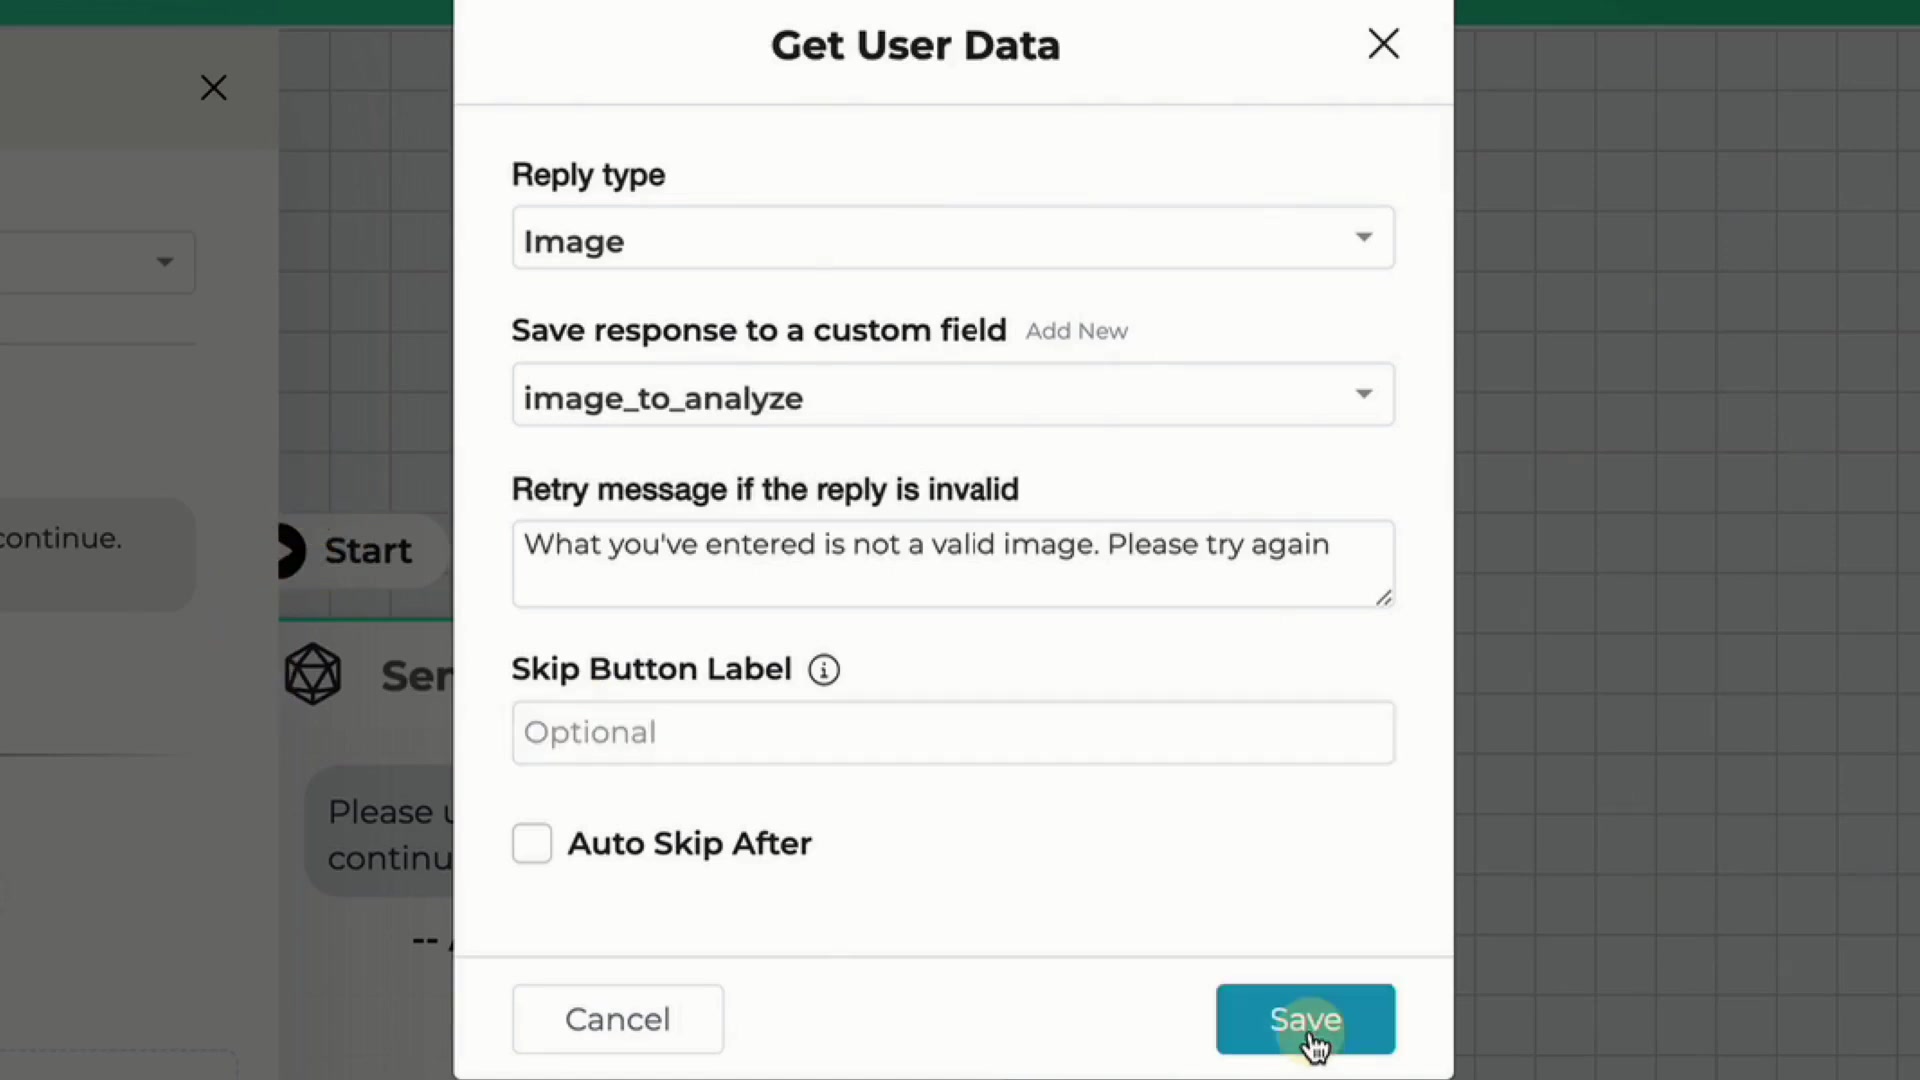
- Add a 'Get User Data' Element:
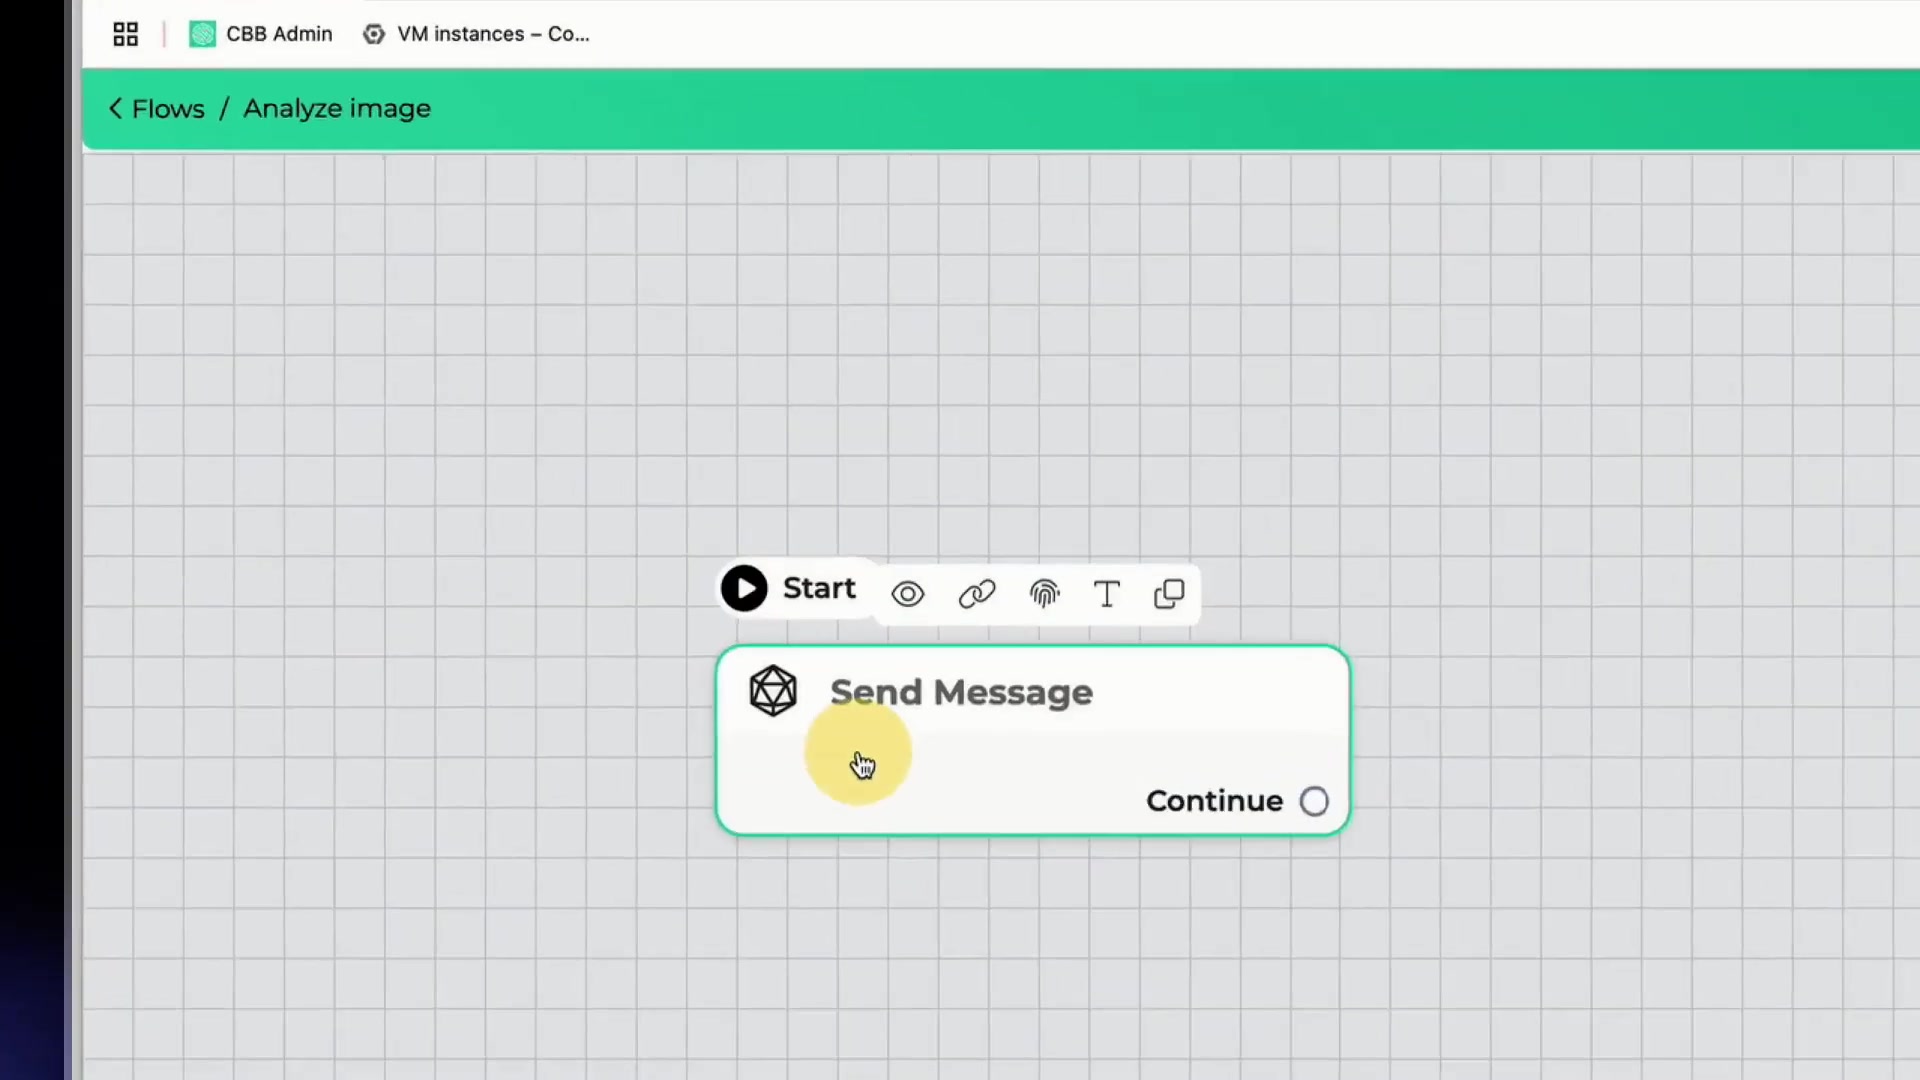
Drag and drop the 'Get User Data' element into your flow.
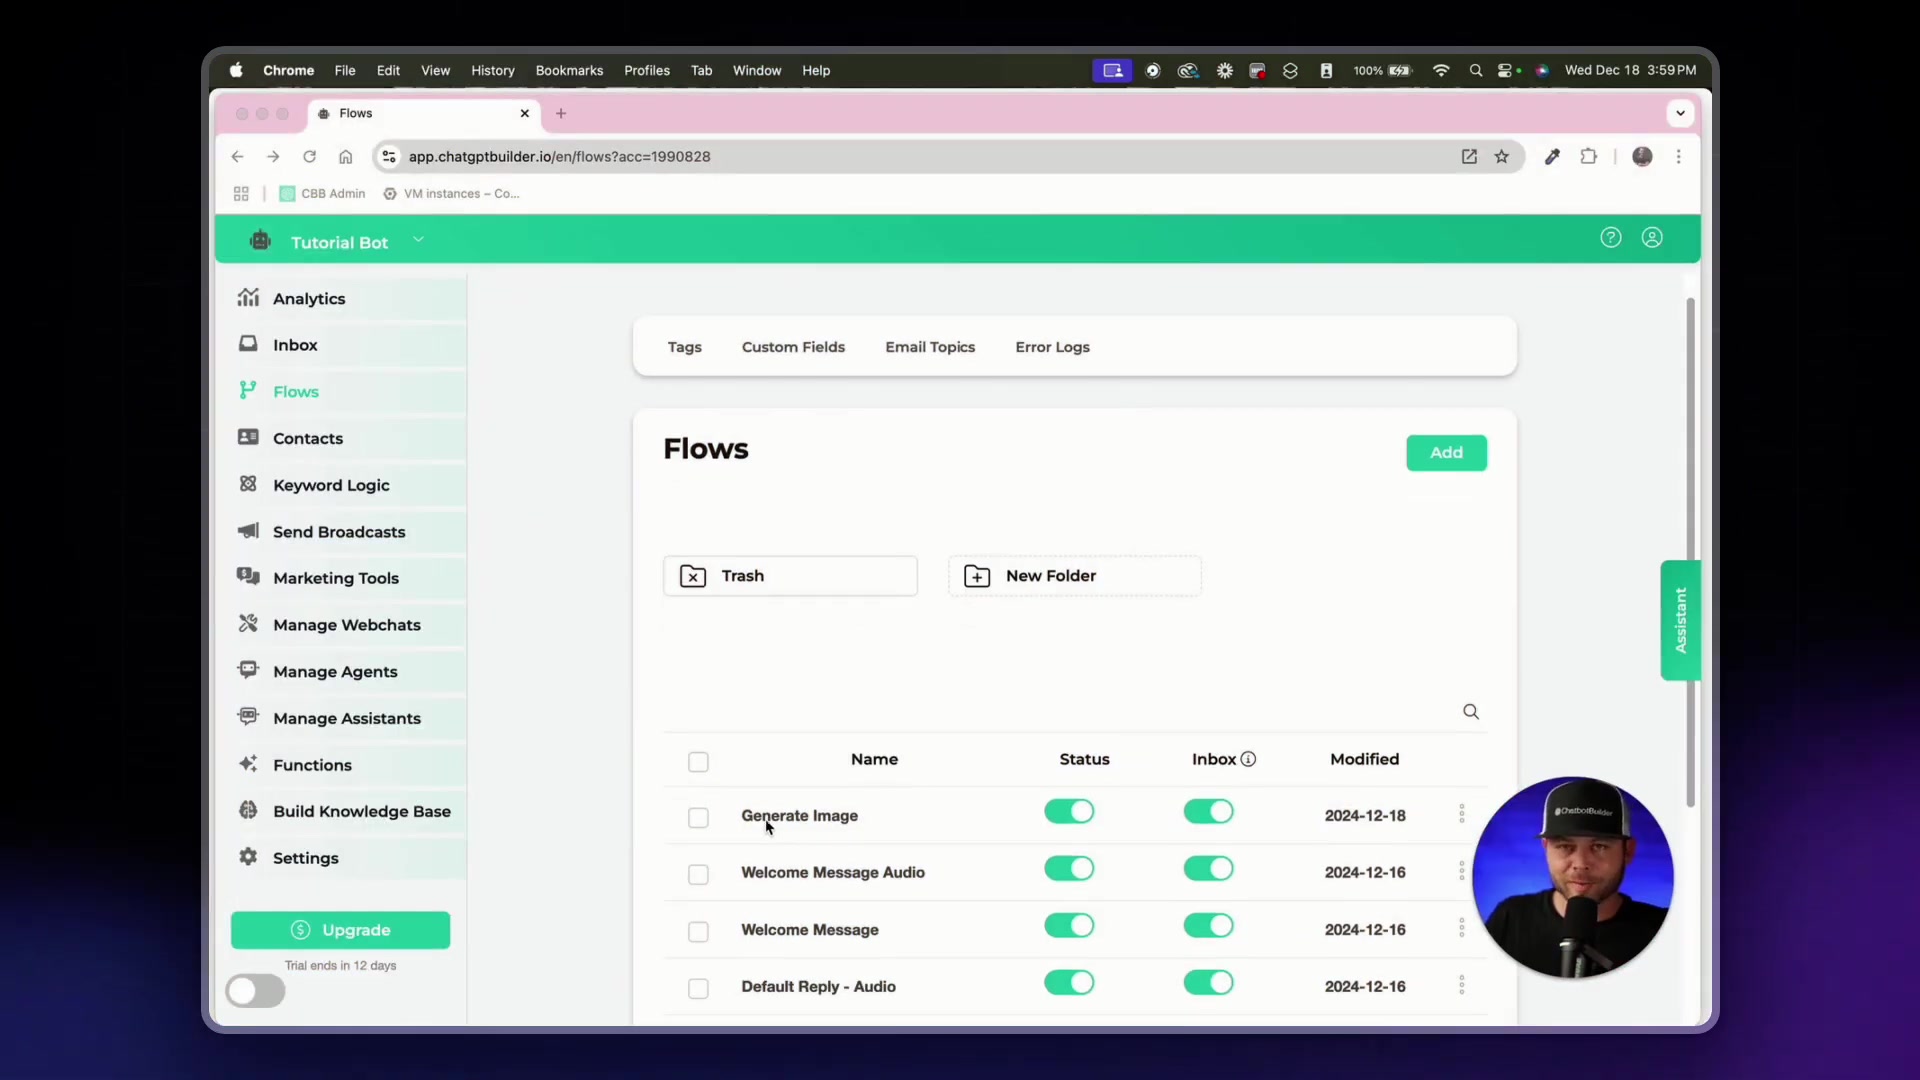
- Configure the Message: Set the message to Prompt users to upload their photo. For example, “Please upload your photo to continue.”
- Set Reply Type to Image: Change the reply type in the 'Get User Data' settings to 'Image'. This ensures the chatbot expects an image as a response.
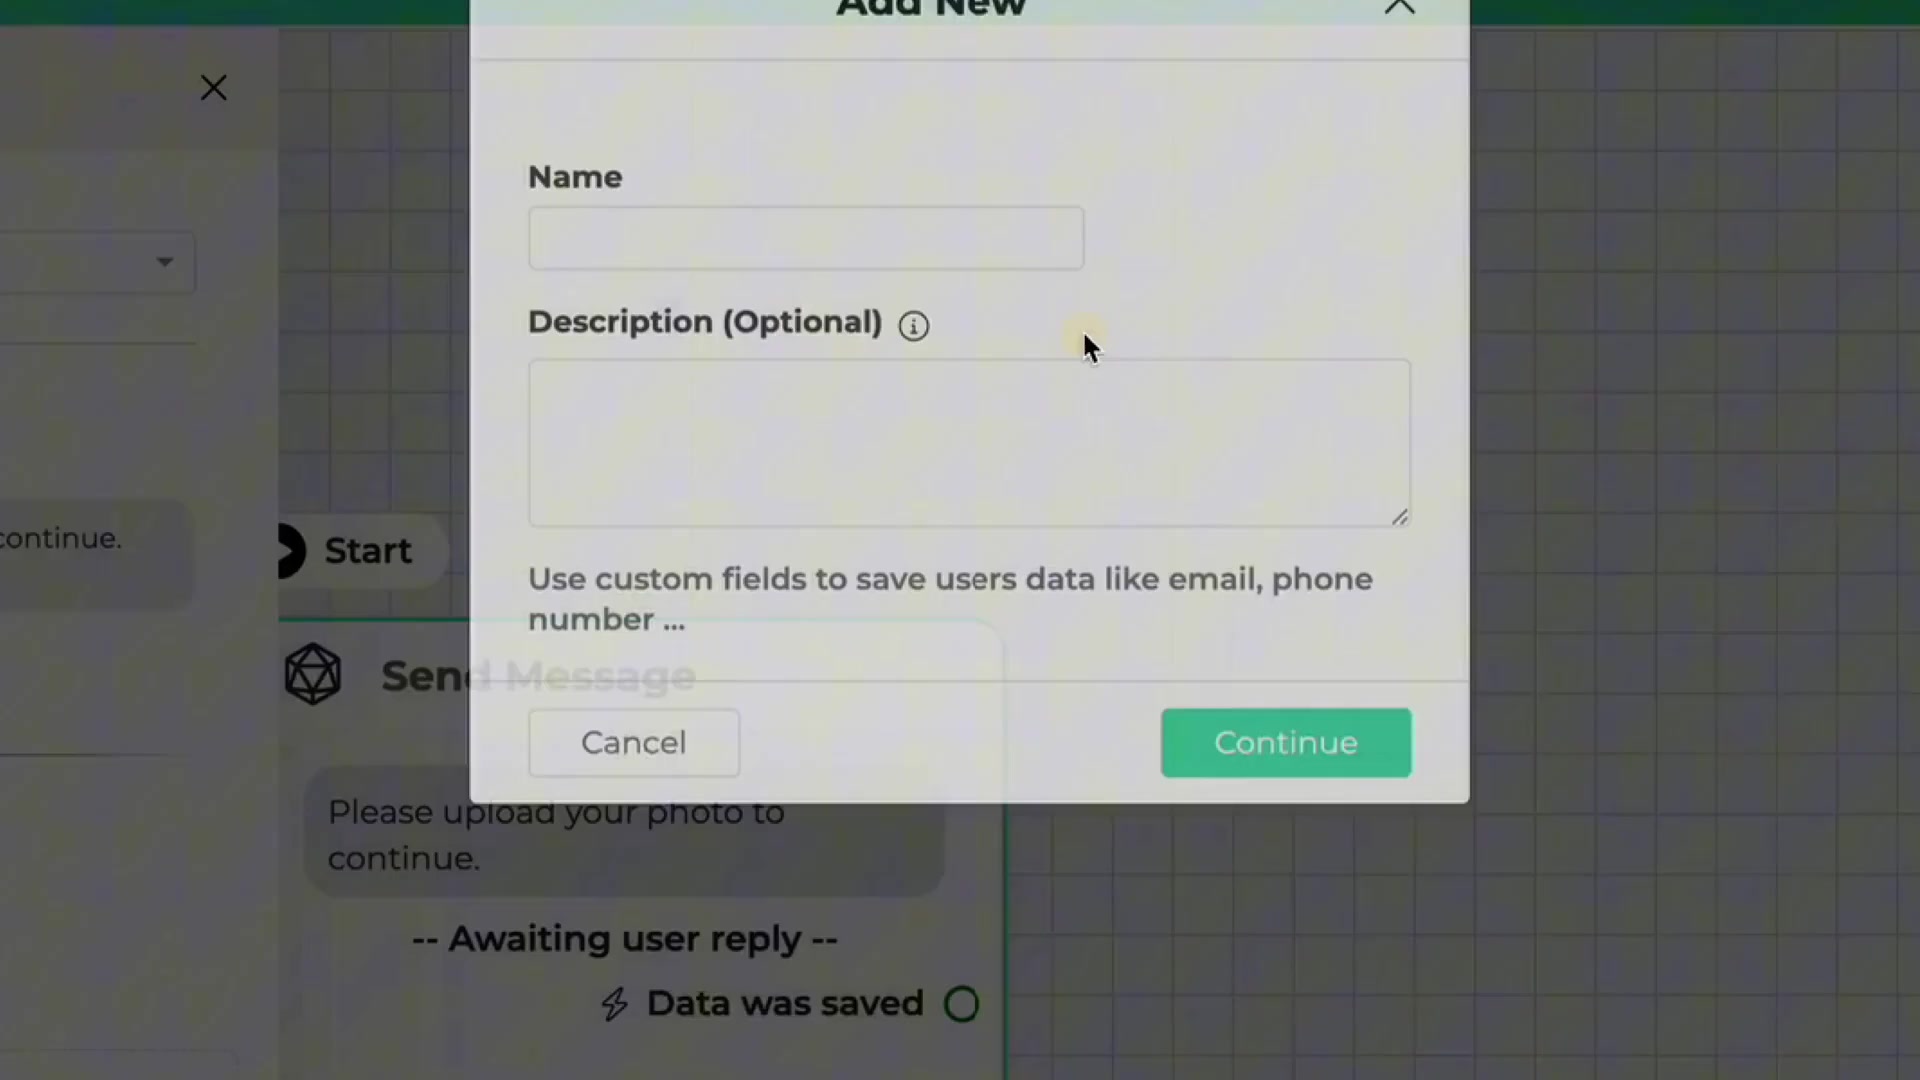
- Save the Response: Store the uploaded image in a custom field. Create a new custom field named 'image_to_analyze' to hold the image data.
Configuring these steps ensures that your chatbot can effectively request and receive images for analysis. This is a critical part of the process that sets the stage for the AI to work its magic. By configuring these steps, you ensure that your chatbot can effectively request and receive images for analysis, which is essential for industries that require rapid analysis of visual data.
Practical Application: Analyzing Driveway Conditions
Integrating OpenAI for Image Analysis
Once you have the user’s image, the next step is to integrate OpenAI for the actual analysis:
- Add an 'OpenAI' Action: Drag and drop the 'OpenAI' action into your flow, connecting it after the 'Get User Data' element.
- Select 'Analyze Image': In the OpenAI action settings, choose 'Analyze Image' from the dropdown menu.
- Choose the Image Source: Select the custom field 'image_to_analyze' as the image source. This tells OpenAI which image to analyze.
- Set the Prompt: Define the prompt or instructions for OpenAI. For example, “Evaluate driveway condition by detecting stains, cracks, and moss. Classify jobs into three tiers: Basic ($100-$300), Standard ($400-$800), and Premium ($900-$1,200).”
- Configure Model: Use the GPT-4o mini model for efficient analysis.
- Save the Response: Store the analysis results in a new custom field named 'image_analyst_results'.
By integrating OpenAI with a well-defined prompt, you can automate the assessment of driveway conditions. This allows for quick and accurate cost estimations, improving Customer Service and operational efficiency.
Prompt Engineering for Accurate Analysis
Prompt engineering is crucial for achieving accurate and relevant image analysis results. A well-crafted prompt guides the AI to focus on specific aspects of the image and provides clear instructions for classification. For example, when analyzing a driveway, specify that the AI should look for stains, cracks, and moss and classify the job into basic, standard, or premium tiers based on the extent of these issues.
In summary, prompt engineering is essential for directing AI’s focus and ensuring the analysis aligns with your objectives.
Displaying the Analysis Results
To Present the analysis results to the user, add a 'Send Message' element after the OpenAI action:
- Add a 'Send Message' Element: Connect a 'Send Message' element after the 'OpenAI' action.
- Include the Analysis Result: In the message text, reference the custom field 'image_analyst_results' to display the AI’s analysis.
- Customize the Message: Add introductory text to make the message more user-friendly. For example, “Based on the image, here’s an evaluation: {{image_analyst_results}}.”
This setup allows users to immediately receive the AI’s analysis, providing them with valuable insights into their driveway condition. This makes it an essential step in completing the AI process.



Most people like



































Report
Please select a reason for reporting
- 13 Reasons to Switch from Snapchat to Text Messaging
- 7 Powerful Speech to Text Apps to Boost Productivity
- 10 Best Speech to Text Tools for Effortless Transcription
- 13 Free Tools to Easily Transcribe Audio to Text
- 15 Surprising Ways Google's Speech-to-Text Boosts Productivity
- 7 Best Free Online Audio to Text Transcription Tools
- 9 Tips to Transcribe Speech to Text Faster and Better
- 13 Best Speech to Text Software for Windows 10 in 2023
- 7 Tips for Choosing the Best Transcriber for Audio to Text
- 11 Reasons Why Dragon Speech-to-Text Apps are Game-Changers
- 6 Secrets to Enhance Your Speech to Text Transcription
- 6 Brilliant Ways to Boost Productivity with Talk-to-Text on Your MacBook
- 6 Ways Transcription Software Converts Audio to Text
- 8 Tips to Transcribe Speech to Text Like a Pro
- 6 Reasons IBM Watson Speech to Text is a Game-Changer
- 14 Powerful Ways Talk-to-Text Improves Your Workflow
- 12 Top Windows Speech-to-Text Software for Efficient Transcription
- 12 Game-Changing Benefits of Apple's Speech to Text Technology
- 9 Powerful Use Cases for AWS Speech to Text Technology
- 10 Easy Steps to Transcribe YouTube Videos to Text
- transcription audio en texte
- online audio transcription
- free audio file transcription
- free ai audio transcription
- audio transcription service
- audio transcription online free
- audio transcription free online
- audio to transcription software
- audio and transcript
- ai audio transcription free
- voice recording to text converter
- translate voice recording to text
- record voice to text
- audio recording to text converter
- voice recording and transcription
- chatgpt voice to text
- gmail voice to text
- speech to text reader
- speech to text ai free
- speech to talk
- Meshy AI: How to Create 3D Models from Text and Images
- How SEO and Marketing Dashboards Empower Agencies to Drive Results
- How to Use AI Tools to Find Internal Linking Opportunities Across a Business Website
- Discover Your Perfect Haircut with AI Hairstyle Apps
- Free Reputation Calculator Tools: How They're Adapting to Score AI Visibility, Not Just Rankings
- Design Professional Flyers for Free on Your Phone
- Best Free Flyer Maker Apps for Android: Design Like a Pro
- How to Know If Your Business Is Ready for an AI Customer Service Agent
- Revolutionizing Storytelling: From Novels to Screenplays with AI
- Create Engaging Animated Explainer Videos with a Free AI Tool
- Meshy AI: How to Create 3D Models from Text and Images
- ASOMobile Helps Teams Benchmark App Store Screenshots Against Competitors
- How to Match LMS Software With Your Organization's Training Plan
- Revolutionizing Email Marketing Agency with AI
- How to Convert BTC to HNT
- Unleashing the Power of AI: Cognizant's Roadmap for Transformation
- Frame to Video Review: A Practical Look at Turning Two Still Frames Into Motion
- NVIDIA NIM: Revolutionizing Supply Chain Data Analysis with AI
- Top AI Tools That Help Brands Stand Out Offline (Not Just Online)
- Top 5 Cold Email Software: Maximize Your Outreach in 2025

Copyright ©2026 toolify