































Table of Contents
- Key Points
- Getting Started with Layers in Adobe Illustrator
- Advanced Layer Techniques
- Step-by-Step Guide: Creating a Basic Composition with Layers
- Benefits and Drawbacks of Layered Design in Illustrator
- Frequently Asked Questions
- Related Questions


Getting Started with Layers in Adobe Illustrator
Understanding the Basics of Layers
In Adobe Illustrator, layers function like transparent sheets stacked on top of each other. Each layer can contain various design elements such as shapes, text, and images. This layering system allows you to organize your artwork into manageable sections, making it easier to edit and manipulate specific parts of your design without affecting others.
Think of layers as individual containers within your project. By strategically using layers, you can maintain a clear structure and simplify complex designs. This ensures that you can easily navigate, modify, and refine your artwork, leading to a more efficient and less error-prone design process.
Effective layer management is a key skill for any Illustrator user, enabling you to tackle intricate projects with confidence and precision. Whether you're creating illustrations, logos, or detailed layouts, mastering layers will significantly improve your workflow and the overall quality of your designs. Consider that mastering Illustrator layers is foundational for efficient Adobe Illustrator usage.
Creating a New Document and Understanding the Initial Layer
When you create a new document in Adobe Illustrator, it automatically includes a default layer, typically named 'Layer 1' or 'BG'. This initial layer serves as the foundation for your artwork
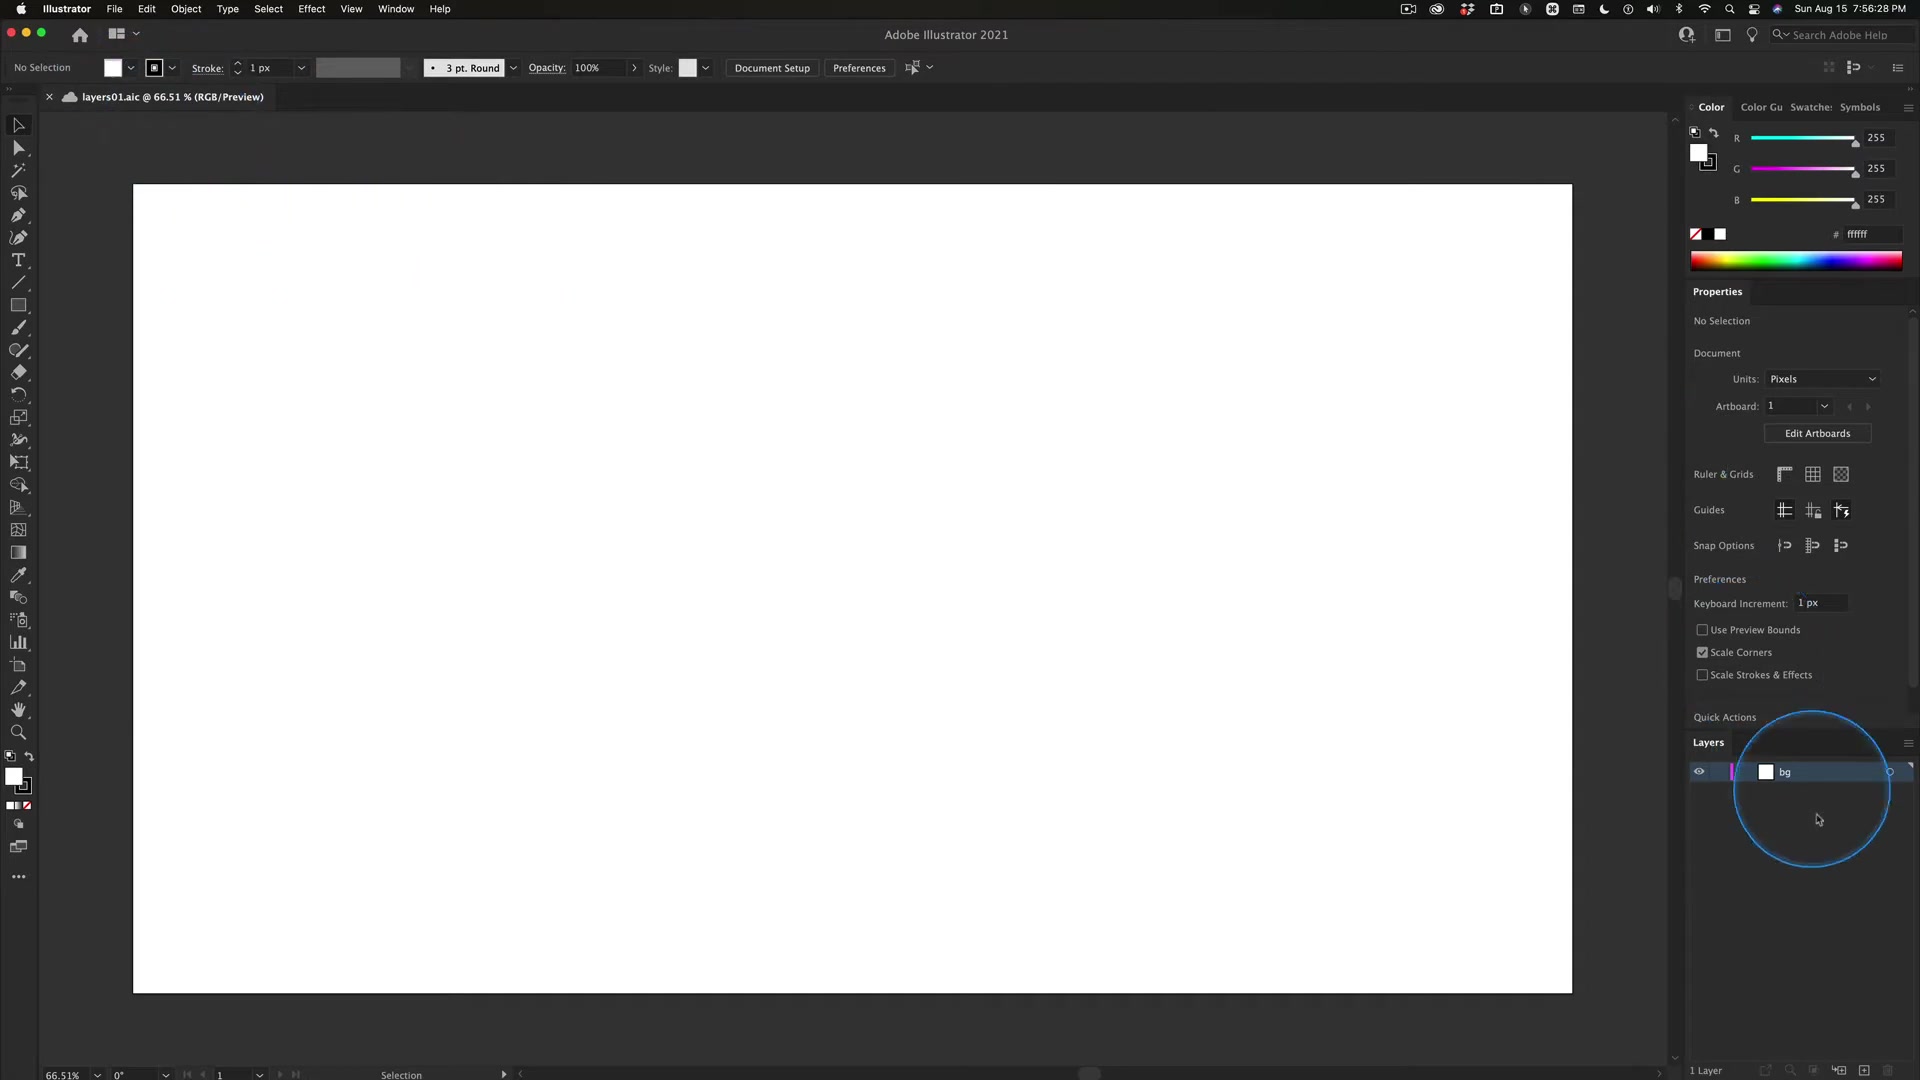
. To start, it's essential to understand how to add and rename layers to better organize your project.
To add a new layer:
- Navigate to the Layers panel, usually located on the right side of your Illustrator workspace. If you don't see it, go to
Window > Layersto open it. - Click on the 'Create New Layer' button at the bottom of the panel (it looks like a plus sign).
To rename a layer:
- Double-click on the layer's name in the Layers panel.
- Type in the new name and press Enter.
By giving your layers descriptive names, such as 'Background,' 'Text,' or 'Shapes,' you can quickly identify and manage different elements of your design. This practice is crucial for maintaining a clear and organized workflow, especially when dealing with complex illustrations.
Navigating the Layers Panel Interface
The Layers panel is your control center for managing layers in Adobe Illustrator. It provides a comprehensive overview of all the layers in your document and offers various options for organizing and manipulating them. Let's explore the key elements of the Layers panel interface:
- Layer Visibility: The eye icon next to each layer controls its visibility. Clicking this icon toggles the layer's visibility on or off, allowing you to hide or show specific elements of your design
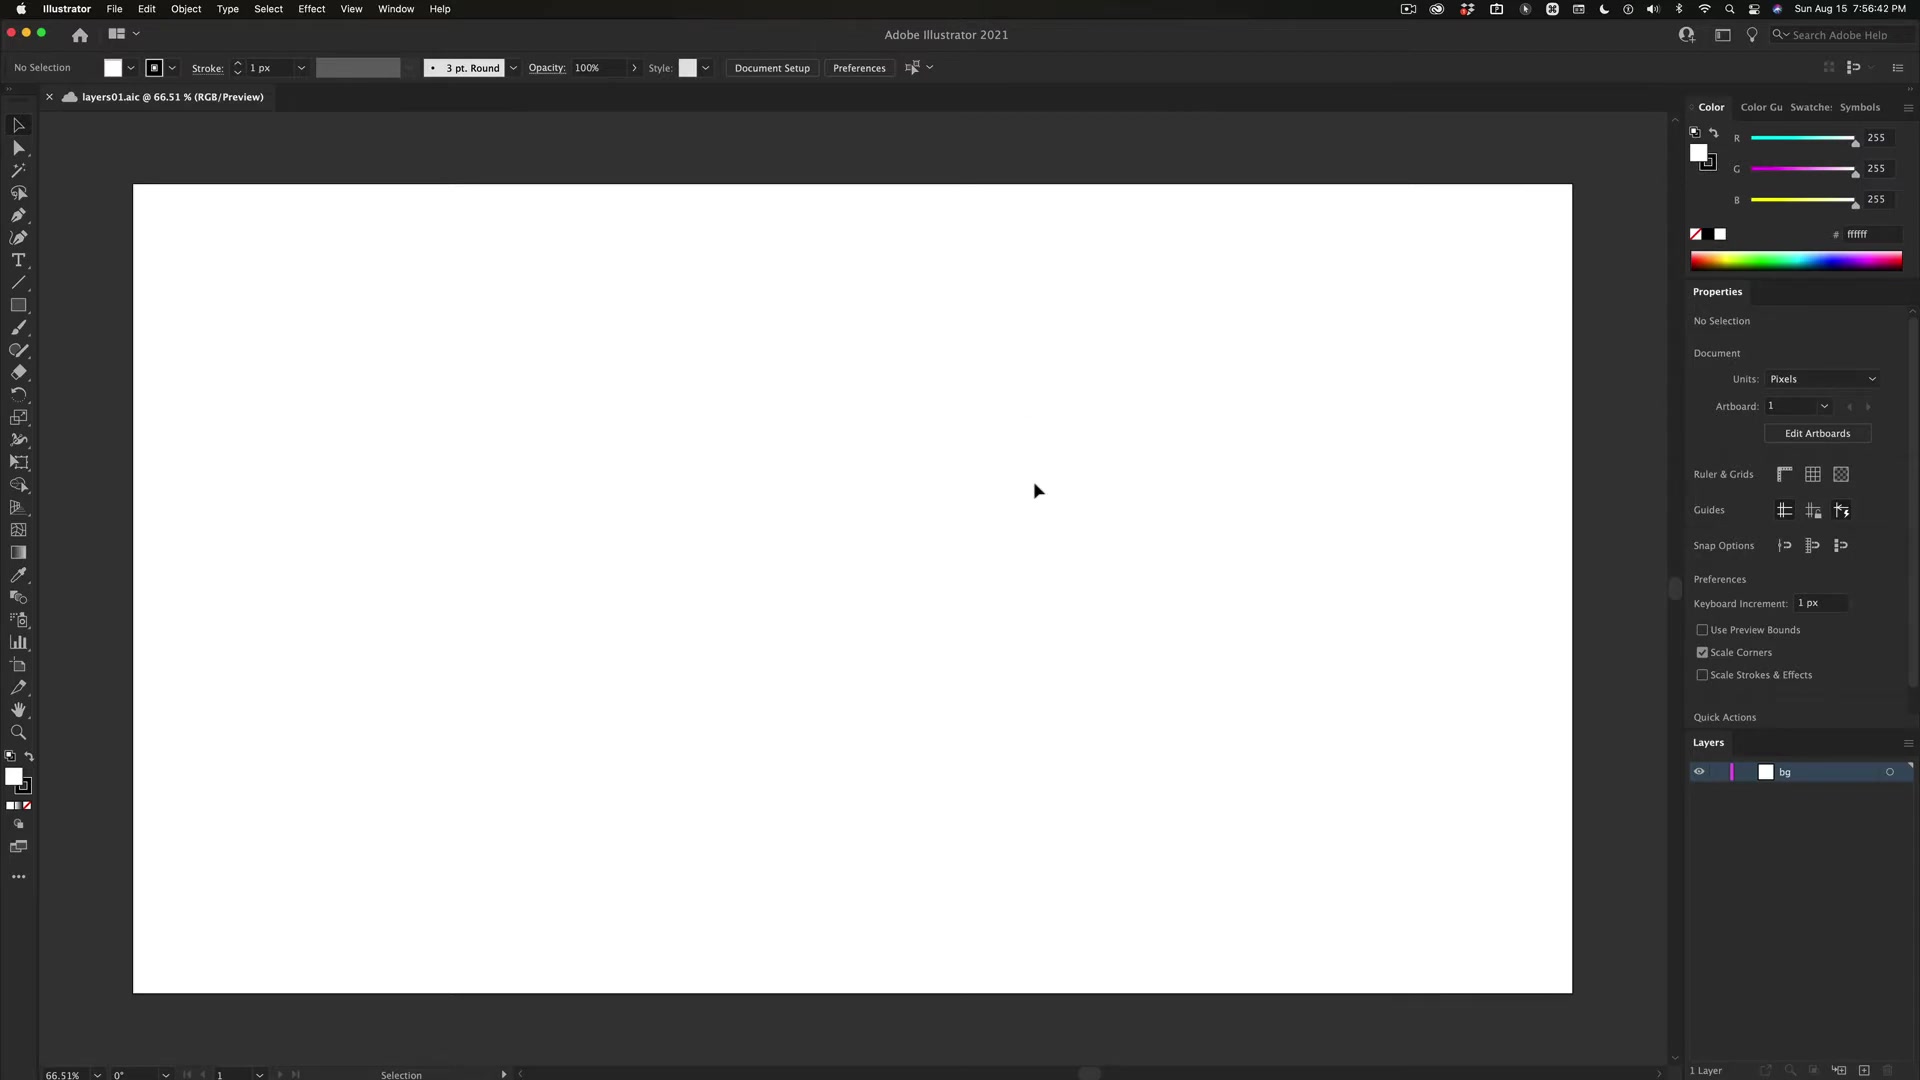
.
- Layer Locking: The lock icon prevents accidental editing of a layer. When a layer is locked, you cannot select or modify any of its contents, ensuring that certain elements remain unchanged.
- Layer Expansion: The arrow icon allows you to expand or collapse a layer to reveal or hide its contents. This is particularly useful for managing groups of objects within a layer.
- Layer Order: You can change the stacking order of layers by dragging them up or down in the Layers panel. The order of layers determines which elements appear in front of or behind others in your artwork.
- Layer Selection: Clicking on the empty square to the right of the visibility and lock icons selects all the objects within that layer. This allows you to quickly apply changes to multiple elements at once.
Understanding and utilizing these features effectively will empower you to manage your artwork with greater precision and control. Take some time to familiarize yourself with the Layers panel to streamline your workflow and enhance your design capabilities. The Layers panel is vital for efficient Adobe Illustrator workflow and Illustrator layers management.
Advanced Layer Techniques
Changing Background Color with Layers
One of the most common tasks in design is changing the background color of your artwork. In Adobe Illustrator, using layers makes this process straightforward and non-destructive. Here’s how you can do it effectively
:
- Create a Background Layer: Ensure you have a dedicated layer for your background. This layer should be at the bottom of your layer stack.
- Draw a Rectangle: Select the Rectangle Tool and draw a rectangle that covers your entire artboard.
- Fill with Color: Choose your desired background color from the Color panel or the Swatches panel.
- Rearrange the Layer: Make sure the background layer is positioned below all other layers in the Layers panel.
By keeping the background on its own layer, you can easily change the color at any time without affecting the other elements in your design. This technique provides flexibility and control over your artwork, making it simple to experiment with different color schemes and achieve the desired visual effect.
Keeping background elements on separate Illustrator layers makes Adobe Illustrator design changes easy.
Utilizing Smart Guides for Precise Alignment
Smart Guides are an invaluable feature in Adobe Illustrator that helps you Align objects with precision. They provide temporary guidelines that appear as you move and draw objects, making it easier to snap them to specific points or edges
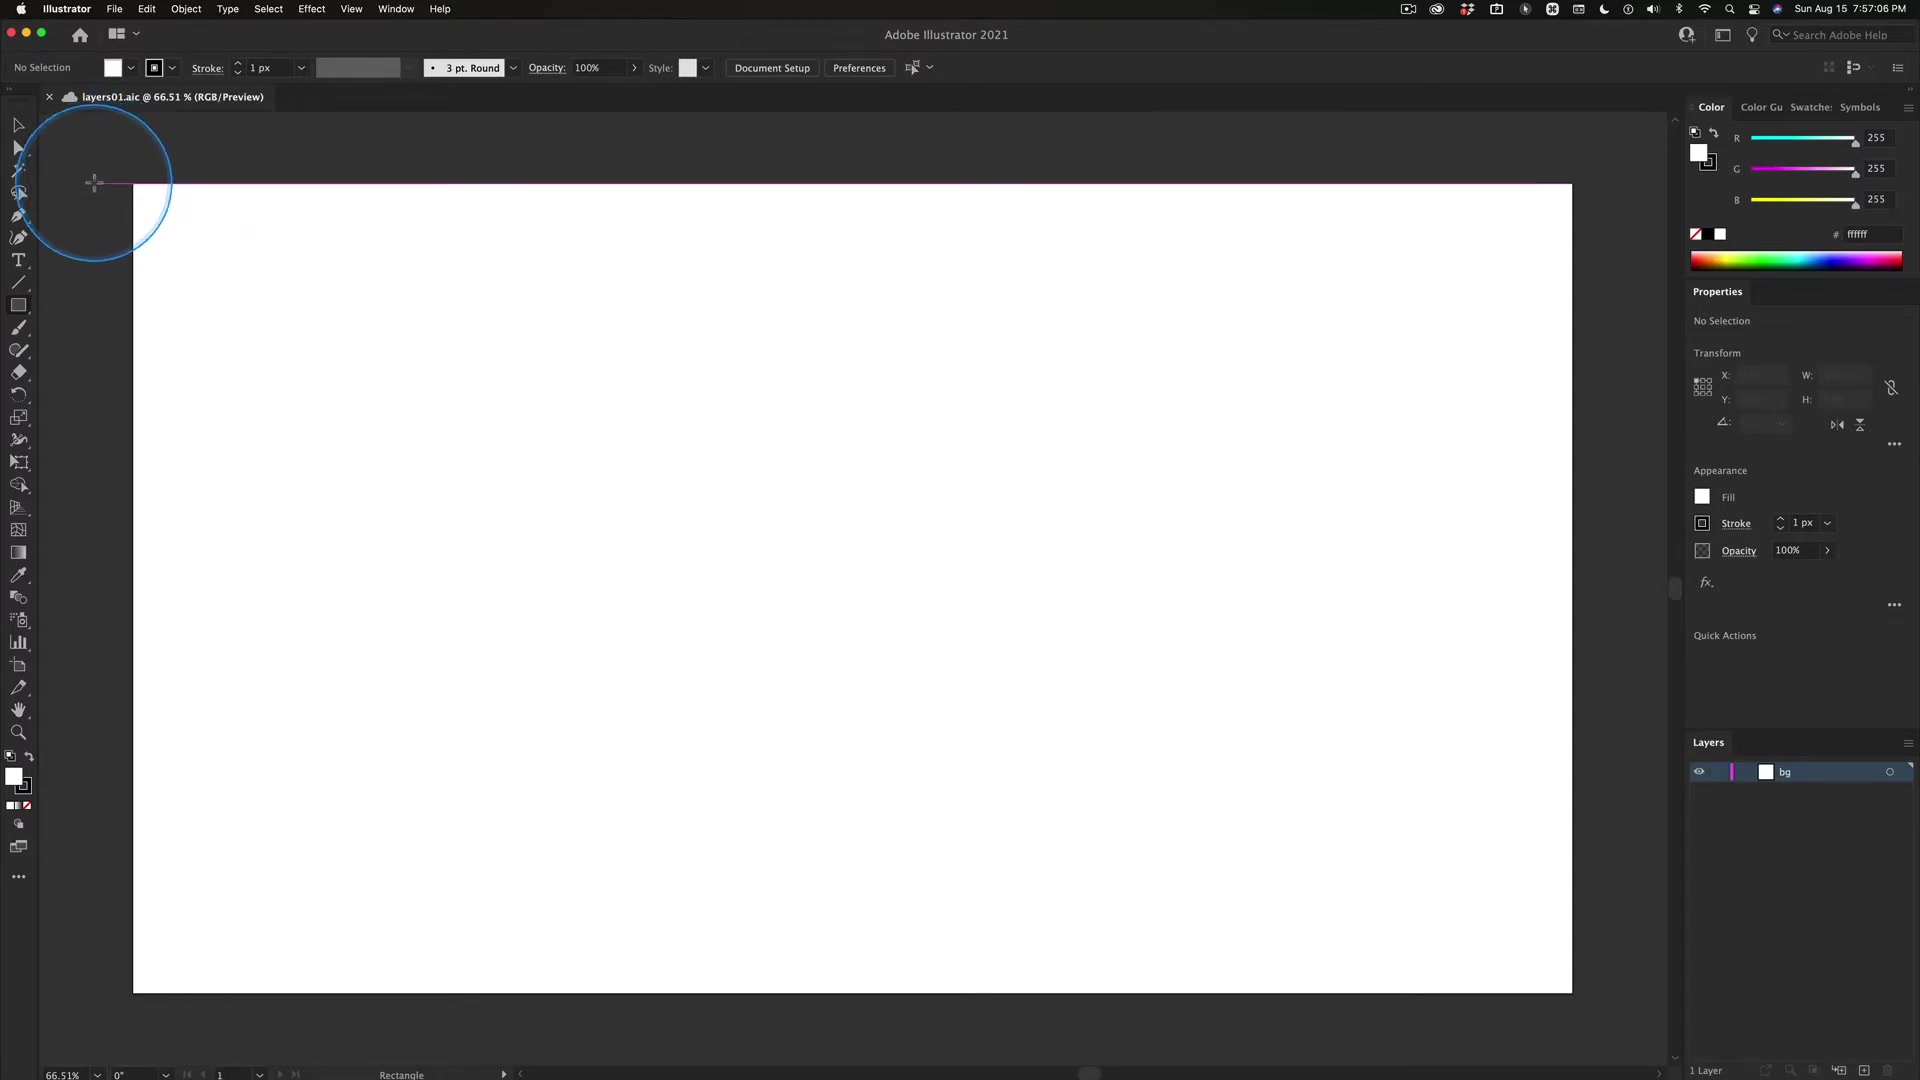
.
Here’s how to enable and use Smart Guides:
- Enable Smart Guides: Go to
View > Smart Guidesto turn them on. Make sure there’s a checkmark next to the option. - Draw and Move Objects: As you draw or move objects, Smart Guides will automatically appear, highlighting alignment points such as edges, centers, and intersections.
- Snap to Guides: Use these guides to precisely align your objects. They will snap into place, ensuring accurate placement.
Smart Guides are particularly useful when creating backgrounds or ensuring that elements are perfectly aligned within your design. By leveraging this feature, you can avoid manual adjustments and achieve a professional level of accuracy in your artwork. The function of snap to guides ensures accurate placement when dealing with Illustrator layers in Adobe Illustrator.
Locking and Hiding Layers for Efficient Editing
When working on complex designs with multiple layers, it’s essential to lock and hide layers that you don’t want to accidentally edit. This technique helps you focus on specific parts of your artwork without the risk of making unintended changes to other elements
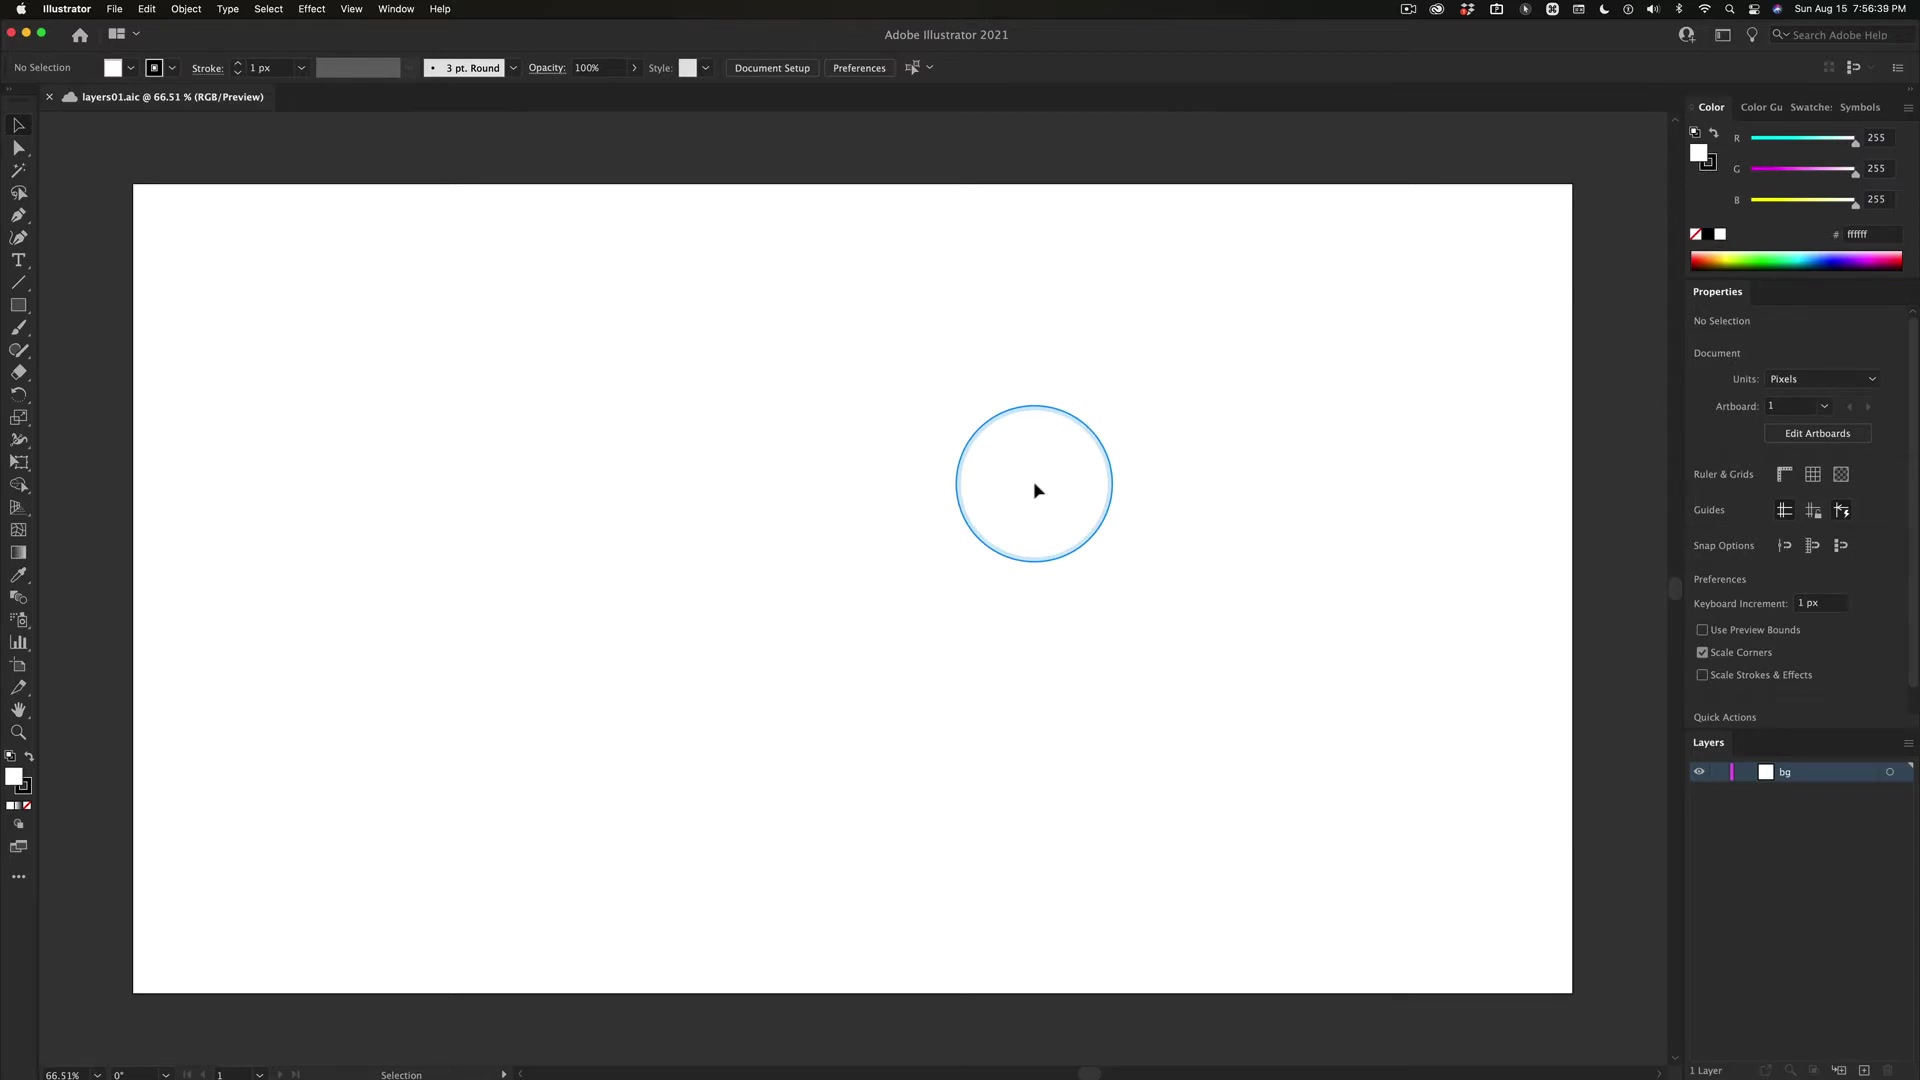
.
- Locking Layers: To lock a layer, click on the empty space next to the eye icon in the Layers panel. A lock icon will appear, indicating that the layer is now protected from editing.
- Hiding Layers: To hide a layer, click on the eye icon. This will make the layer invisible, allowing you to temporarily remove it from view without deleting it.
Locking and hiding layers are simple yet powerful techniques that can significantly improve your editing efficiency. By isolating the elements you want to work on, you can avoid distractions and ensure that your design remains intact. Knowing when to lock Illustrator layers makes for efficient Adobe Illustrator Project Management.
Removing Strokes from Objects
In some designs, you may want to remove the Outline or stroke from an object to achieve a clean, minimalistic look. Here’s how to remove strokes in Adobe Illustrator
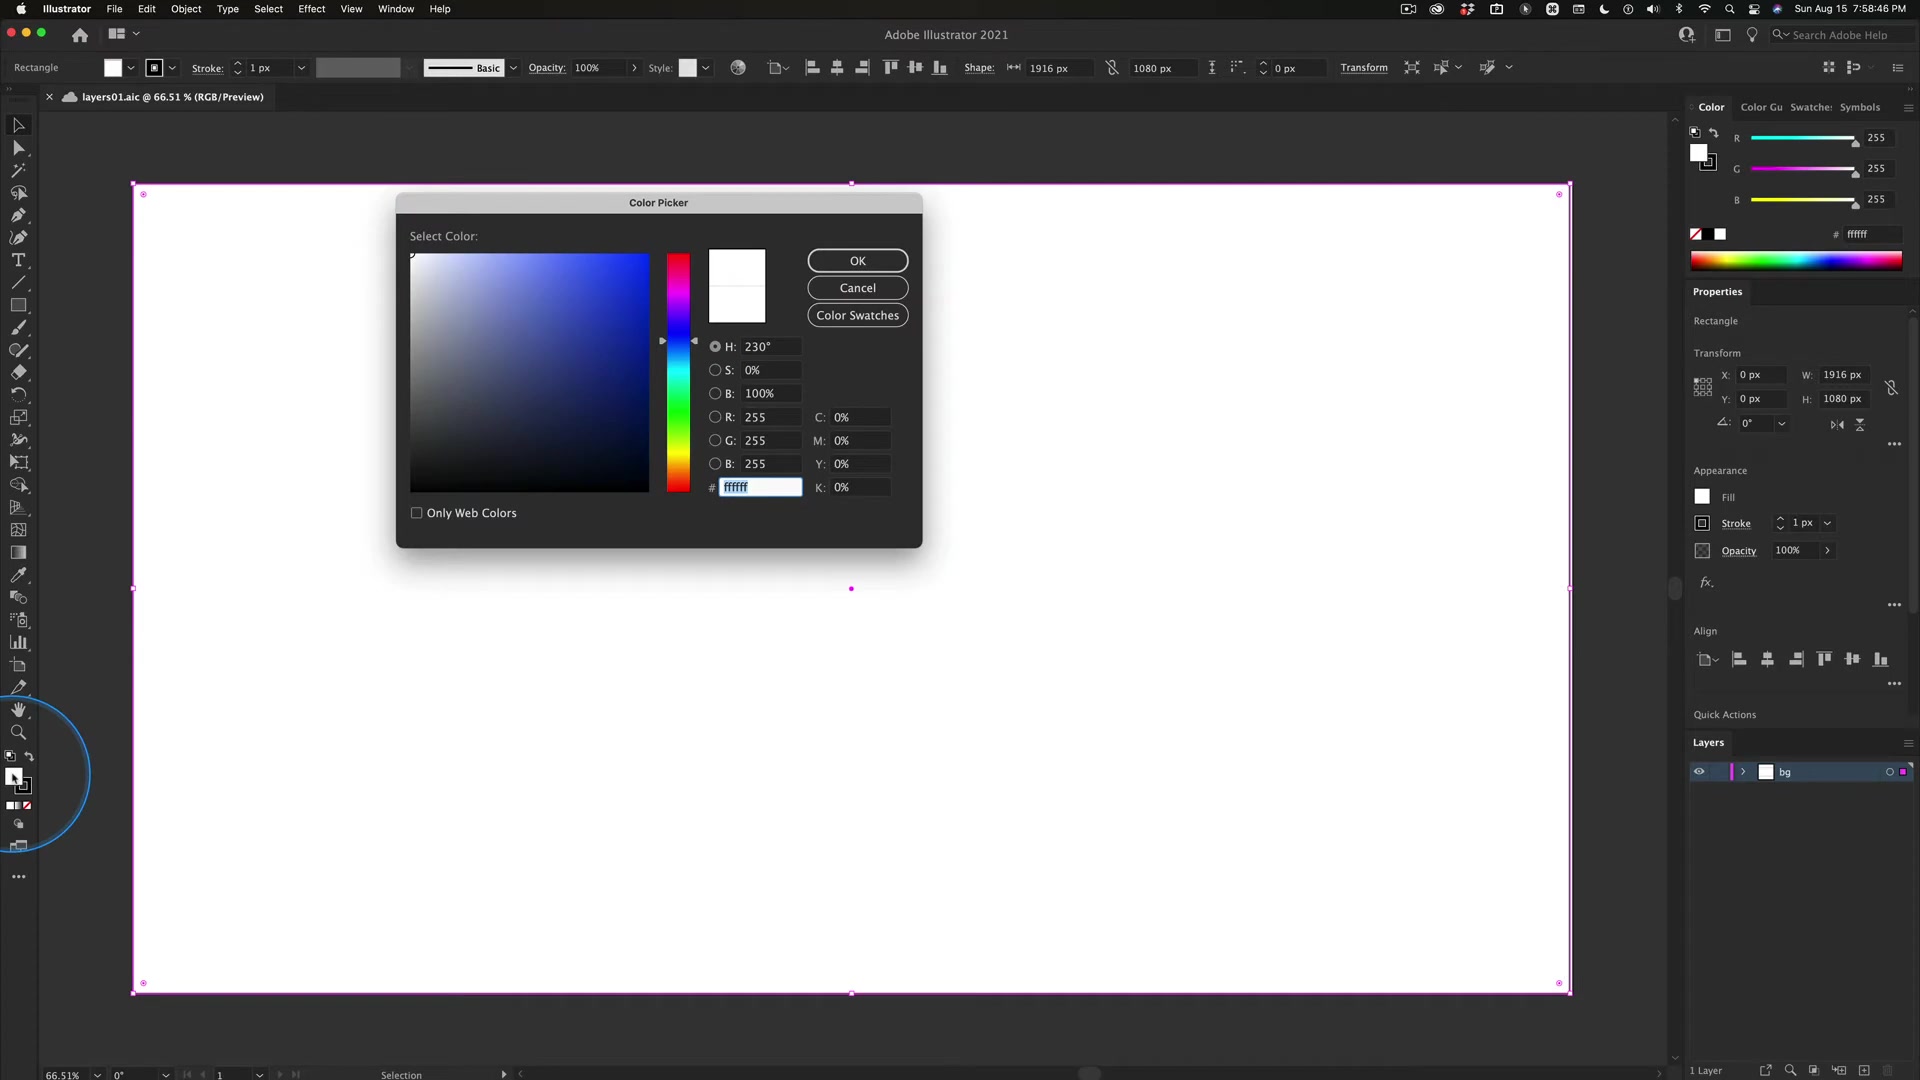
:
- Select the Object: Use the Selection Tool (black arrow) to select the object you want to modify.
- Open the Appearance Panel: Go to
Window > Appearanceto open the Appearance panel. - Remove the Stroke: In the Appearance panel, you’ll see the 'Stroke' attribute. Click on it, and then select 'None' from the color options. This will remove the stroke from the selected object.
Alternatively, you can use the Color panel to remove the stroke:
- Select the Object: Use the Selection Tool to select the object.
- Open the Color Panel: Go to
Window > Colorto open the Color panel. - Set Stroke to None: Ensure the Stroke swatch is active (in front), then click on the 'None' swatch (the white square with a red diagonal line).
Removing strokes can help you create more refined and contemporary designs. It’s a useful technique for achieving a specific visual style or for simplifying complex illustrations. By learning how to effectively manage strokes, you can add another level of polish to your artwork. Remember, you will have a stroke on Illustrator Layers until you take action to remove it in Adobe Illustrator.
Step-by-Step Guide: Creating a Basic Composition with Layers
Step 1: Setting Up Your Document
Start by creating a new document in Adobe Illustrator. Go to File > New and set your artboard Dimensions. For this example, let’s use a standard HD size of 1920x1080 pixels.
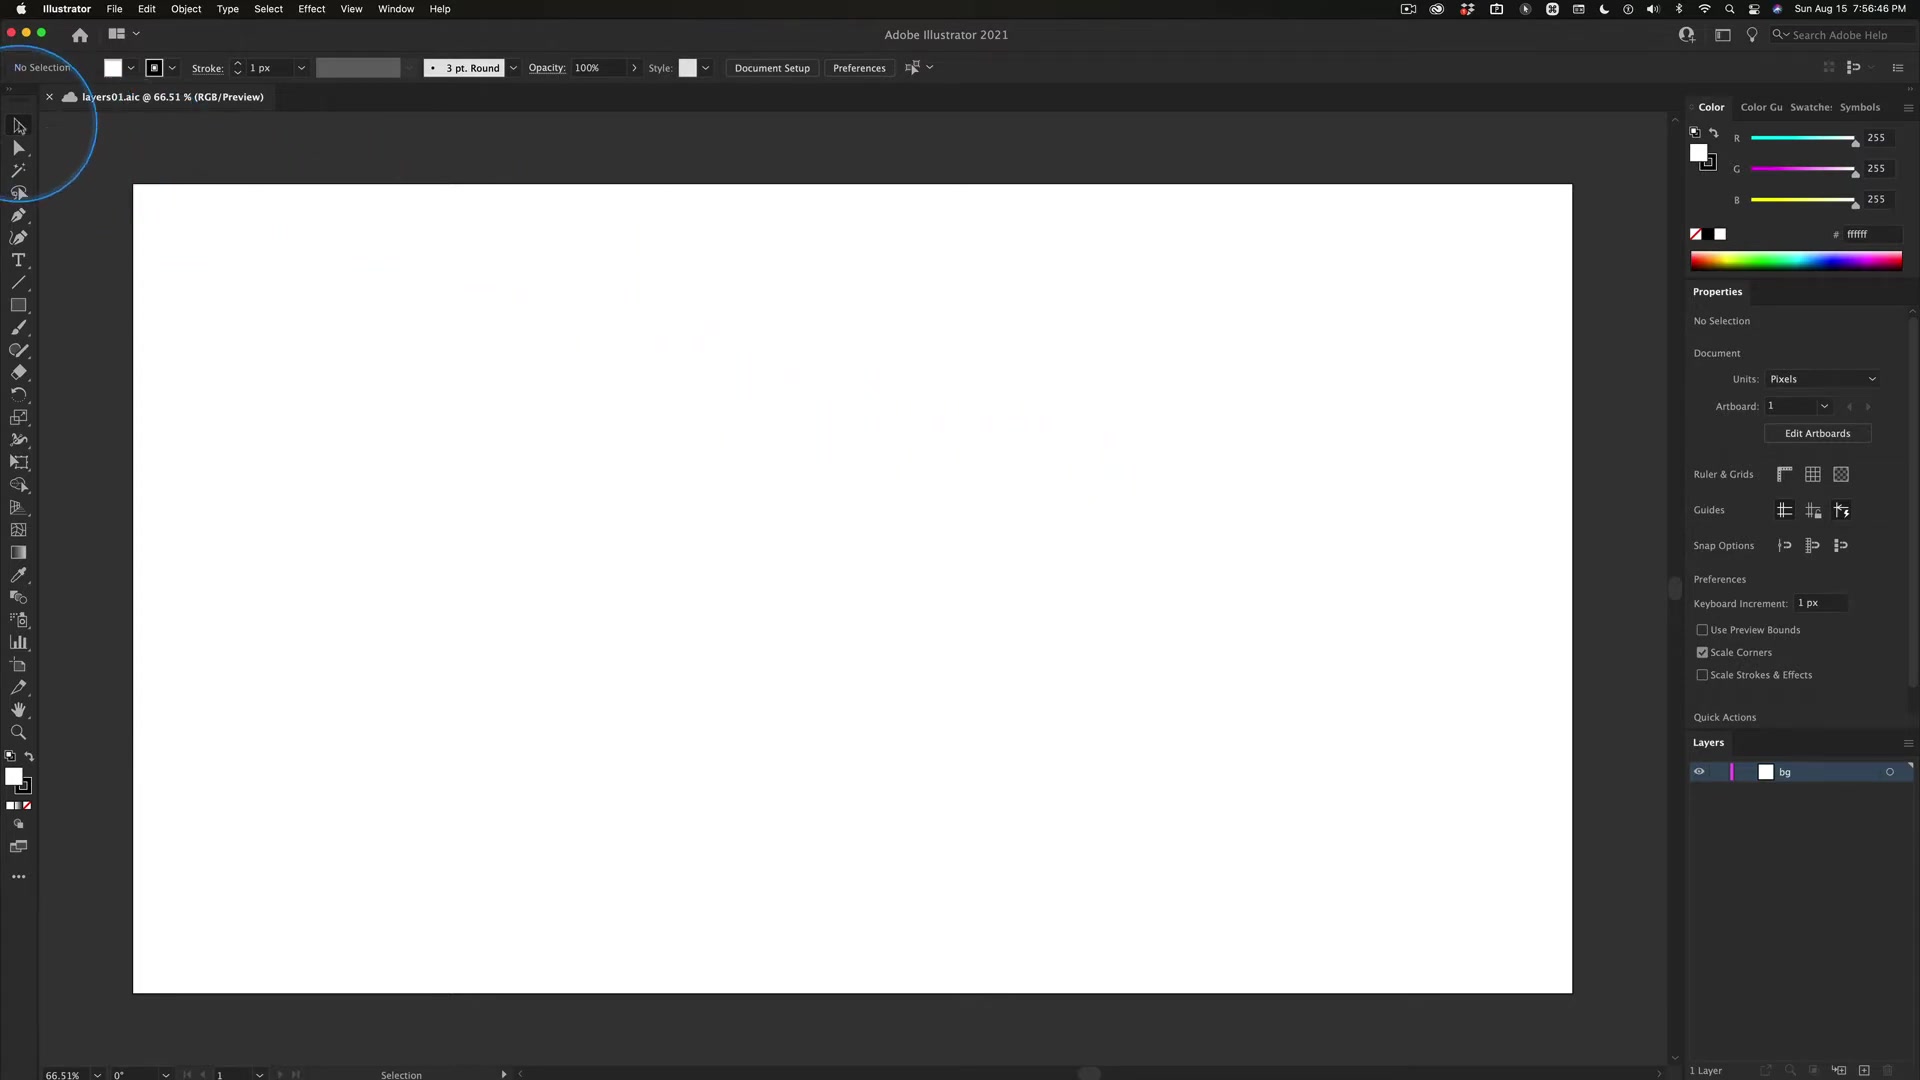
Ensure your color mode is set to RGB for digital artwork.
Step 2: Creating the Background Layer
In the Layers panel, rename the default layer to 'Background.' Select the Rectangle Tool and draw a rectangle that covers the entire artboard. Choose a background color from the Color panel.
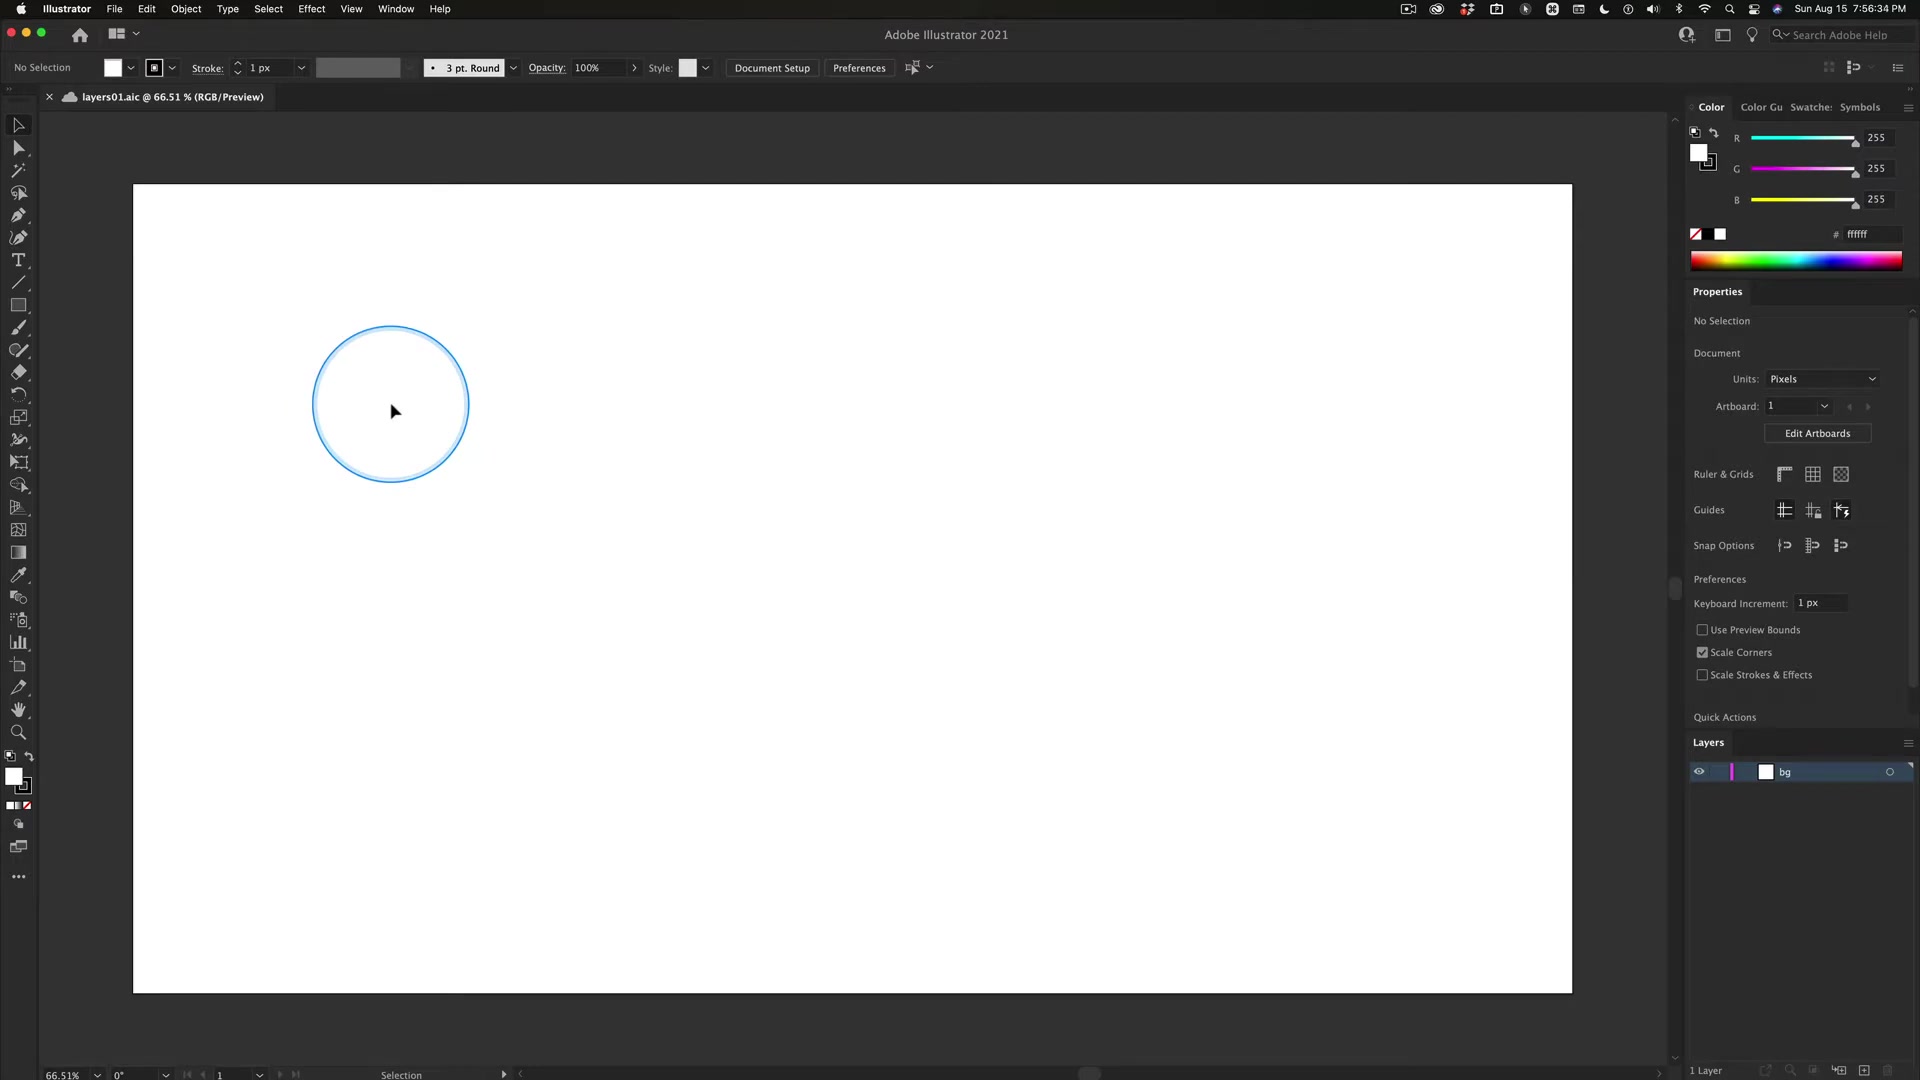
Position this layer at the bottom of the layer stack.
Step 3: Adding Text Layers
Create a new layer named 'Text.' Select the Type Tool and add your desired text to the artboard. Format the text using the Character panel to adjust the Font, size, and color. Position the text layer above the background layer.
Step 4: Adding Shape Layers
Create another new layer named 'Shapes.' Use the various shape tools (Rectangle, Ellipse, Polygon) to add shapes to your design. Customize the fill and stroke of these shapes using the Color or Swatches panel. Arrange the Shape layer above the text layer.
Step 5: Locking and Hiding Layers as Needed
As you work, lock the layers you are not currently editing to prevent accidental changes. For instance, once you’re satisfied with the background, lock the 'Background' layer. Similarly, hide layers to focus on specific elements without distraction.
Step 6: Final Adjustments
Review your design and make any final adjustments. Use Smart Guides to ensure precise alignment and spacing. Experiment with different layer orders to achieve the desired visual effect.





Most people like







































Report
Please select a reason for reporting
- 13 Reasons to Switch from Snapchat to Text Messaging
- 7 Powerful Speech to Text Apps to Boost Productivity
- 10 Best Speech to Text Tools for Effortless Transcription
- 13 Free Tools to Easily Transcribe Audio to Text
- 15 Surprising Ways Google's Speech-to-Text Boosts Productivity
- 7 Best Free Online Audio to Text Transcription Tools
- 9 Tips to Transcribe Speech to Text Faster and Better
- 13 Best Speech to Text Software for Windows 10 in 2023
- 7 Tips for Choosing the Best Transcriber for Audio to Text
- 11 Reasons Why Dragon Speech-to-Text Apps are Game-Changers
- 6 Secrets to Enhance Your Speech to Text Transcription
- 6 Brilliant Ways to Boost Productivity with Talk-to-Text on Your MacBook
- 6 Ways Transcription Software Converts Audio to Text
- 8 Tips to Transcribe Speech to Text Like a Pro
- 6 Reasons IBM Watson Speech to Text is a Game-Changer
- 14 Powerful Ways Talk-to-Text Improves Your Workflow
- 12 Top Windows Speech-to-Text Software for Efficient Transcription
- 12 Game-Changing Benefits of Apple's Speech to Text Technology
- 9 Powerful Use Cases for AWS Speech to Text Technology
- 10 Easy Steps to Transcribe YouTube Videos to Text
- transcription audio en texte
- online audio transcription
- free audio file transcription
- free ai audio transcription
- audio transcription service
- audio transcription online free
- audio transcription free online
- audio to transcription software
- audio and transcript
- ai audio transcription free
- voice recording to text converter
- translate voice recording to text
- record voice to text
- audio recording to text converter
- voice recording and transcription
- chatgpt voice to text
- gmail voice to text
- speech to text reader
- speech to text ai free
- speech to talk
- How SEO and Marketing Dashboards Empower Agencies to Drive Results
- How to Use AI Tools to Find Internal Linking Opportunities Across a Business Website
- Discover Your Perfect Haircut with AI Hairstyle Apps
- Free Reputation Calculator Tools: How They're Adapting to Score AI Visibility, Not Just Rankings
- Design Professional Flyers for Free on Your Phone
- Best Free Flyer Maker Apps for Android: Design Like a Pro
- How to Know If Your Business Is Ready for an AI Customer Service Agent
- Revolutionizing Storytelling: From Novels to Screenplays with AI
- Create Engaging Animated Explainer Videos with a Free AI Tool
- Stop Multi-Subscribing: Benchmark Top AI Visual Models in One Canvas
- An Objective Look at Modern Web-Based Visual Modifications
- My Honest Experience with VideoAI: The Secret Weapon for Creators Who Need Character Voices
- 5 Data Problems That Stall AI Projects in Financial Compliance
- Master Storyboard Drawing: Expert Tips for Non-artists
- The Future of Smart Glasses: Explained & Assembling Guide
- DeepL Translator: The AI-Powered Translation Tool
- AI Video Upscaling: Top Tools Compared for Enhanced Quality
- Bridging the Gap: How One Indie Developer Solved the "Art Asset Nightmare" Using AI Style Transfer
- How I Direct Consistent AI Clips: A Hands-On Guide to Multi-Model Generation
- My Honest Review of VideoAI: The Ultimate Character Voice Generator I've Been Using Lately

Copyright ©2026 toolify