Step-by-Step Guide to Building Your Dream PC with RTX 3090 and R9 5900X
Table of Contents
- Introduction
- Unboxing the Motherboard
- Installing the CPU
- Setting up the Storage and RAM
- Installing the SSDs
- Choosing and Installing the GPU
- Installing the CPU Cooler
- Preparing the Case
- Installing the Power Supply Unit
- testing and Troubleshooting
- Conclusion
Introduction
Building a PC can be an exciting and rewarding experience. In this guide, we will walk you through the step-by-step process of building your own PC. From unboxing the components to testing and troubleshooting, we will cover everything you need to know to create your dream machine. So, grab your tools and let's get started!
Unboxing the Motherboard
The first step in building your PC is unboxing the motherboard. The motherboard is the central component that connects all the other hardware together. It's important to choose a high-quality motherboard that fits your needs. Once you have unboxed the motherboard, you can start preparing it for installation.
Installing the CPU
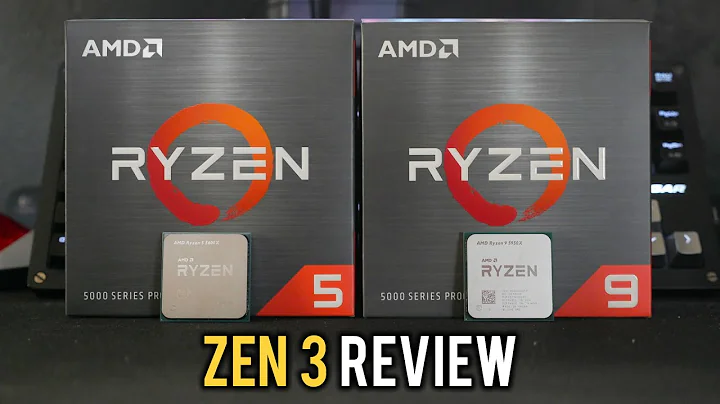
Now that we have our motherboard ready, it's time to install the CPU. The CPU, or central processing unit, is the brain of the computer. It's important to choose a CPU that provides enough power for your needs. In this guide, we will be installing a Ryzen 9 5900X CPU. We will carefully insert the CPU into the socket on the motherboard, making sure to Align the notches correctly.
Setting up the Storage and RAM
With the CPU installed, it's time to set up the storage and RAM. The storage is where all your files and programs will be stored, while the RAM is responsible for temporary data storage. In this guide, we will be using M.2 SSDs for storage and 32GB of Trident Z RAM. We will install the RAM into the designated slots on the motherboard and connect the SSDs to the M.2 slots.
Installing the SSDs
Installing the SSDs is a crucial step in building your PC. SSDs, or solid-state drives, are faster and more reliable than traditional hard drives. In this guide, we will be installing a Samsung 980 Pro M.2 SSD as the main storage and a Samsung 970 Evo Plus M.2 SSD as secondary storage. We will carefully slide the SSDs into their respective slots on the motherboard.
Choosing and Installing the GPU
Next, we need to choose a GPU, or graphics processing unit, and install it into our build. The GPU is responsible for rendering images and videos on your computer screen. In this guide, we will be using an ASUS RTX 3090, a powerful GPU that can handle even the most demanding games. We will carefully insert the GPU into the PCIe slot on the motherboard.
Installing the CPU Cooler
To prevent our CPU from overheating, we need to install a CPU cooler. In this guide, we will be using a Corsair CPU cooler with RGB lighting. We will attach the CPU cooler to the designated mounting points on the motherboard and connect the necessary cables.
Preparing the Case
Now that we have all our components ready, it's time to prepare the case. The case holds all the hardware components and provides necessary airflow to keep everything cool. In this guide, we will be using a Lian Li 011 XL Dynamic case in white. We will position the case and ensure all necessary screws and brackets are in place.
Installing the Power Supply Unit
With the case prepared, we can now install the power supply unit (PSU). The PSU provides power to all the components in your PC. It's important to choose a PSU with enough wattage to support your build. In this guide, we will be using an 850W PSU from Corsair. We will carefully connect all the necessary cables from the PSU to the motherboard and other components.
Testing and Troubleshooting
Now that everything is installed, it's time to test our PC and troubleshoot any issues that may arise. We will connect the necessary peripherals, such as the monitor and keyboard, and power on the PC. We will check if the PC boots up properly and run some tests to ensure everything is working as expected. If any issues occur, we will provide troubleshooting steps to help you resolve them.
Conclusion
Congratulations! You have successfully built your own PC. Building a PC can be a challenging but rewarding experience. You now have a powerful machine that can handle all your gaming, content creation, or work needs. Enjoy your new PC and have fun exploring its capabilities!
Highlights
- Step-by-step guide to building your own PC
- Unboxing and installing components such as the motherboard, CPU, storage, RAM, GPU, CPU cooler, and PSU
- Choosing high-quality components that fit your needs
- Proper cable management and installation techniques
- Testing and troubleshooting your PC
- Creating a powerful machine for gaming, content creation, or work
FAQ
Q: Do I need any special tools to build a PC?
A: While not absolutely necessary, having a screwdriver, zip ties, and thermal paste can make the process easier.
Q: How long does it take to build a PC?
A: The time it takes to build a PC varies depending on your experience level. It can take anywhere from a few hours to a full day.
Q: Can I upgrade my PC in the future?
A: Yes, one of the advantages of building your own PC is the ability to upgrade individual components as technology advances.
Q: Is building a PC cheaper than buying a pre-built one?
A: Building a PC can be more cost-effective as you have control over the components you choose. However, it requires more time and effort.
Q: What can I do if my PC doesn't boot up?
A: If your PC doesn't boot up, first check all connections and ensure all components are properly installed. If the issue persists, consult troubleshooting guides or seek assistance from technical support.
 WHY YOU SHOULD CHOOSE TOOLIFY


